
First things first: bikkies, biscuits, cookies – it doesn’t matter. You can call them what you like. Crackers, even! (As in, graham crackers, for those in the US). I won’t judge you. They’re all the same to me.

The reason for calling them ‘bikkies’ is simply because this recipe traces its origins to Red Puppy Bikkie Day – an annual fundraiser for the Royal New Zealand Foundation for the Blind.
I was given the recipe one year when my workmate pulled me into baking for the fundraiser (thanks Kate! 🙂 ). However I didn’t actually make it until this year, when I needed a tasty and quick recipe for my friend L’s baby shower.
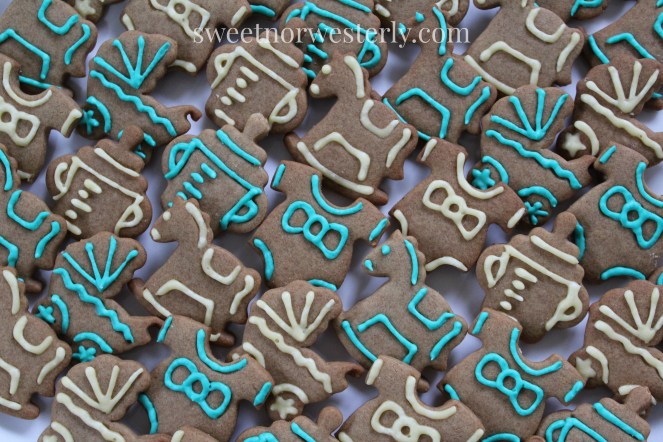
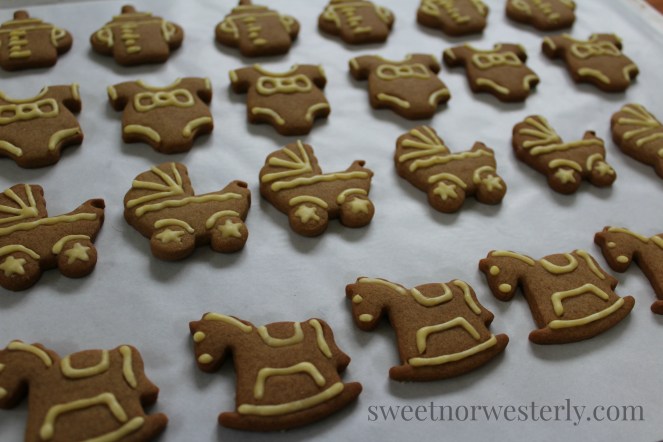
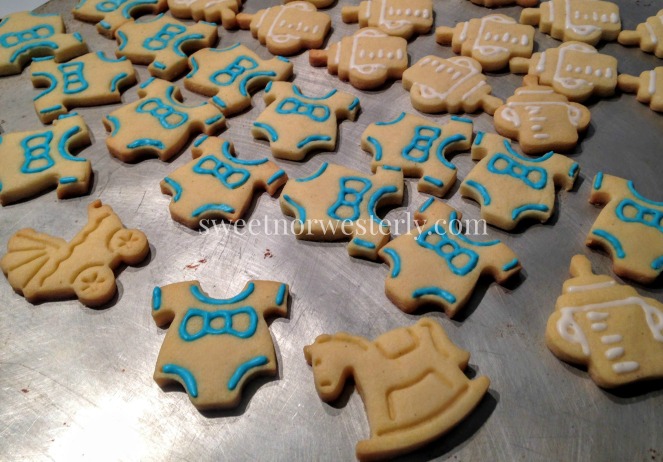
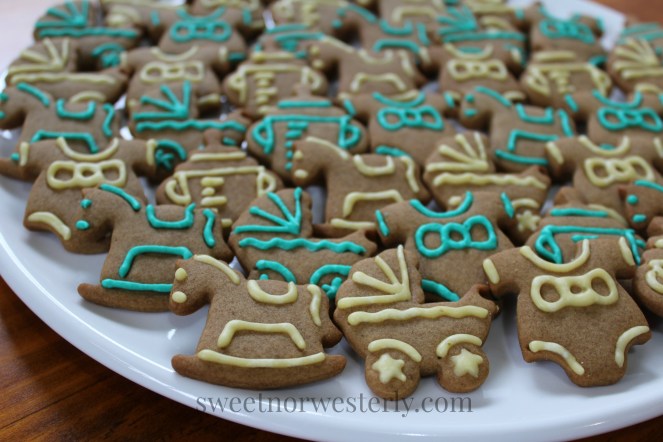
I’ve made some small tweaks to that recipe – decreasing the syrup so the mixture is easier to handle, increasing the ginger to maximize the flavour. I also found that the dough freezes beautifully: I made baby shower biscuits (above) during one weekend from half the dough and froze the rest, which I defrosted the following weekend and turned out tasty bikkies for church morning tea (below).

By ‘quick’, I should add that I don’t consider bikkies to be a ‘quick’ treat to make. Not just because I feel they are naked without some form of decoration (and I only decorate when they have completely cooled), but also because of the dough chilling time that is often called for in cookie recipes to make it more solid and easier to roll. Although the original recipe didn’t require this, I think it’s beneficial – especially if you have hot hands that make the dough get warm and soft quickly! I believe this chilling time also allows the flour to better absorb the liquids in the mixture and hence develops the dough. See my ‘Sweet Tip’ after the recipe to help you decide, “to chill or not to chill”!
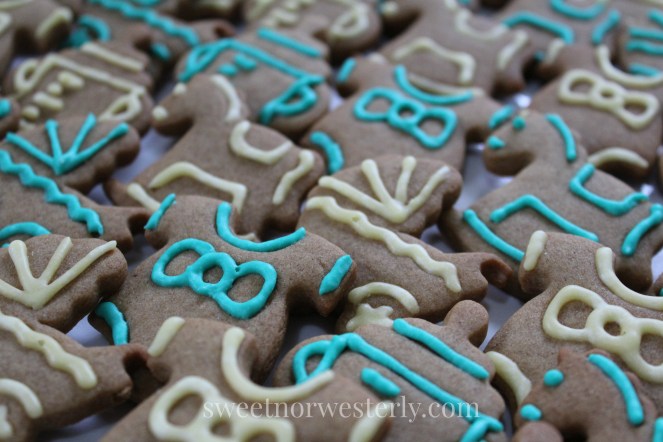
Check out the pictures after the recipe to see how I decorated these cuties. Spoiler alert: I cheated…!

Quick Ginger Bikkies
- 250g unsalted butter
- 1 cup brown sugar, packed
- 1/2 cup golden syrup
- 3 Tbsp ground ginger
- 1 tsp ground cinnamon
- 1 tsp baking soda
- 1 Tbsp boiling water
- 3 1/2 cups plain flour, sifted plus extra for rolling out dough onto
In a large saucepan melt the butter then add the brown sugar, golden syrup, ginger and cinnamon. Stir together with a wooden spoon until mixed.
Dissolve the baking soda in the boiling water and add to the saucepan mixture.
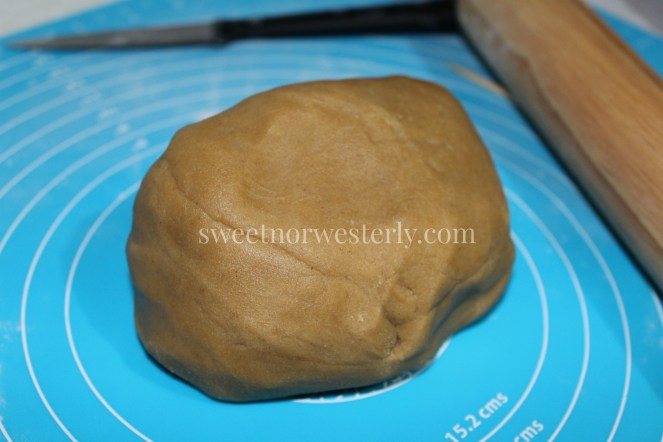
Stir the sifted flour into the saucepan mixture with the wooden spoon until well combined (put some elbow grease into it if this gets hard!). Turn out the dough onto a lightly floured board or bench and form it into a tight ball.
If you aren’t chilling the dough, go ahead and form teaspoonful-sized balls and place them on a lined baking tray approx. 4cm apart, flattening each one slightly.
If you plan to chill the dough, now is the time to plastic wrap it and leave in the fridge for 30 mins to an hour (up to a day). When you take your dough out of the fridge knead it until it is workable (around a minute) on a floured board or bench. For using with cookie cutters, roll out the dough to around 5mm thick and carefully cut out your shapes. Place bikkies onto a lined baking tray approx. 4cm apart.

Bake at 180 degrees Celsius for 10-15 minutes, depending on the power of your oven – watch them closely if you’re not sure how long it will take – until bikkies are slightly darker at the edges and fingerprints don’t remain when pressed with a clean, dry finger! Allow to cool on oven trays for 10 minutes before transferring to a cooling rack. Decorate when completely cool.
Sweet Tips
- I coat the cup measure with spray oil before measuring the golden syrup into it so that the syrup slides out easily. Otherwise it seems like no number of spatulas will scrape that stuff out…
- Chilling time isn’t essential, especially if you’re not fussed about cutting out shapes and are happy with good ol’ round and natural cookies. However if you intend to make puppies, kitties or any other creature in cookie form, your dough will benefit from some ‘chill time’ before rolling and cutting out. Some recipes require re-chilling time for the leftover bits of dough after you’ve cut out your first lots of shapes, but unless it’s melting in your hands, I’d just re-roll and cut out again immediately!
- My favourite, easy and quick decorating icing is Queen’s ‘just add water’ royal icing that I find at Countdown supermarkets (and it’s probably stocked by others, too). I often mix it up in a small jug rather than bother pulling out the mixer for small amounts of piping.
As promised, my ‘cheater’ method for decorating… plunger cookie cutters!!! I used the cute set of cutters below to indent the dough, giving me a line guide for piping the icing into.
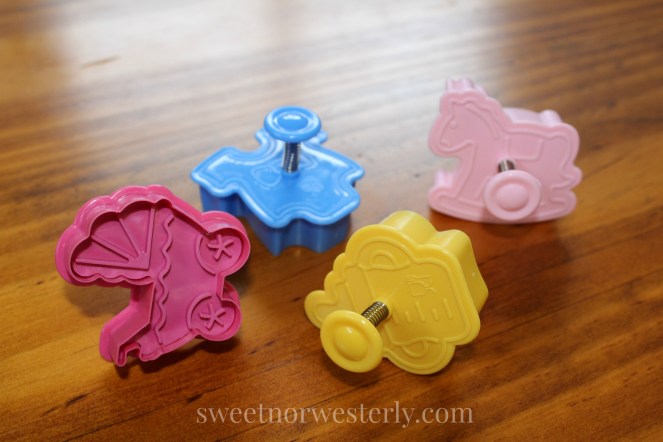
And since I forgot to take a photo of the un-iced bikkies that I had made with these cutters for this shower, here’s a pic from when I made them earlier in the year – you can see the horse and stroller cookies with plunger indentations, waiting to be a-piped.
I figure this can be done with any cutter – plunger or regular – that has an indentation. And for that reason I’m pretty sure I did not invent the technique!!
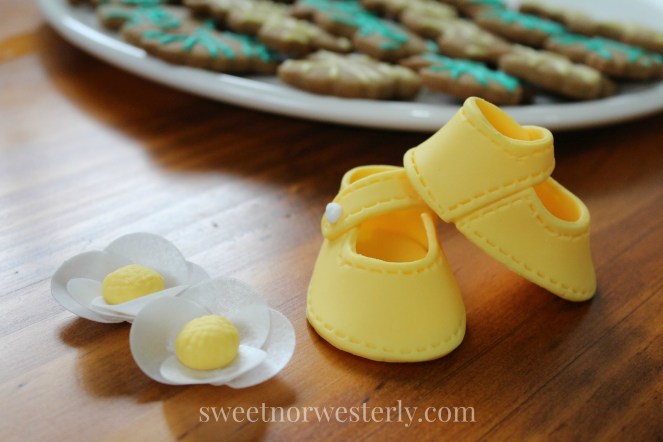
Oh, one last thing – a reward for scrolling this far through this post!! I also made some wee booties from gumpaste for the top of L’s baby shower cake that she and her lovely friend H had put together. Since it was my first time making them, I did a practice pair before the real thing. I also had some wafer paper circles leftover from an exciting cake I had recently done (coming to the blog soon!) so I made some tiny daisies to accompany the booties… cuteness overload!!
If your heart isn’t melted by all that… you need another biscuit/cookie/cracker! xo

