Happy August – well the end thereof! I hope it’s been a happy one where you are, even if you’re back under lockdown (for what might seem like a million days?) I’m hoping that this post might spark a little bit of happy for you, especially if you’re a fan of pretty (girly) cakes…

This sweet cake was an auction prize that I donated towards a Plunket fundraiser earlier in the year, part of an ‘ultimate birthday party’ pack. Looking back it’s hard to believe how lucky the auction winner was, to be able to hold the party as planned earlier this month!

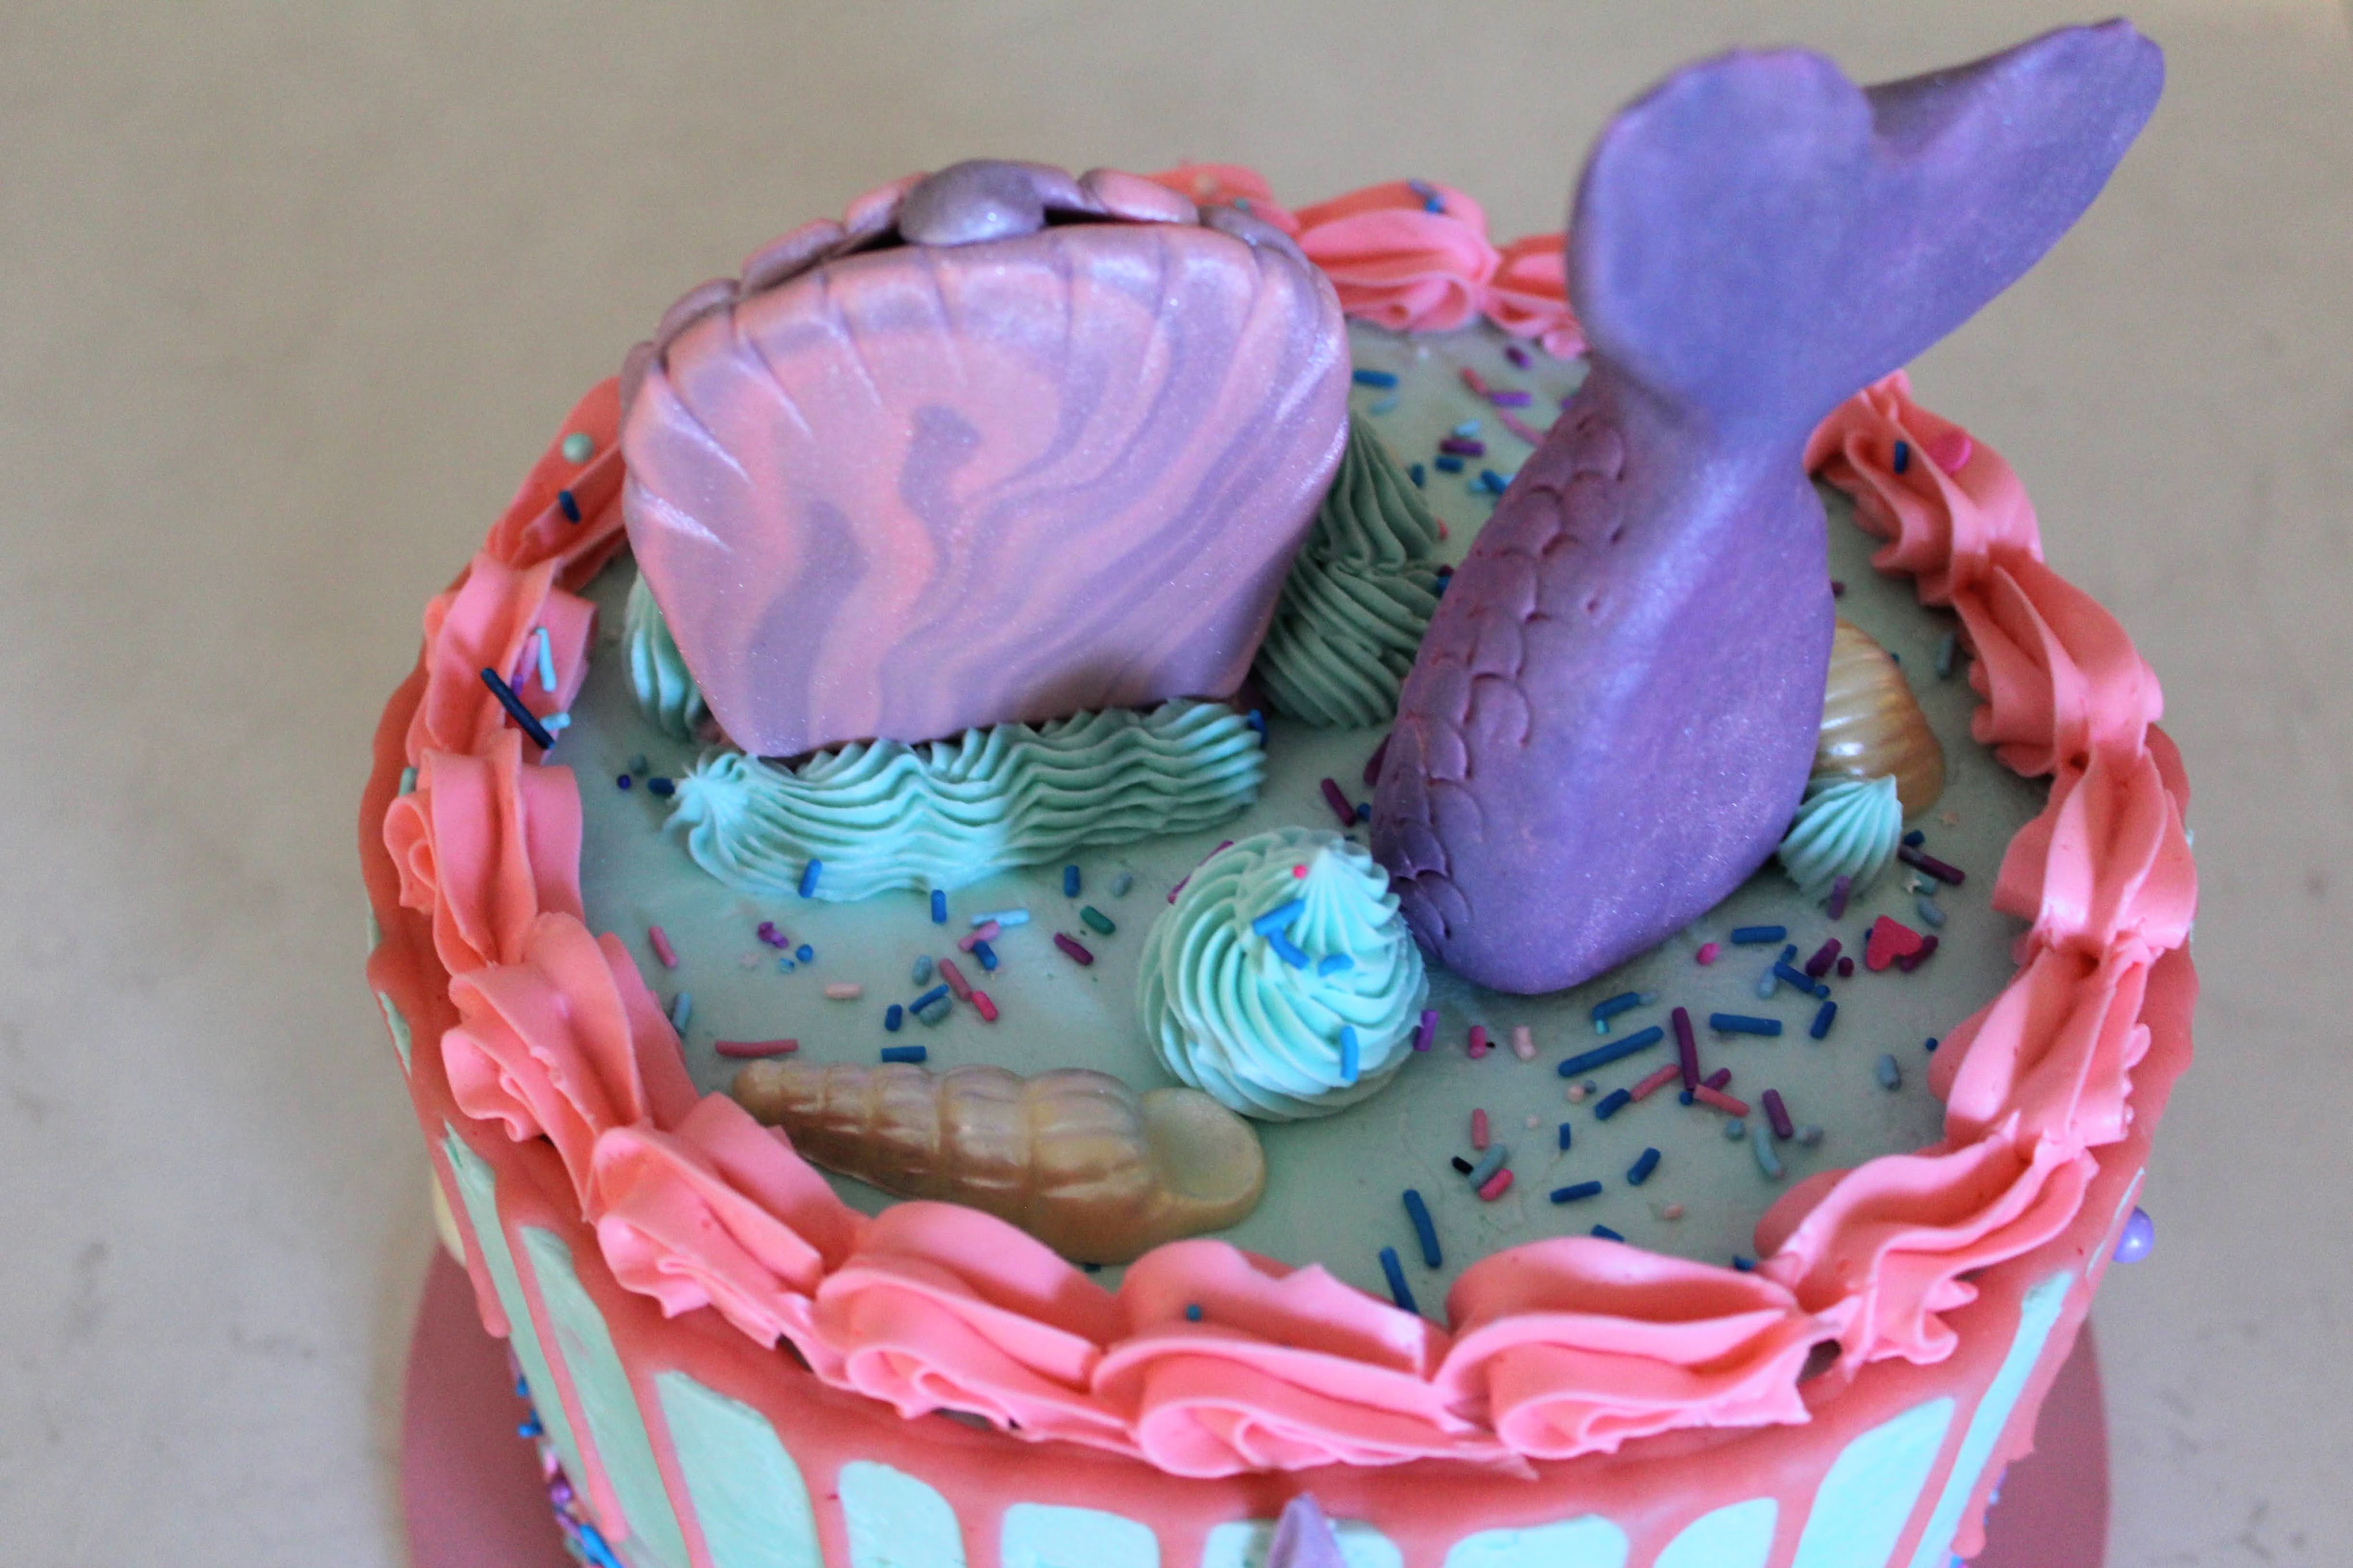
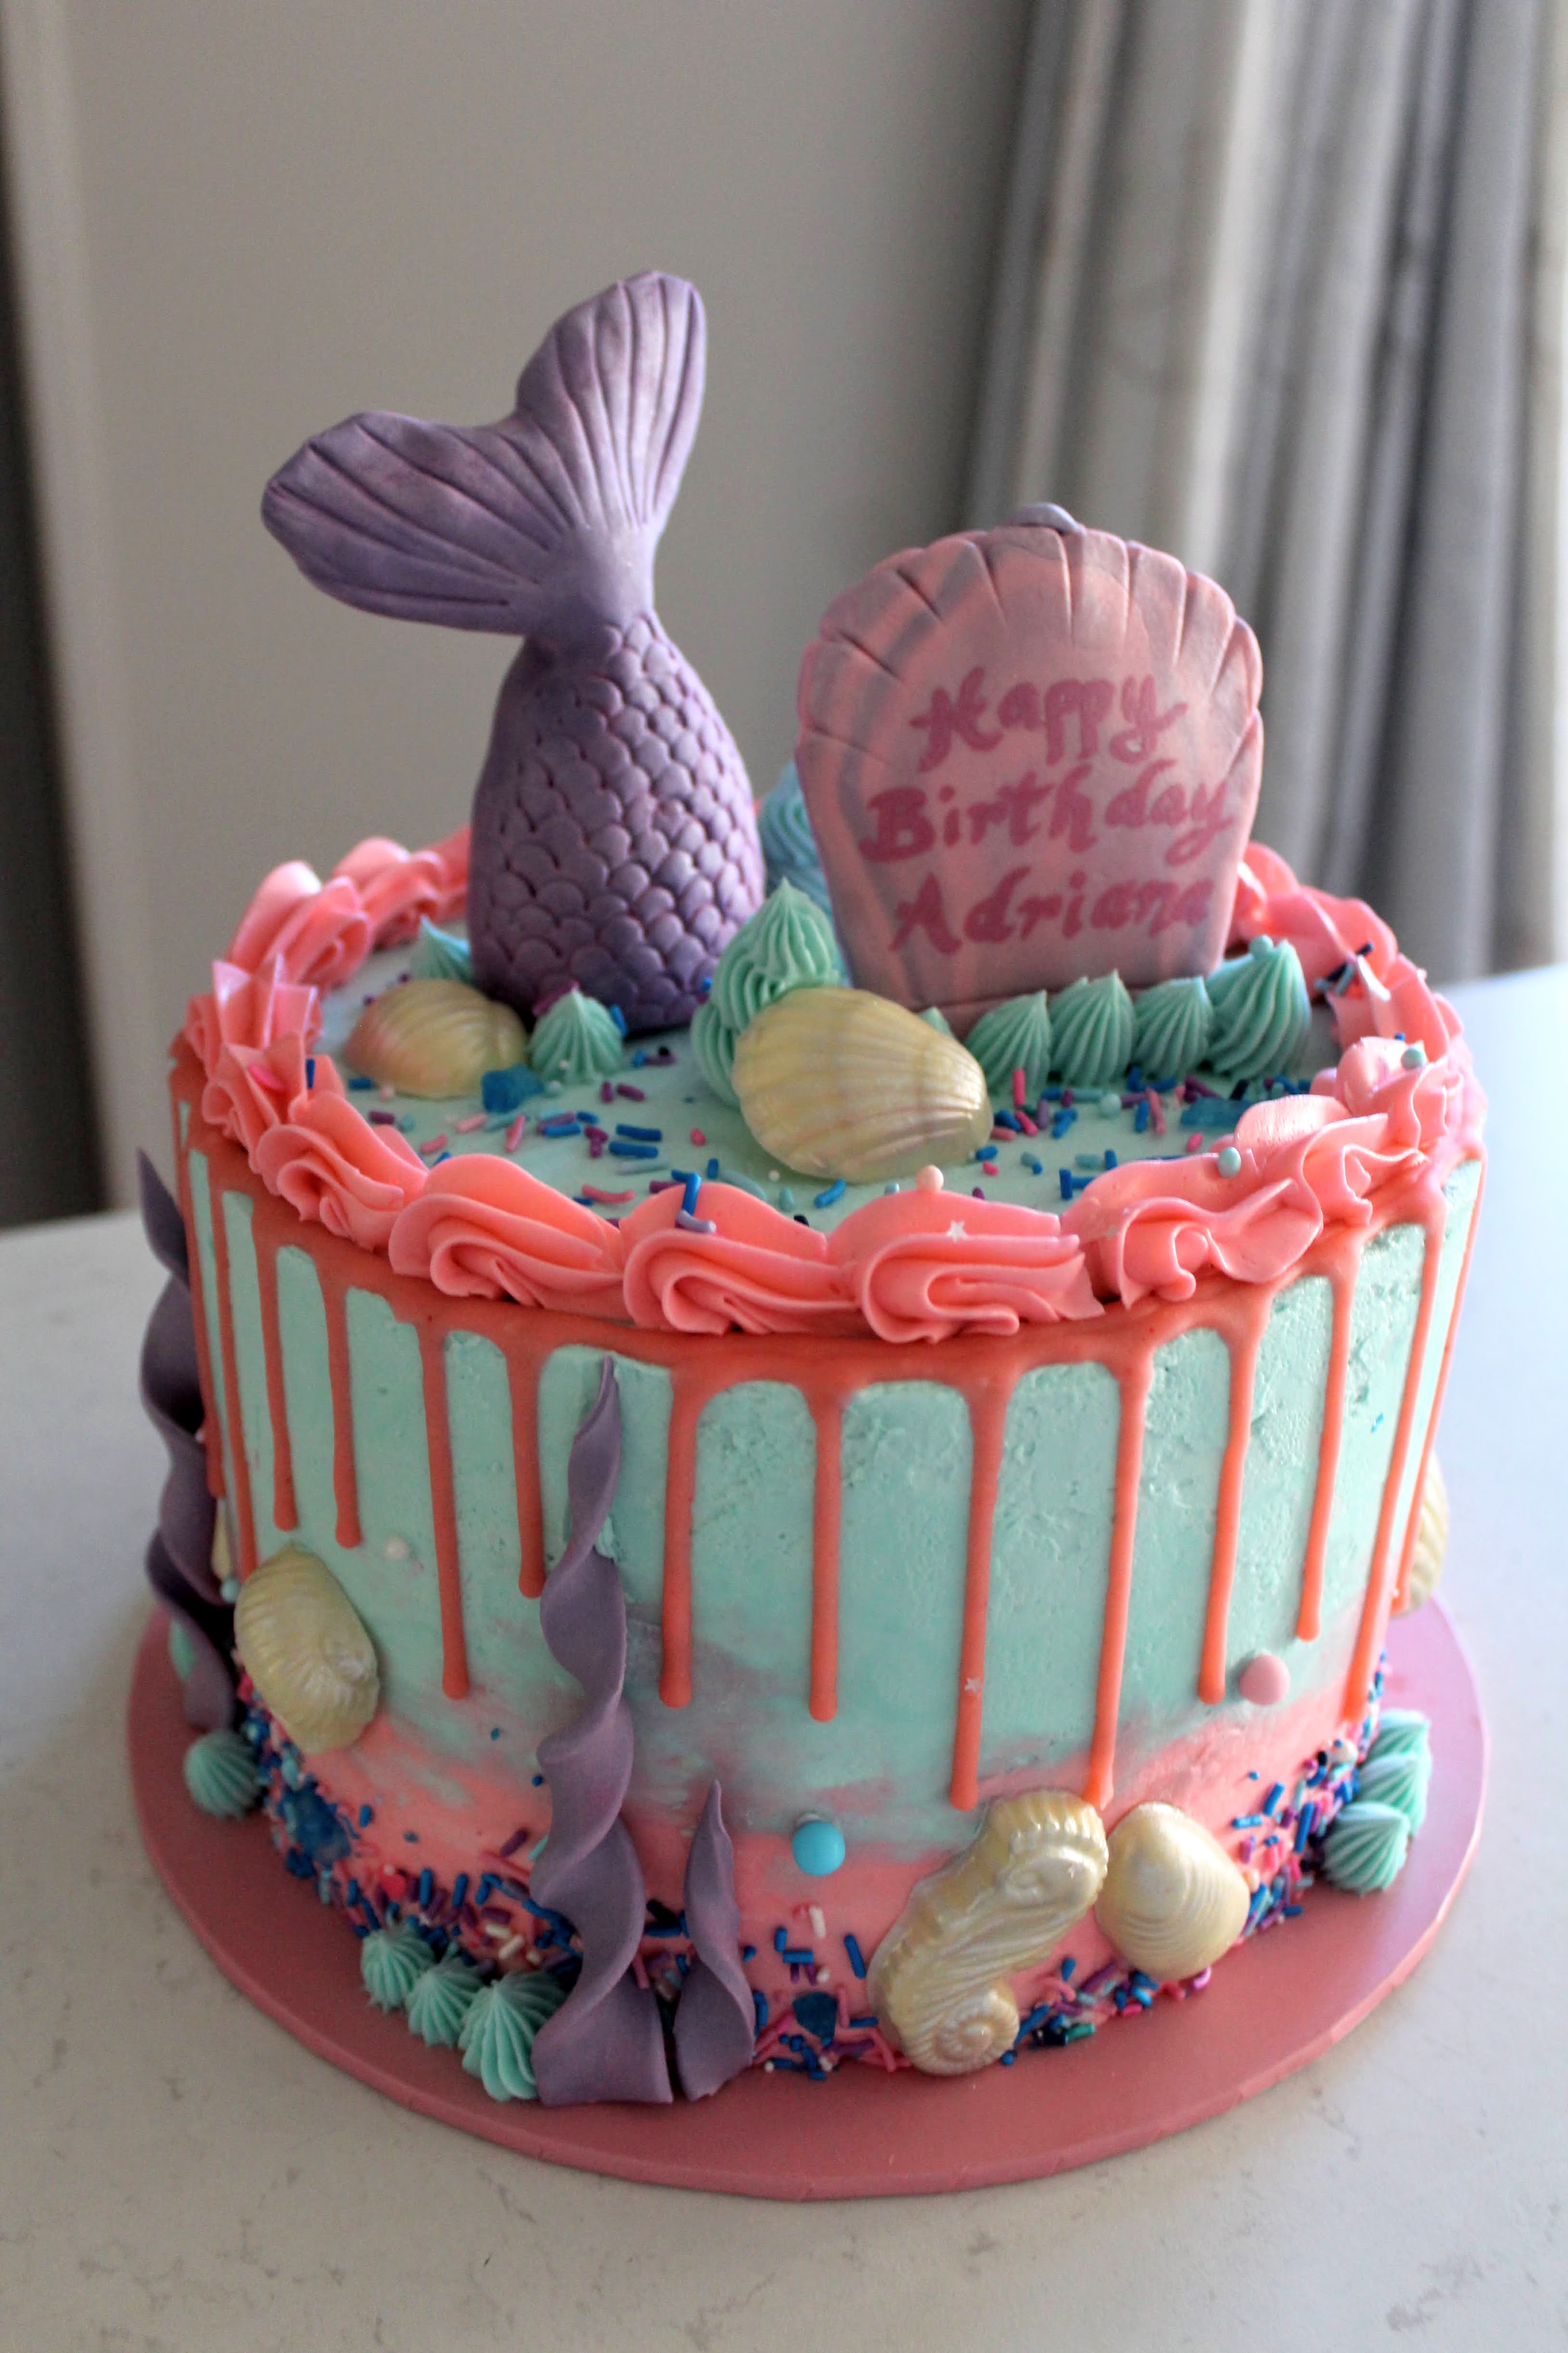
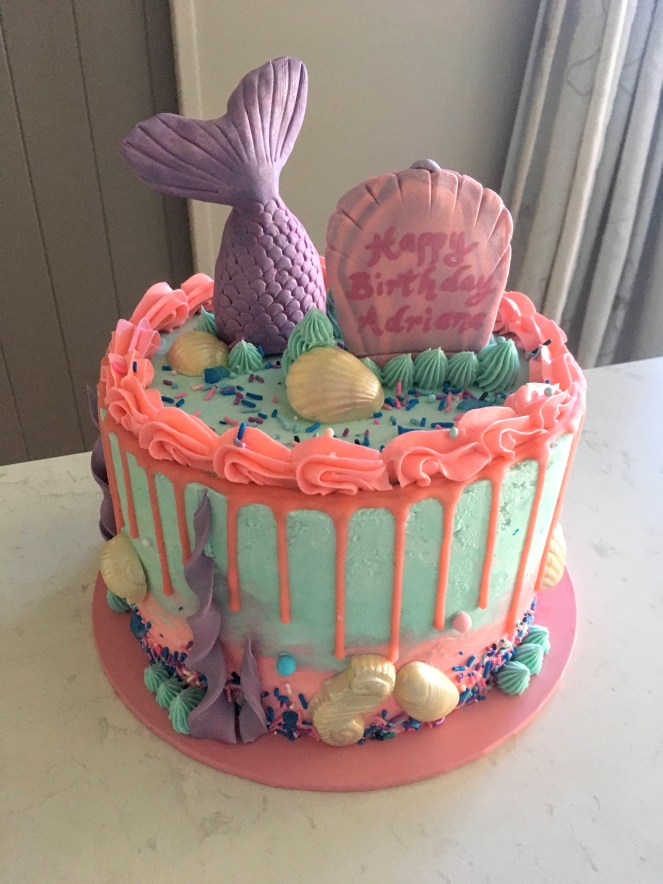
The brief was nice and flexible, with the special birthday girl wanting her mermaid dreams to come true with lots of pink! As well as some example photos sent by her mum, I found heaps of useful inspiration pics just by searching for images on Google. I tried to keep things simple with just a few fondant decorations (clam shell, mermaid tail and coral) and sea shells made in a mould with white chocolate. A little glitz goes a long way, and once these items were painted with shiny edible lustre dusts I felt like the cake was ready for ‘party mode’!
I’ve put some process notes and photos showing how the cake came together, including that ombré/blended buttercream effect. This is slightly different to the watercolour effect I’ve shown before, where you still want the different colours to be distinguished where they meet. Making it ombré involved just a little more blending at the boundary, kind of making a purple tone (pink + blue = ?!)
If I’ve left out any details or you have any questions please ask in the comments below!
Ombré Two-Tone Buttercream Effect
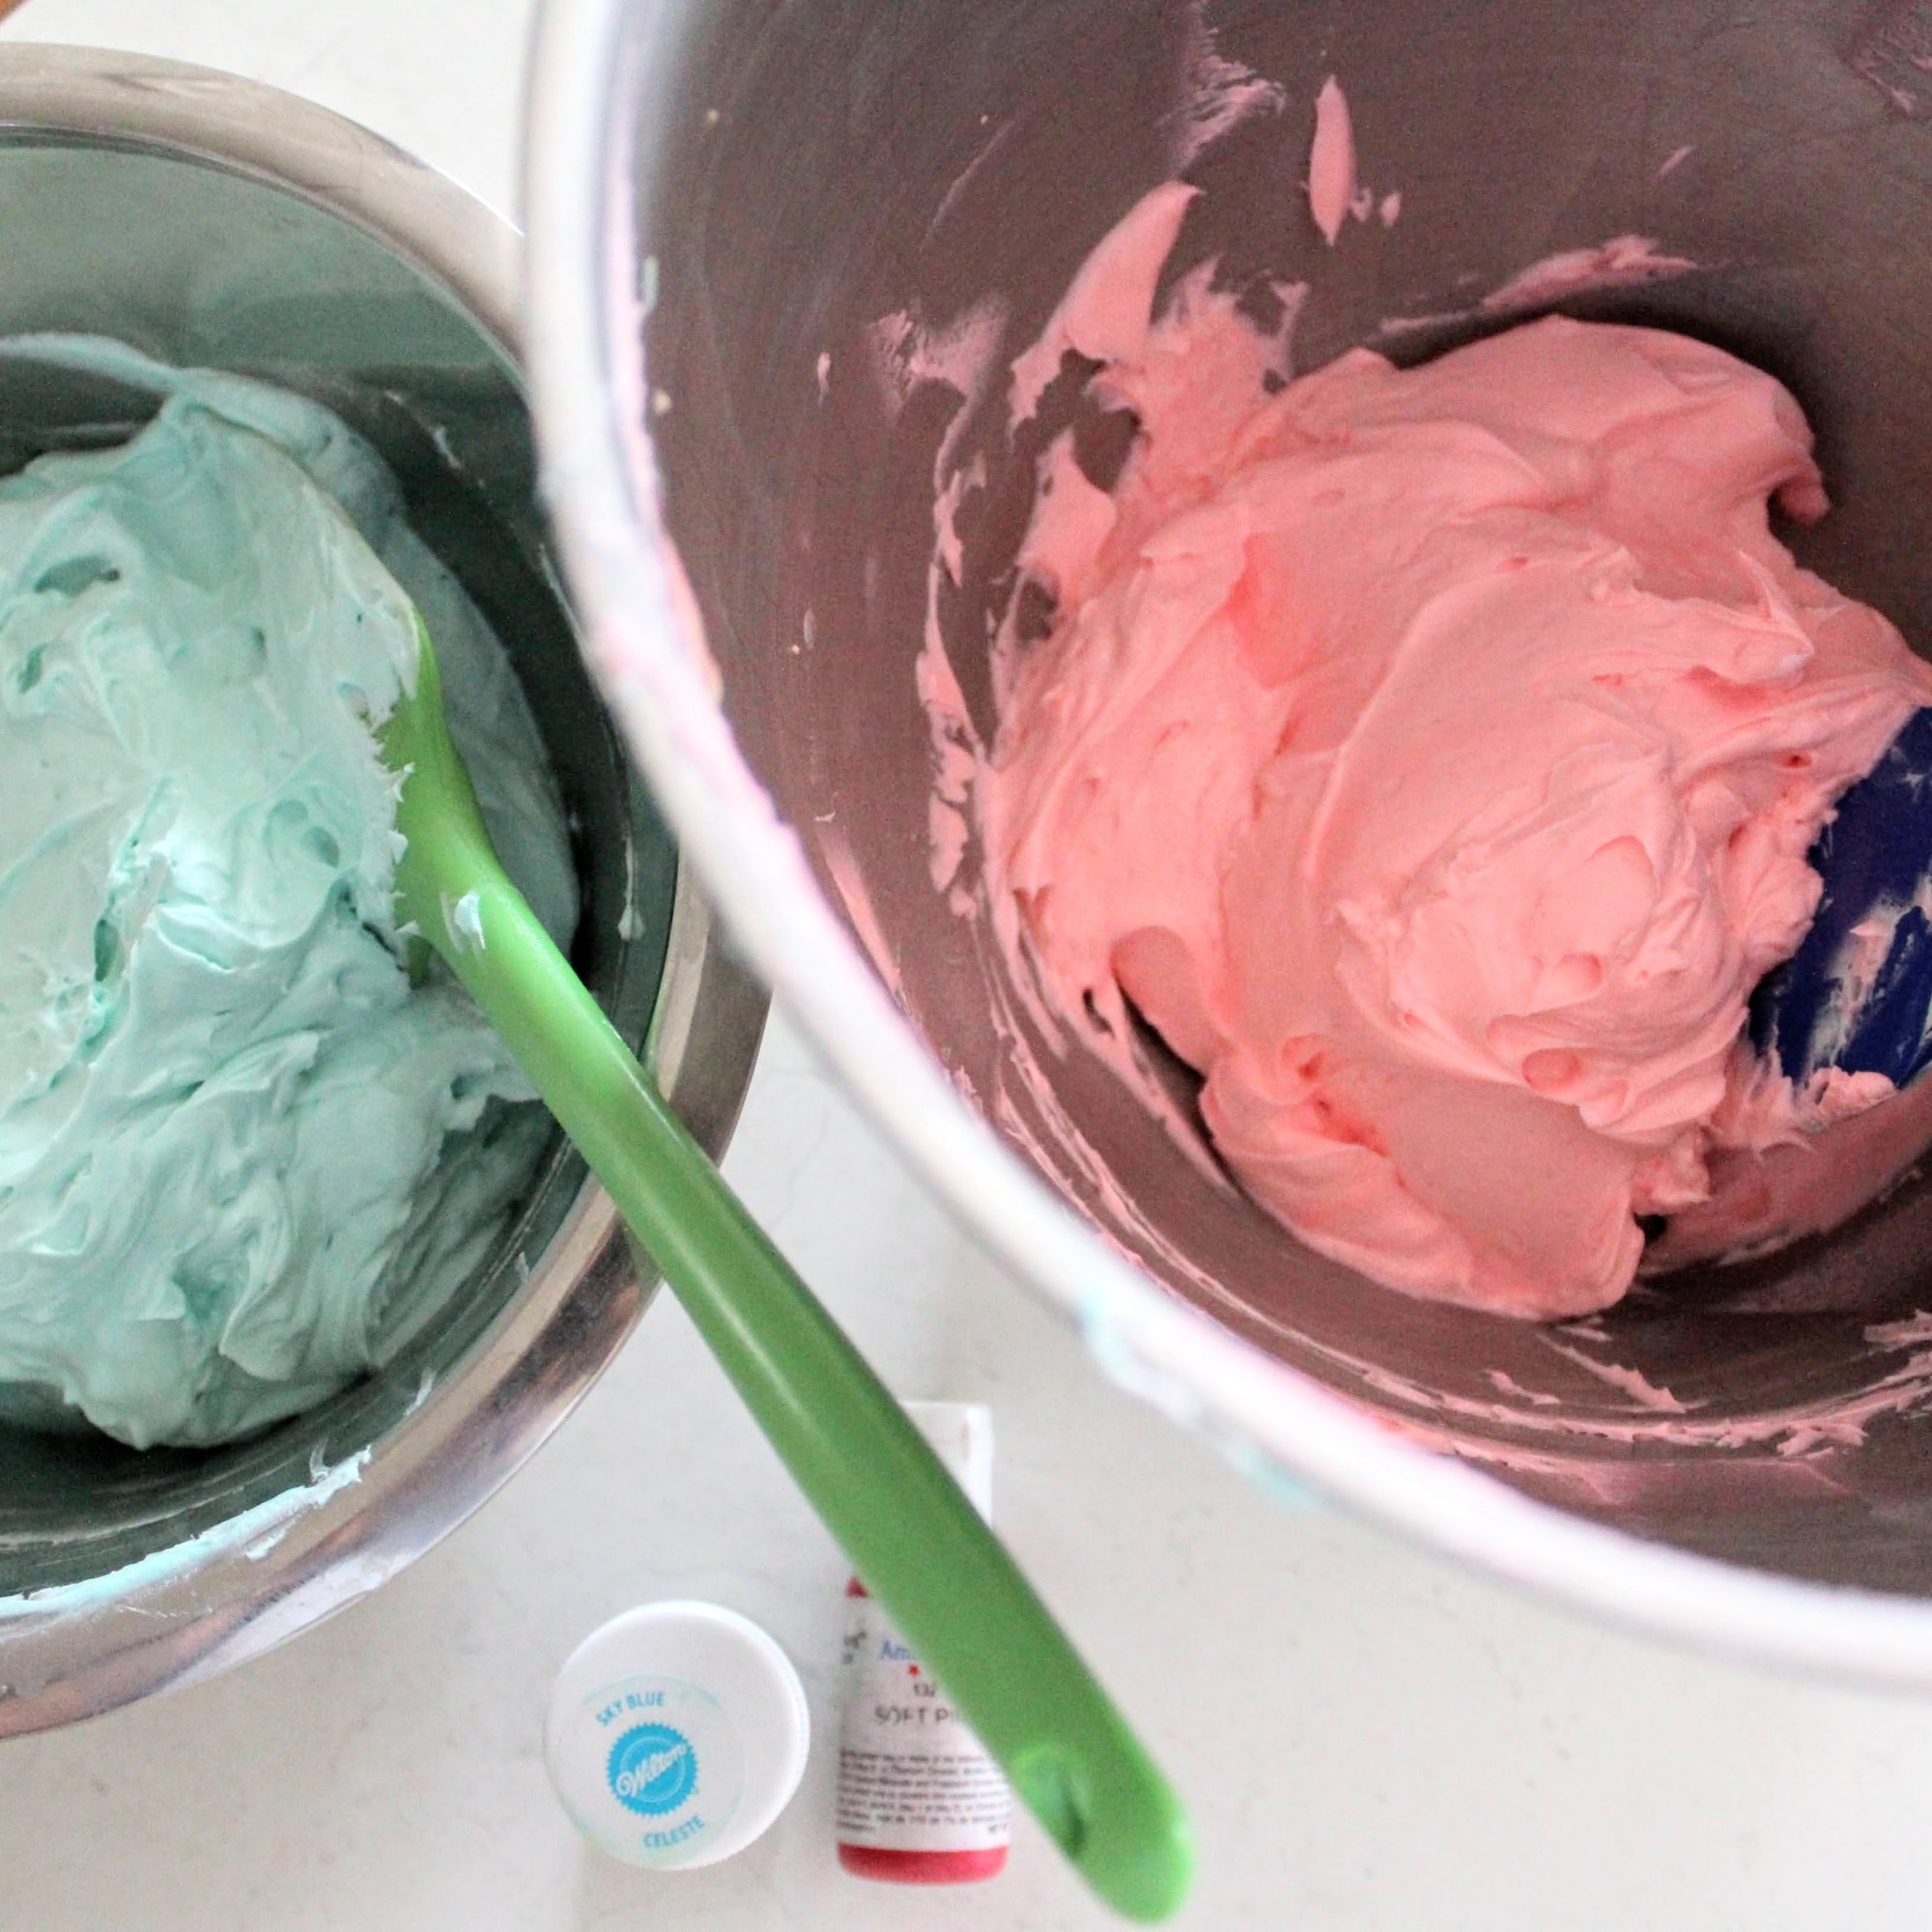
- For an 8″ round cake approx. 4 1/2″ tall, I prepared a double batch of Swiss meringue buttercream) and coloured around half of it sky (ocean) blue and the other half pastel pink for my ombré shades.
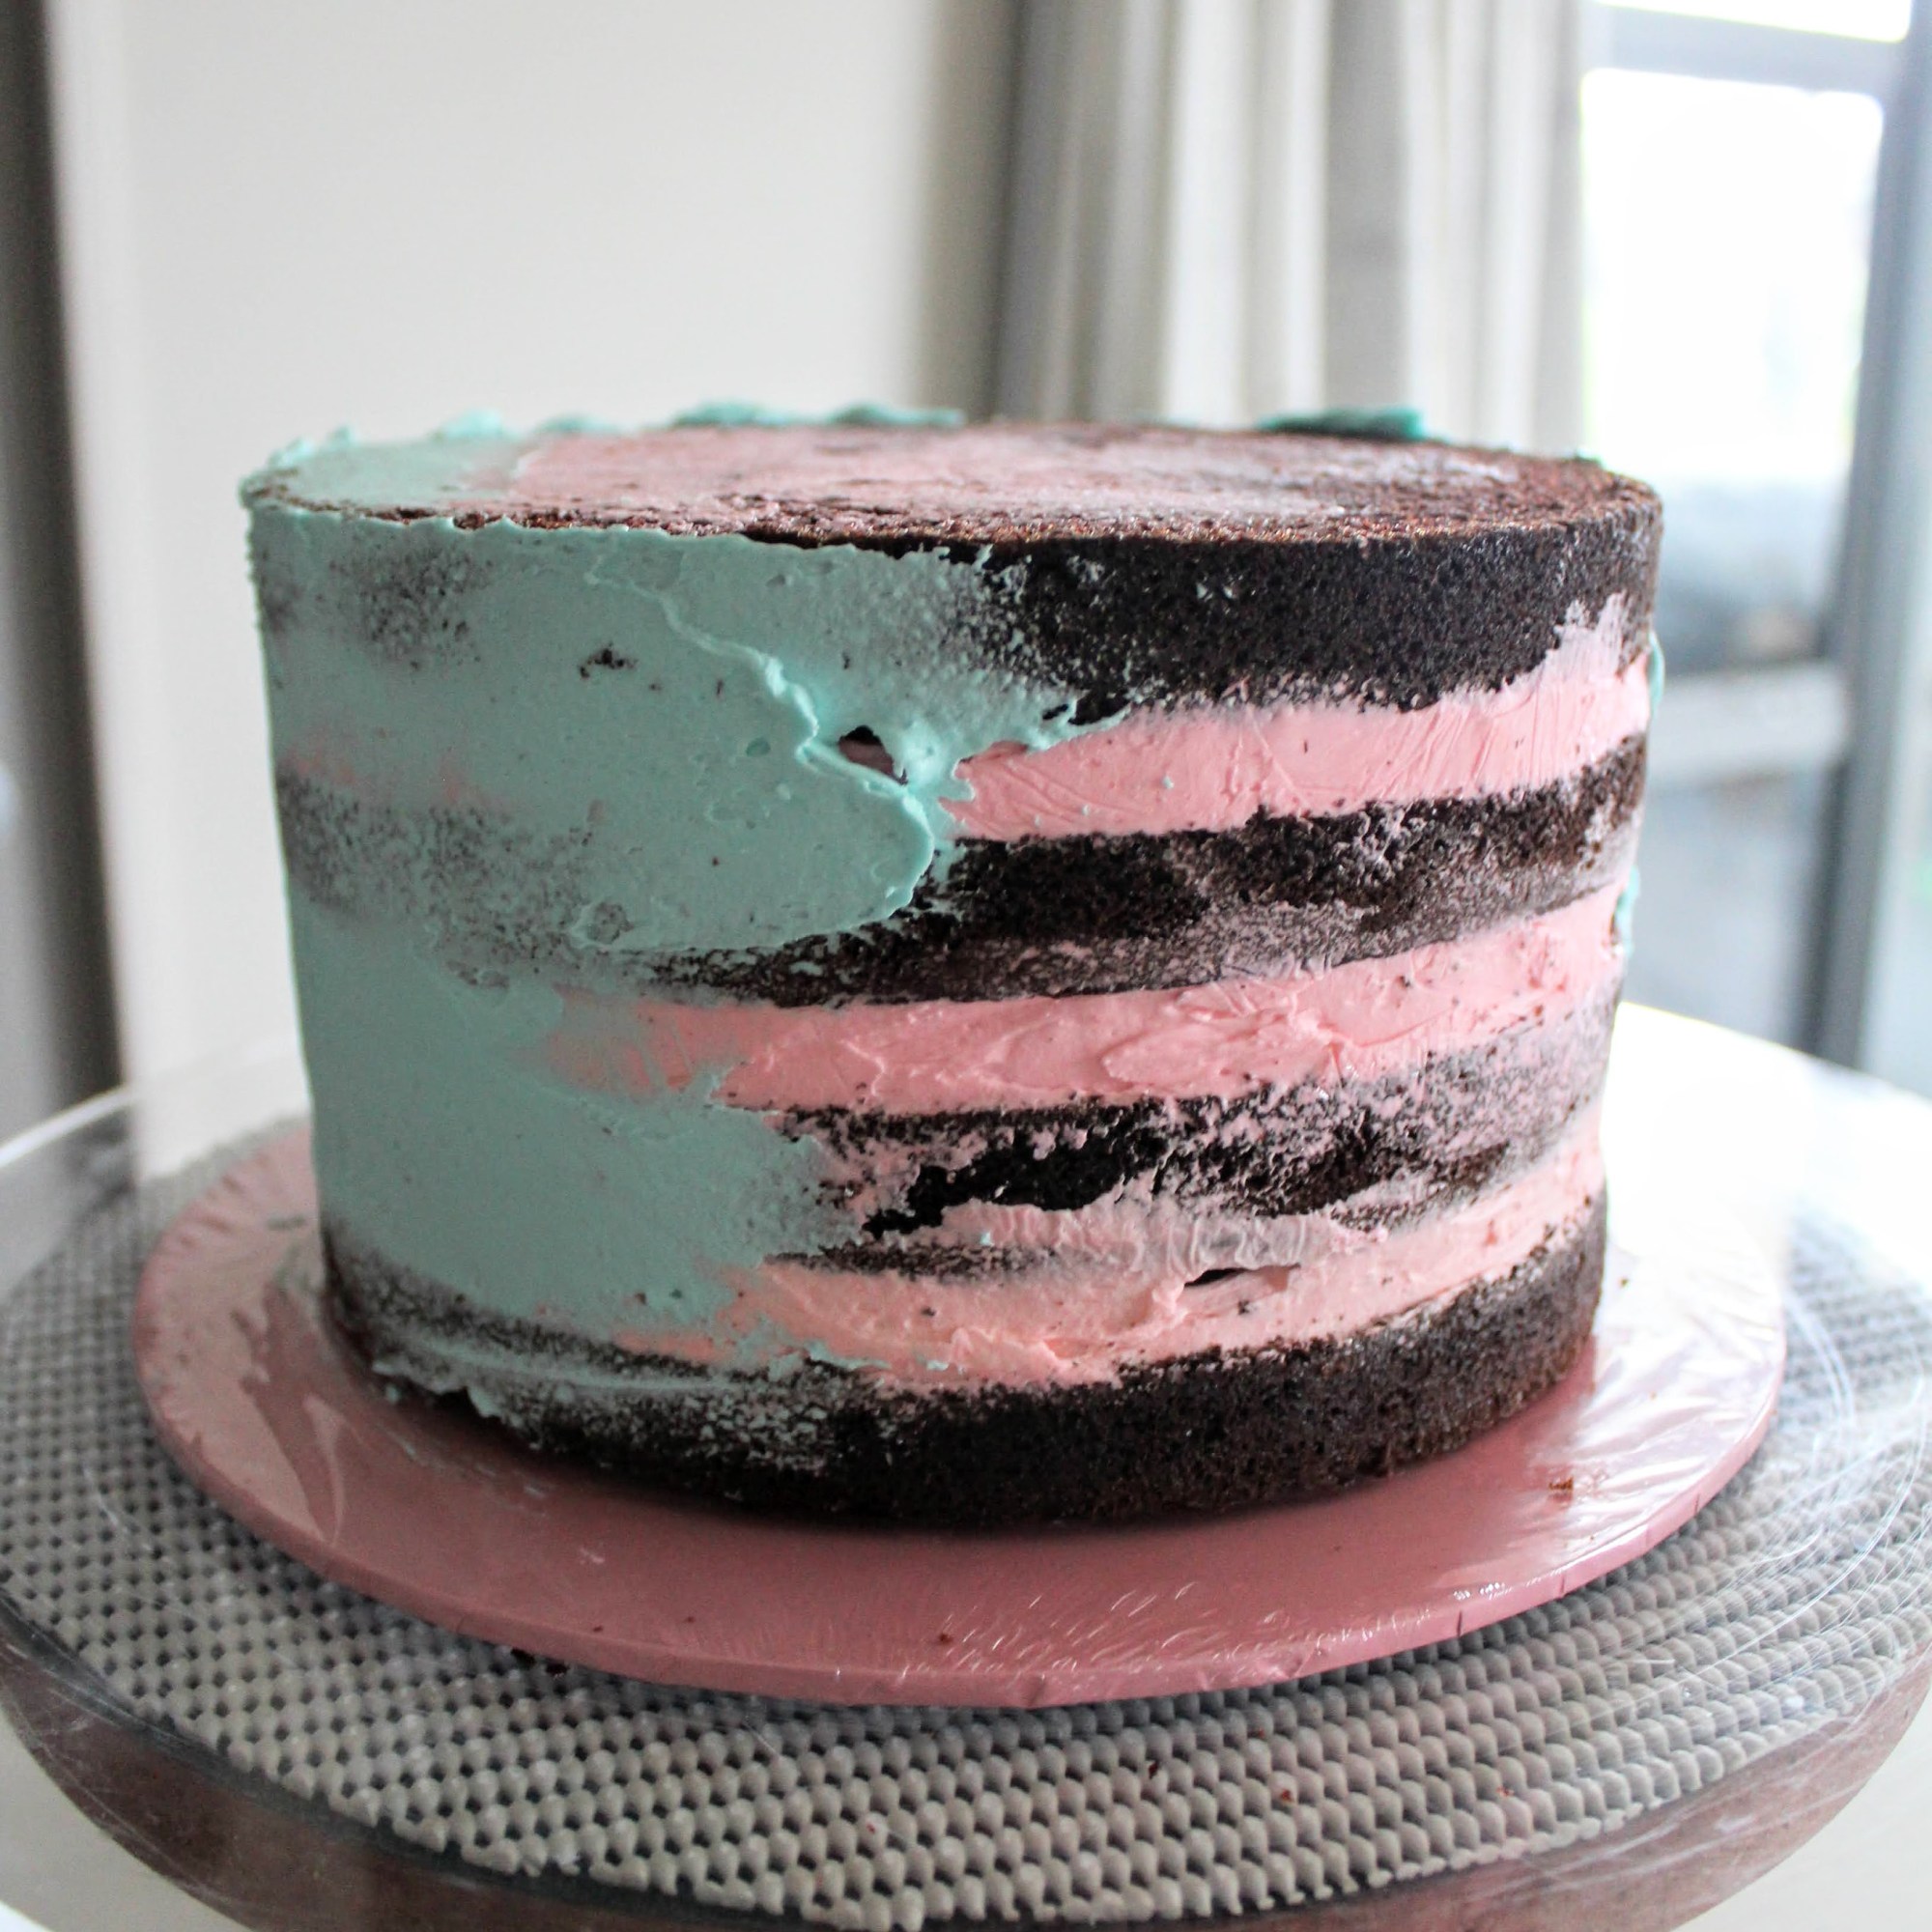
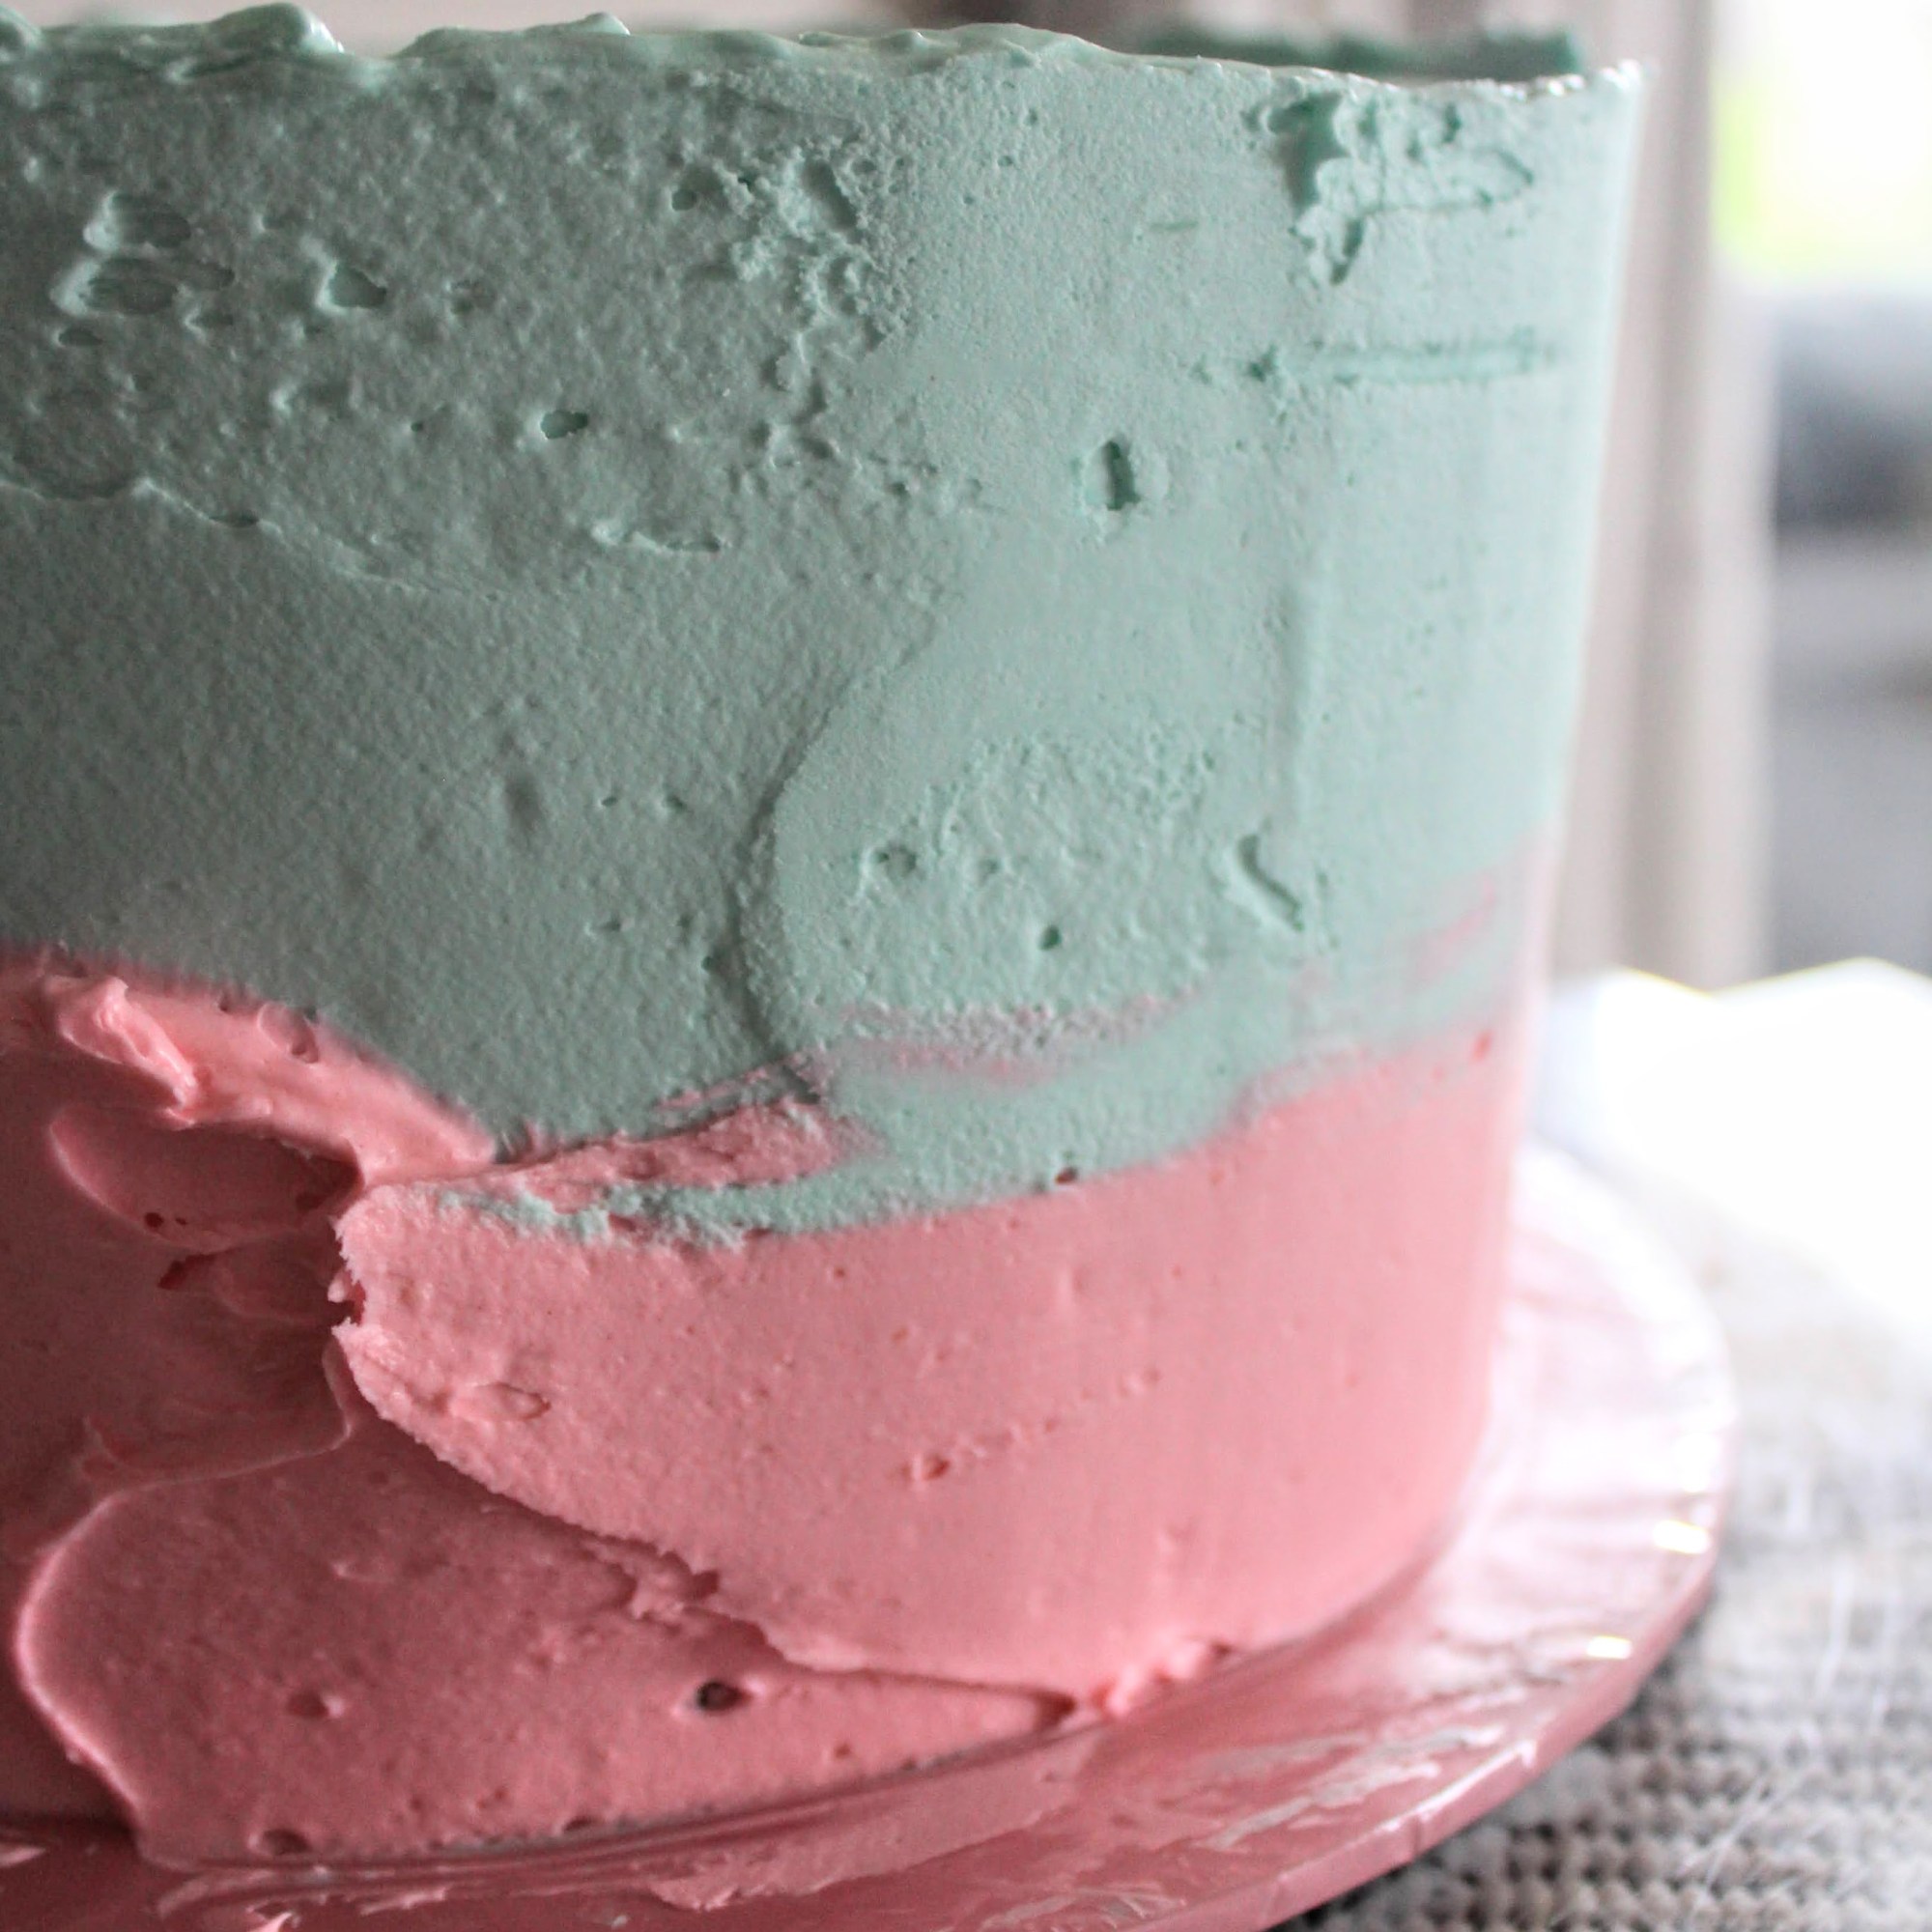
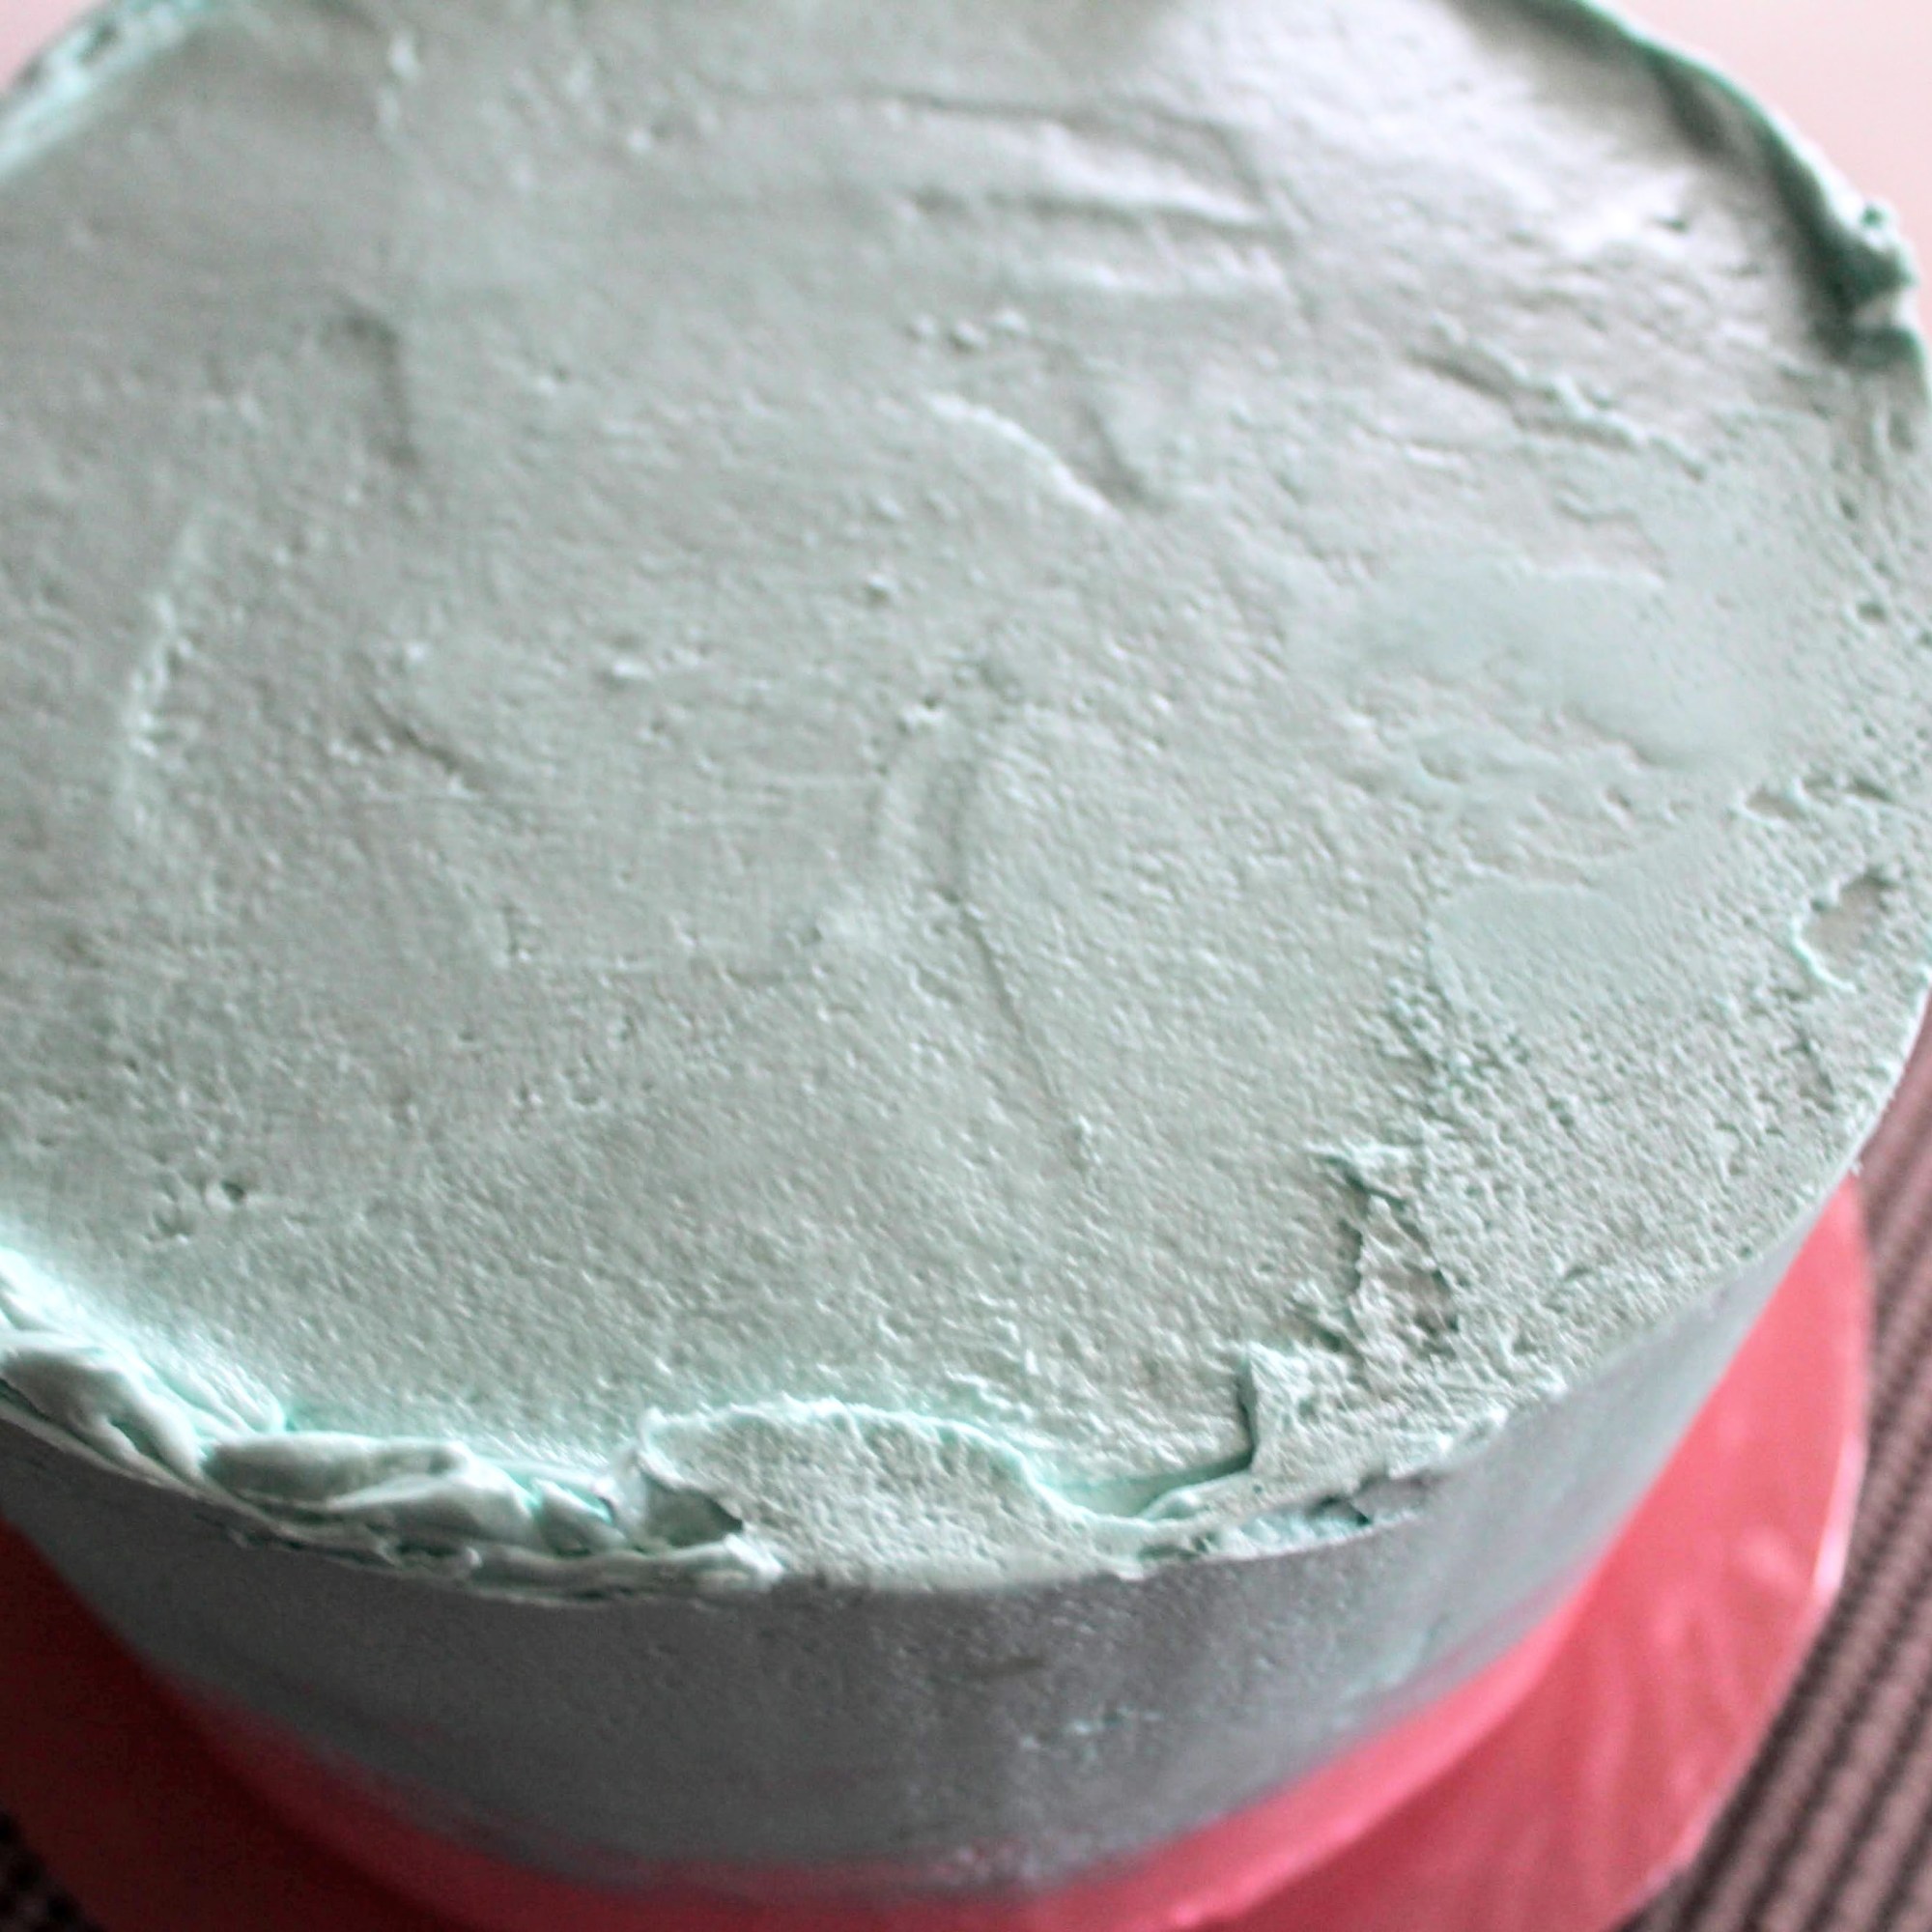
- After stacking and filling the cake layers, I crumb-coated the cake all over in a thin layer of the blue buttercream {photos 2-4}, refrigerating until firm.
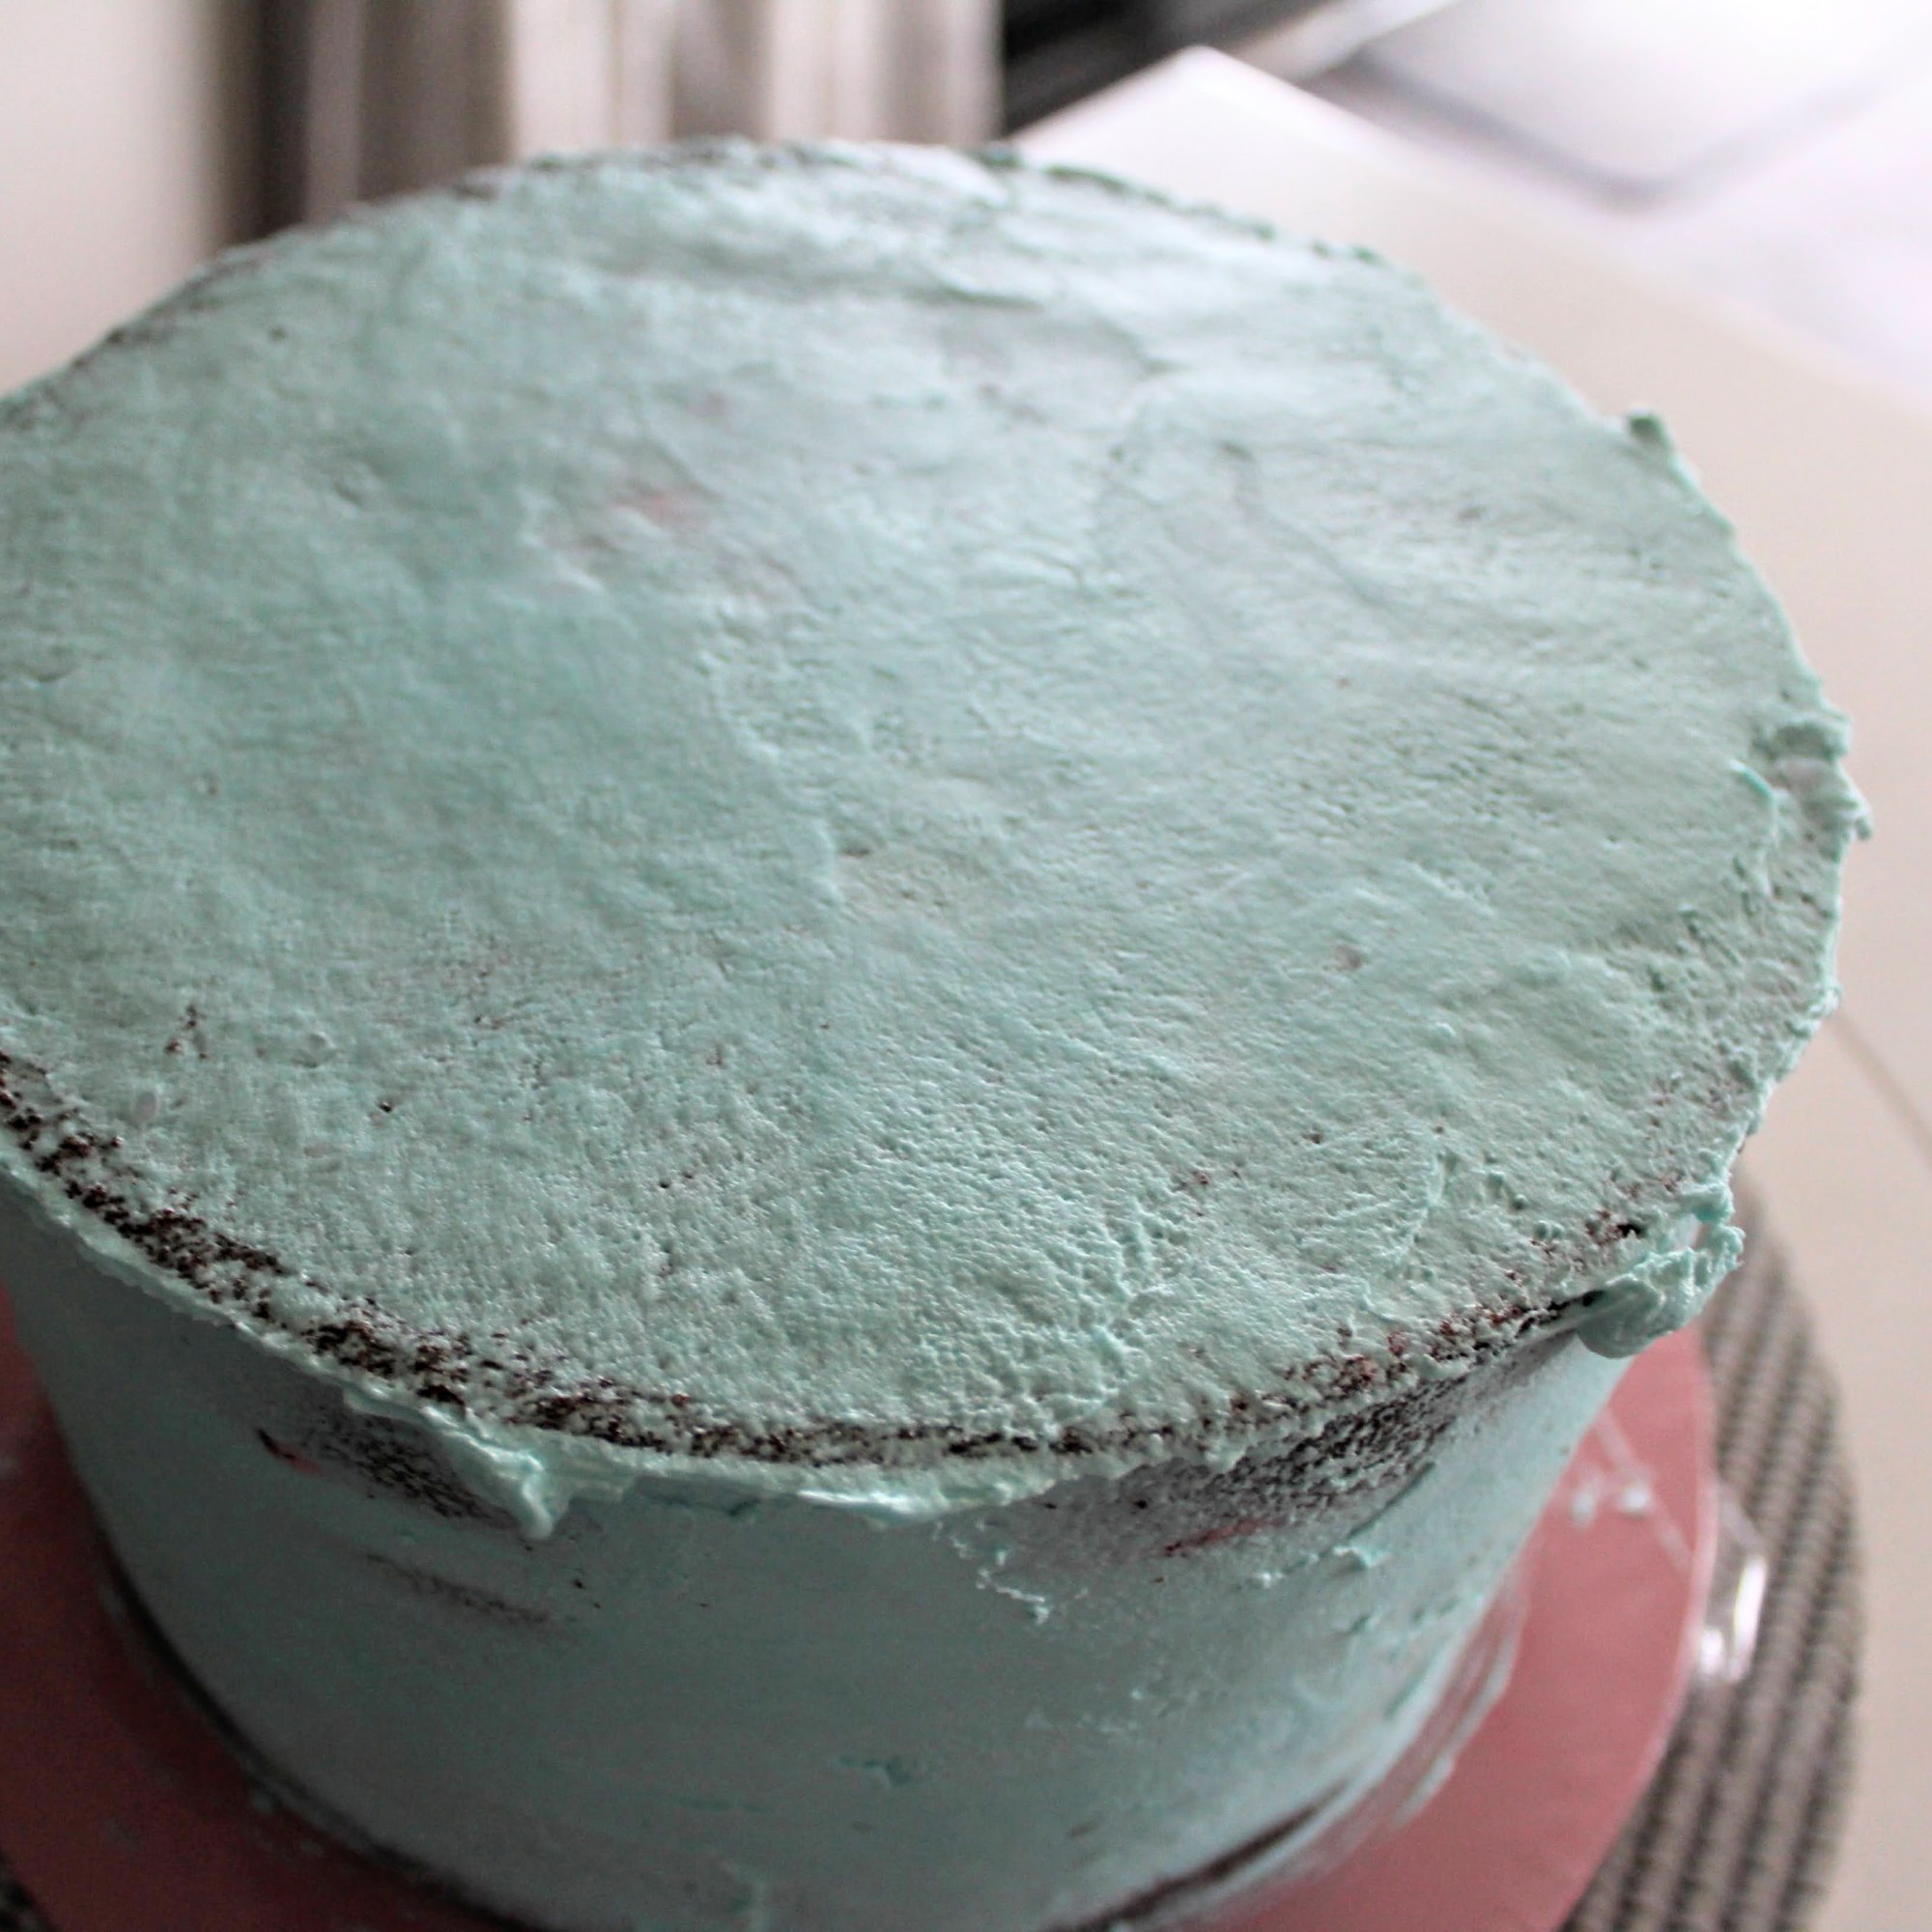
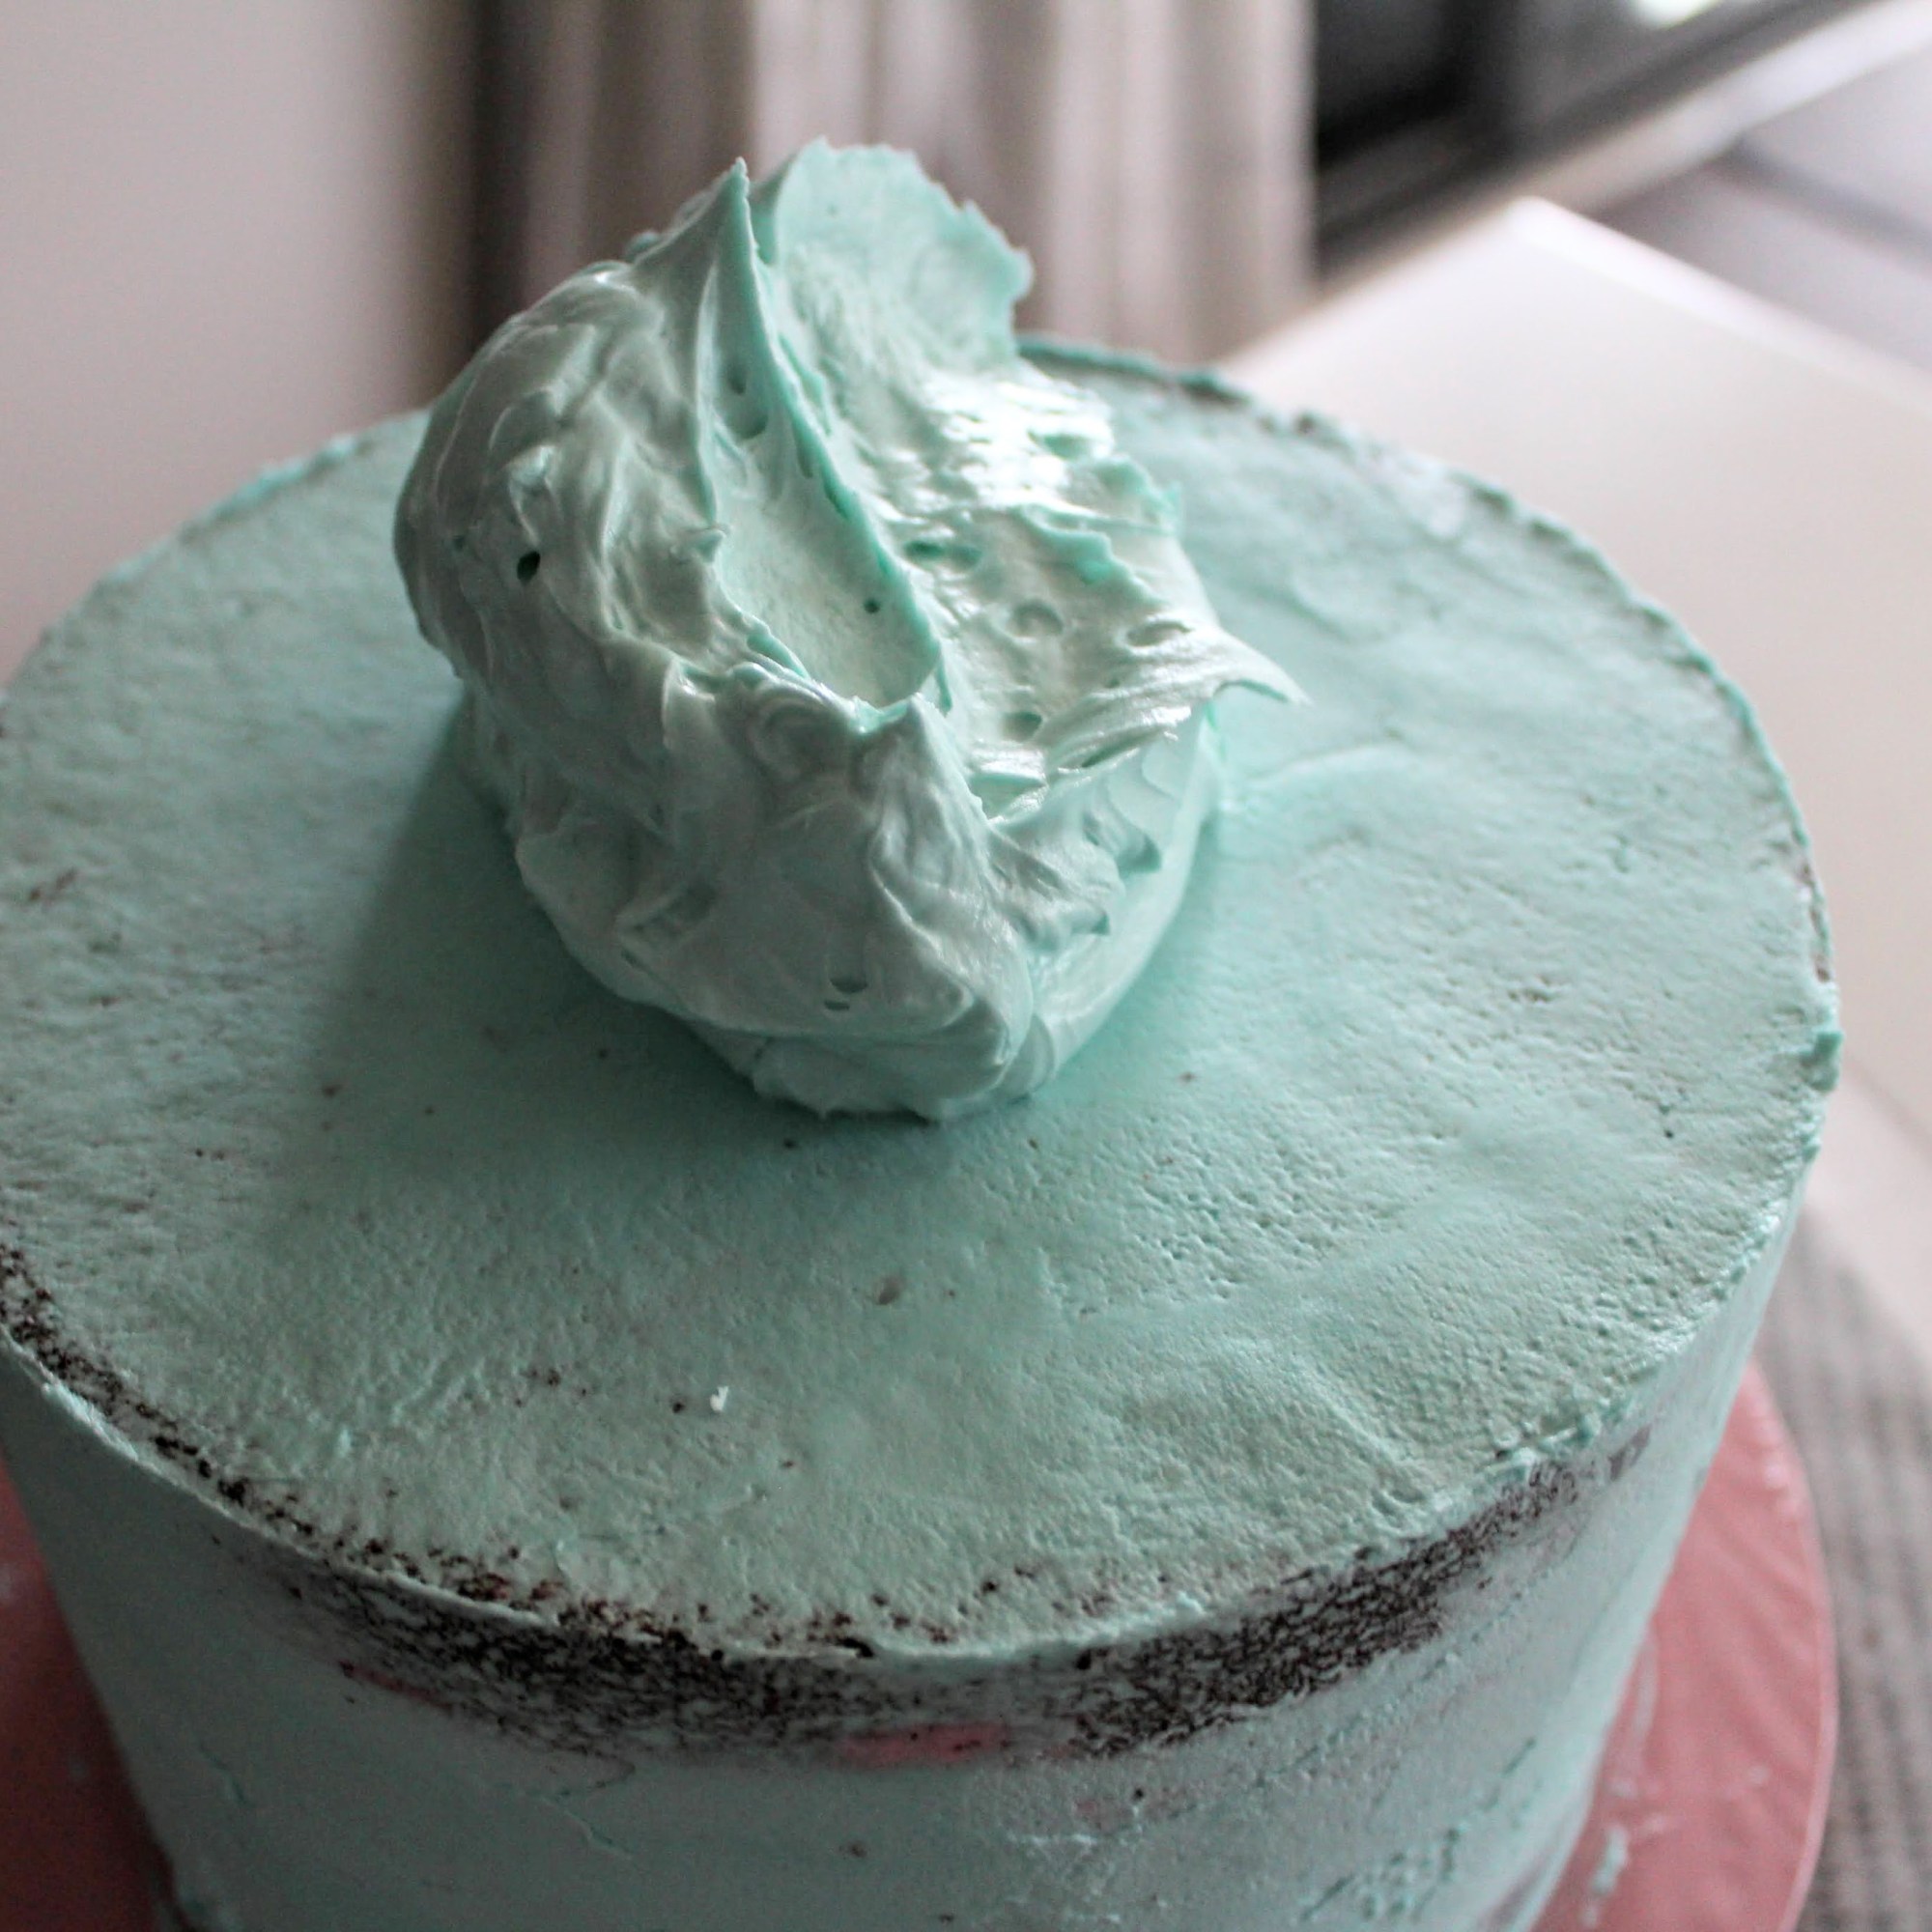
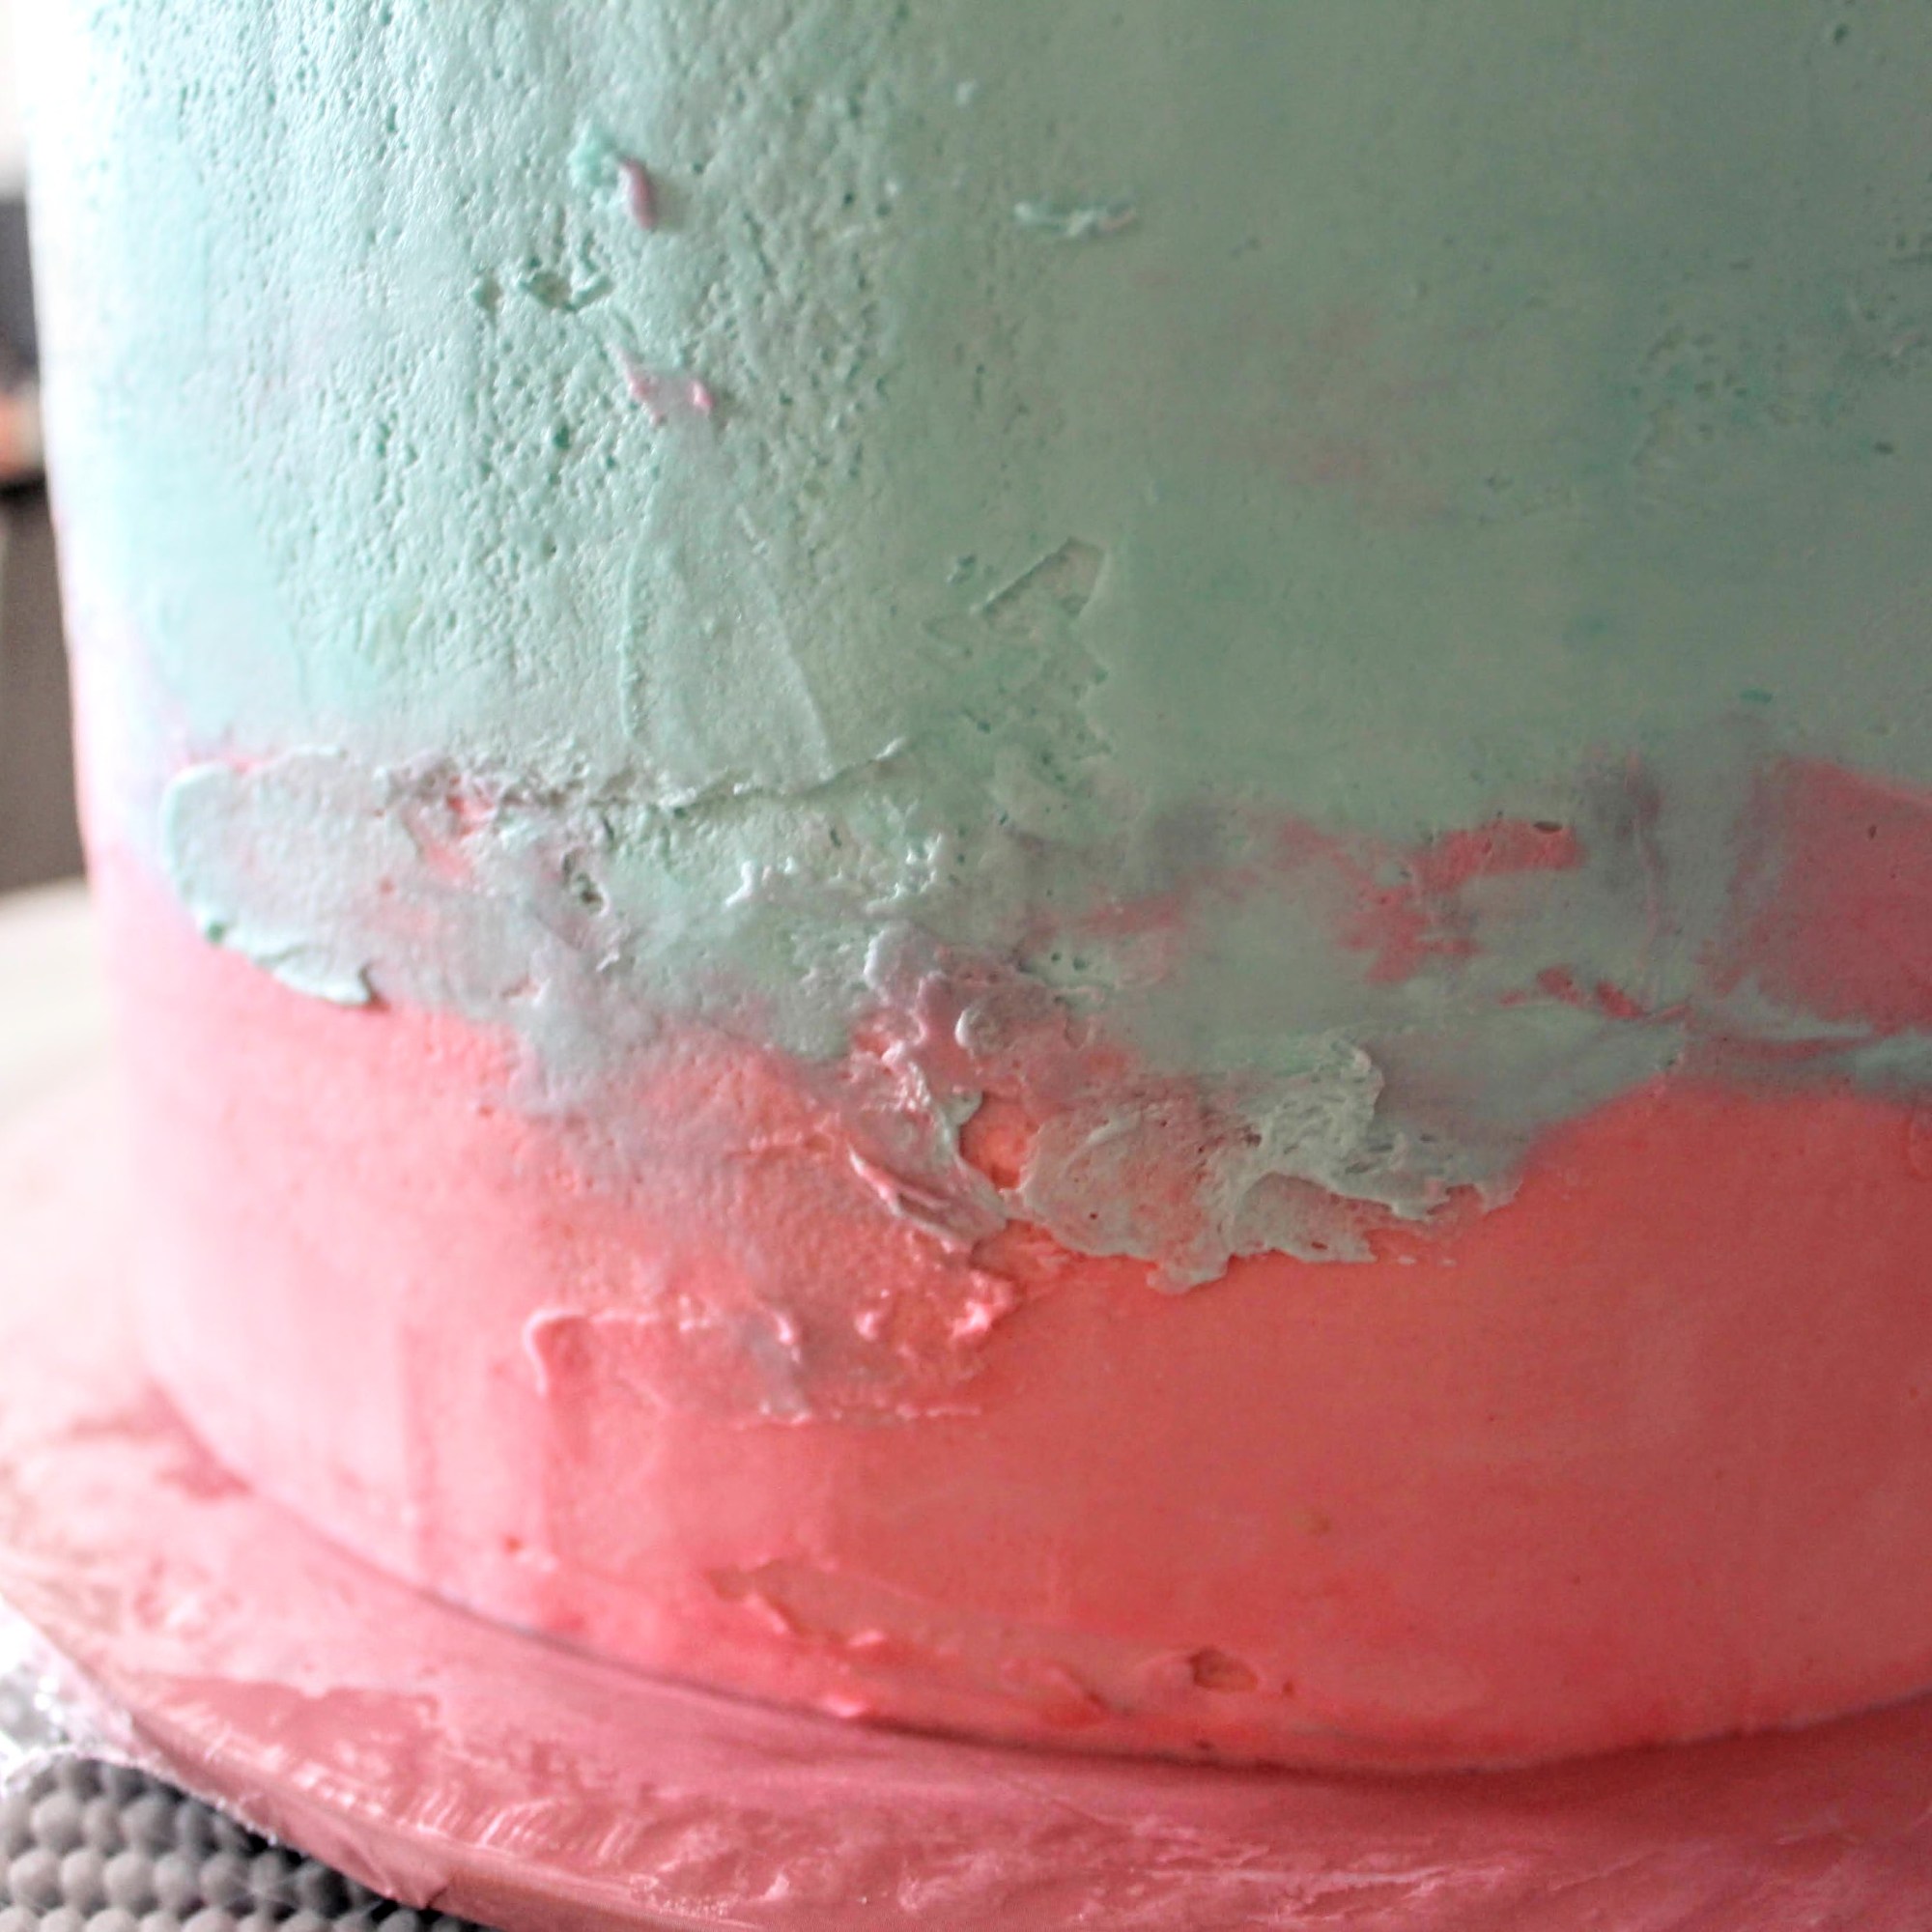
- For the first ombré colour, I began with my top-half-of-cake colour {photos 5-8} slapping a generous dollop of the blue on top of the cake, smoothing it gently over the edge and down the side of the cake approx. the top two thirds of the cake height – keeping it thick (half an inch?) so that there was lots of buffer for scraping some off later.
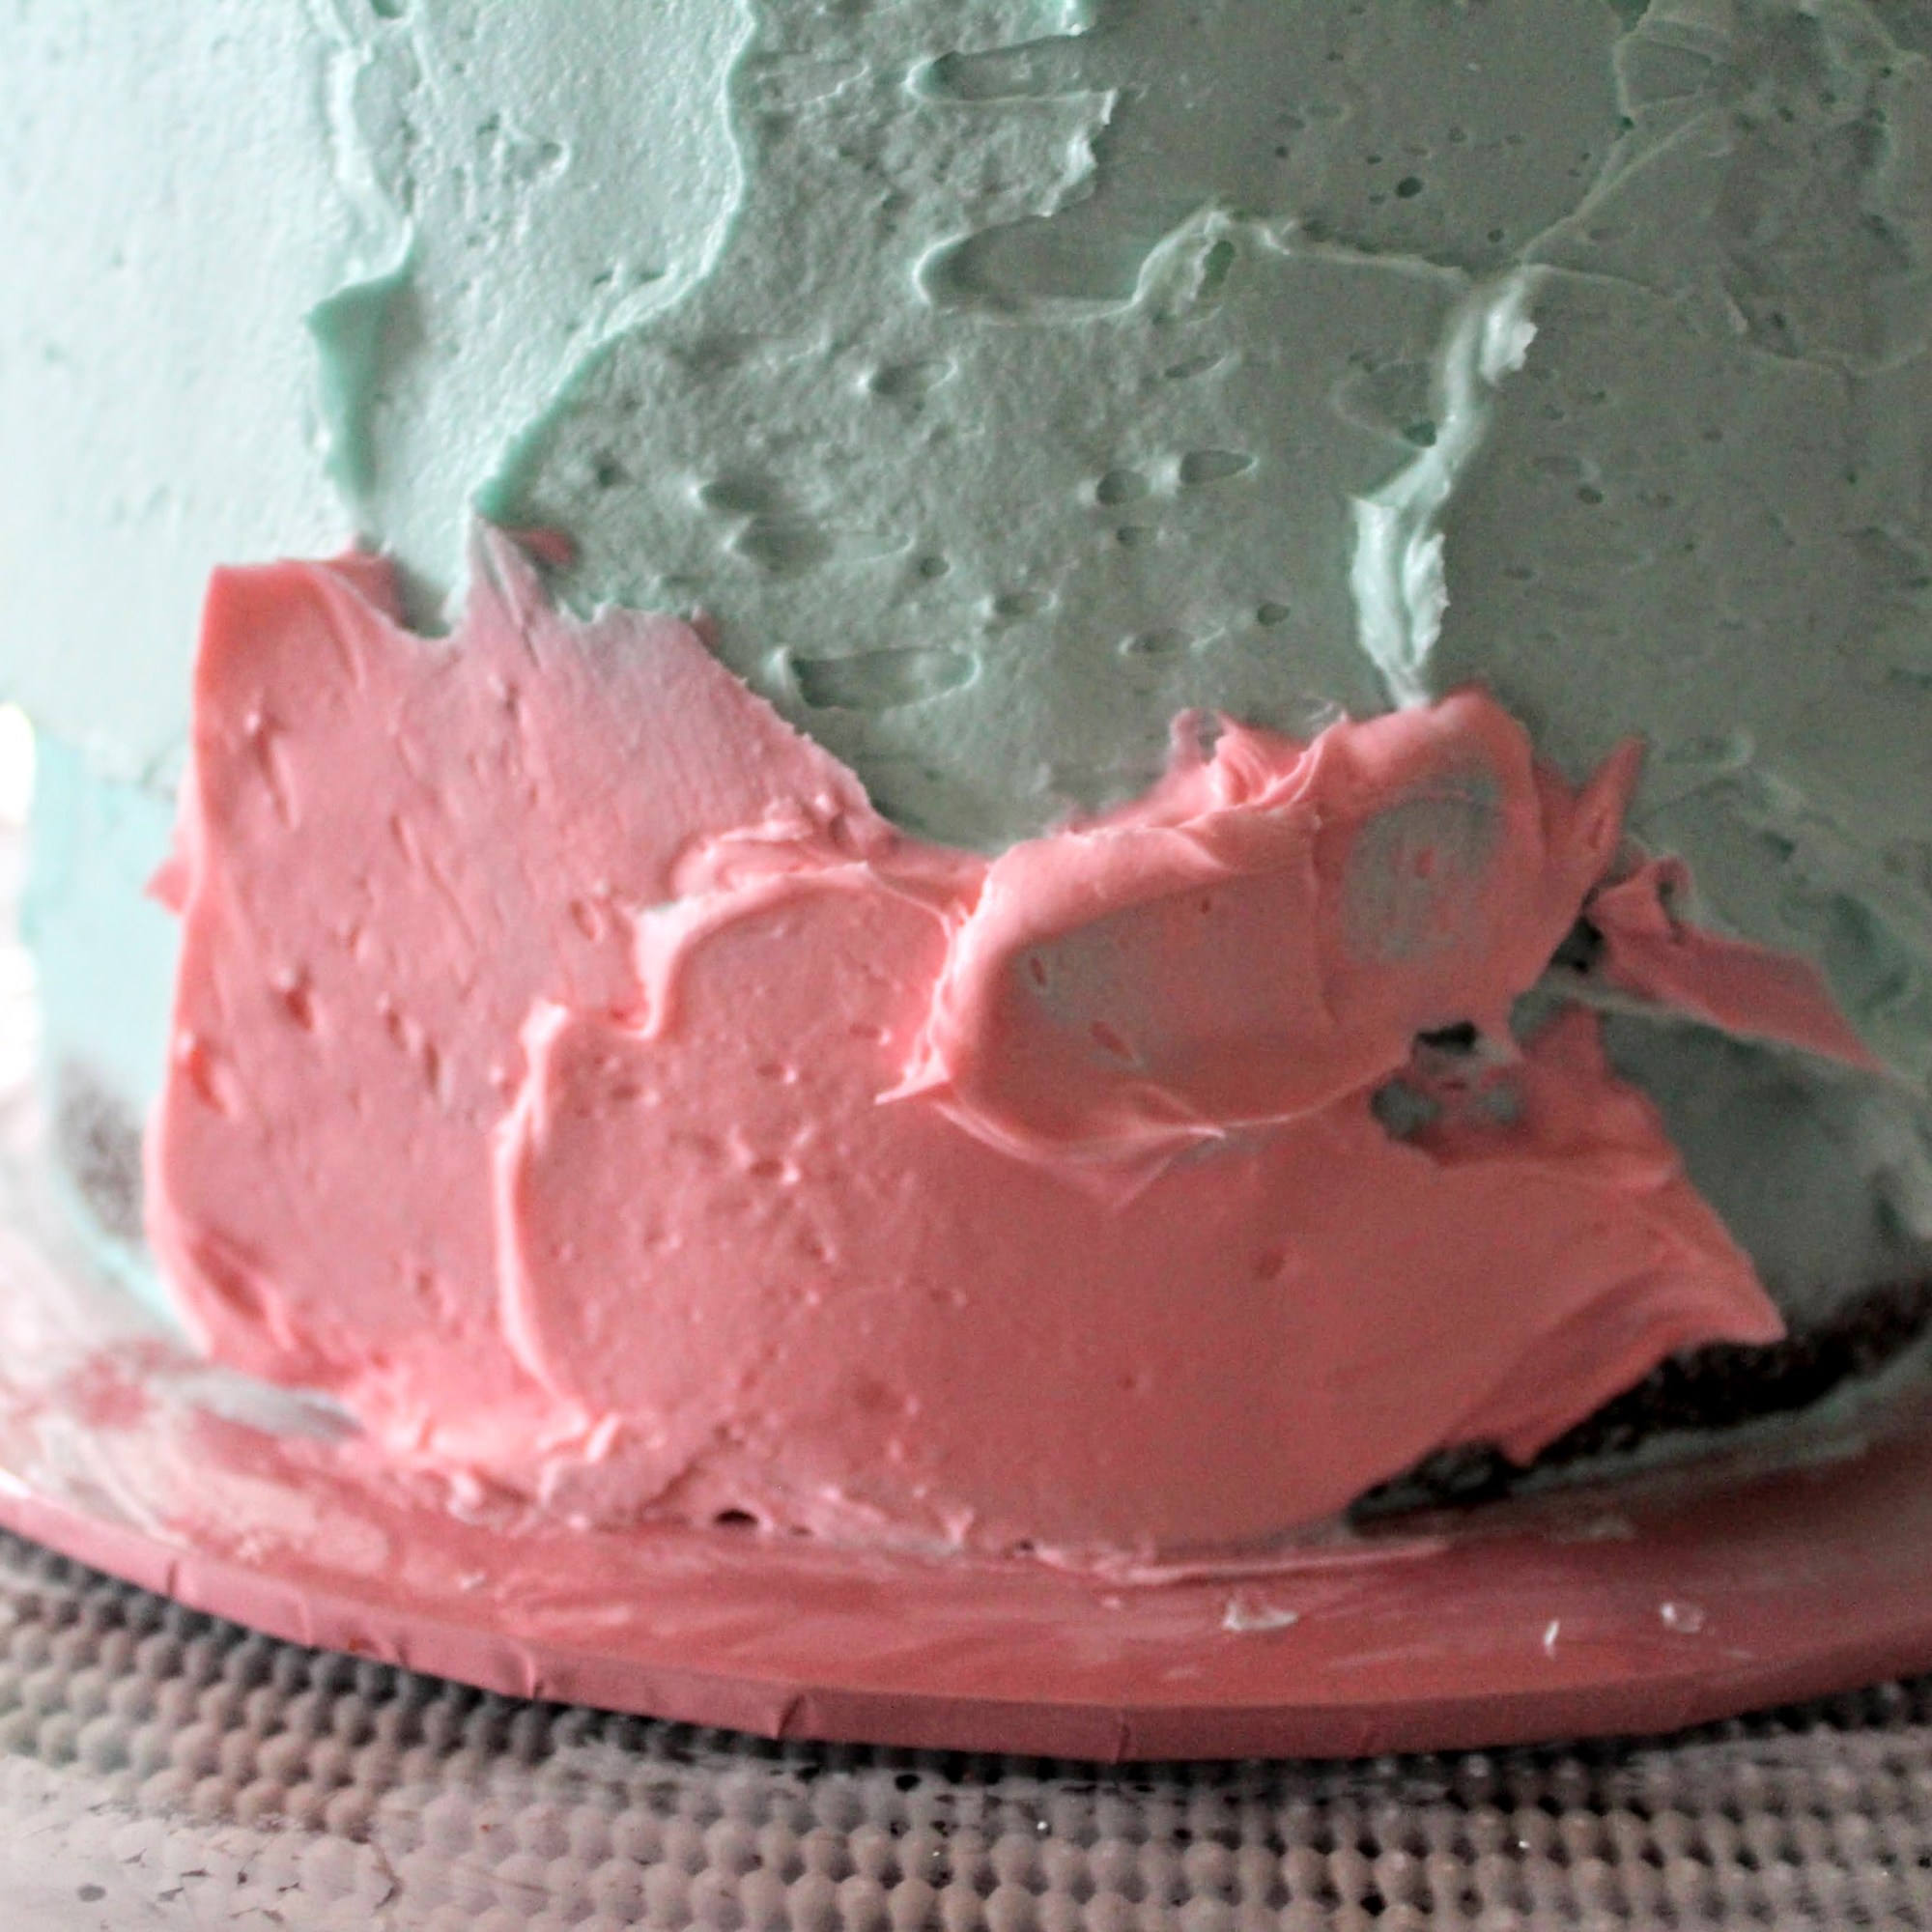
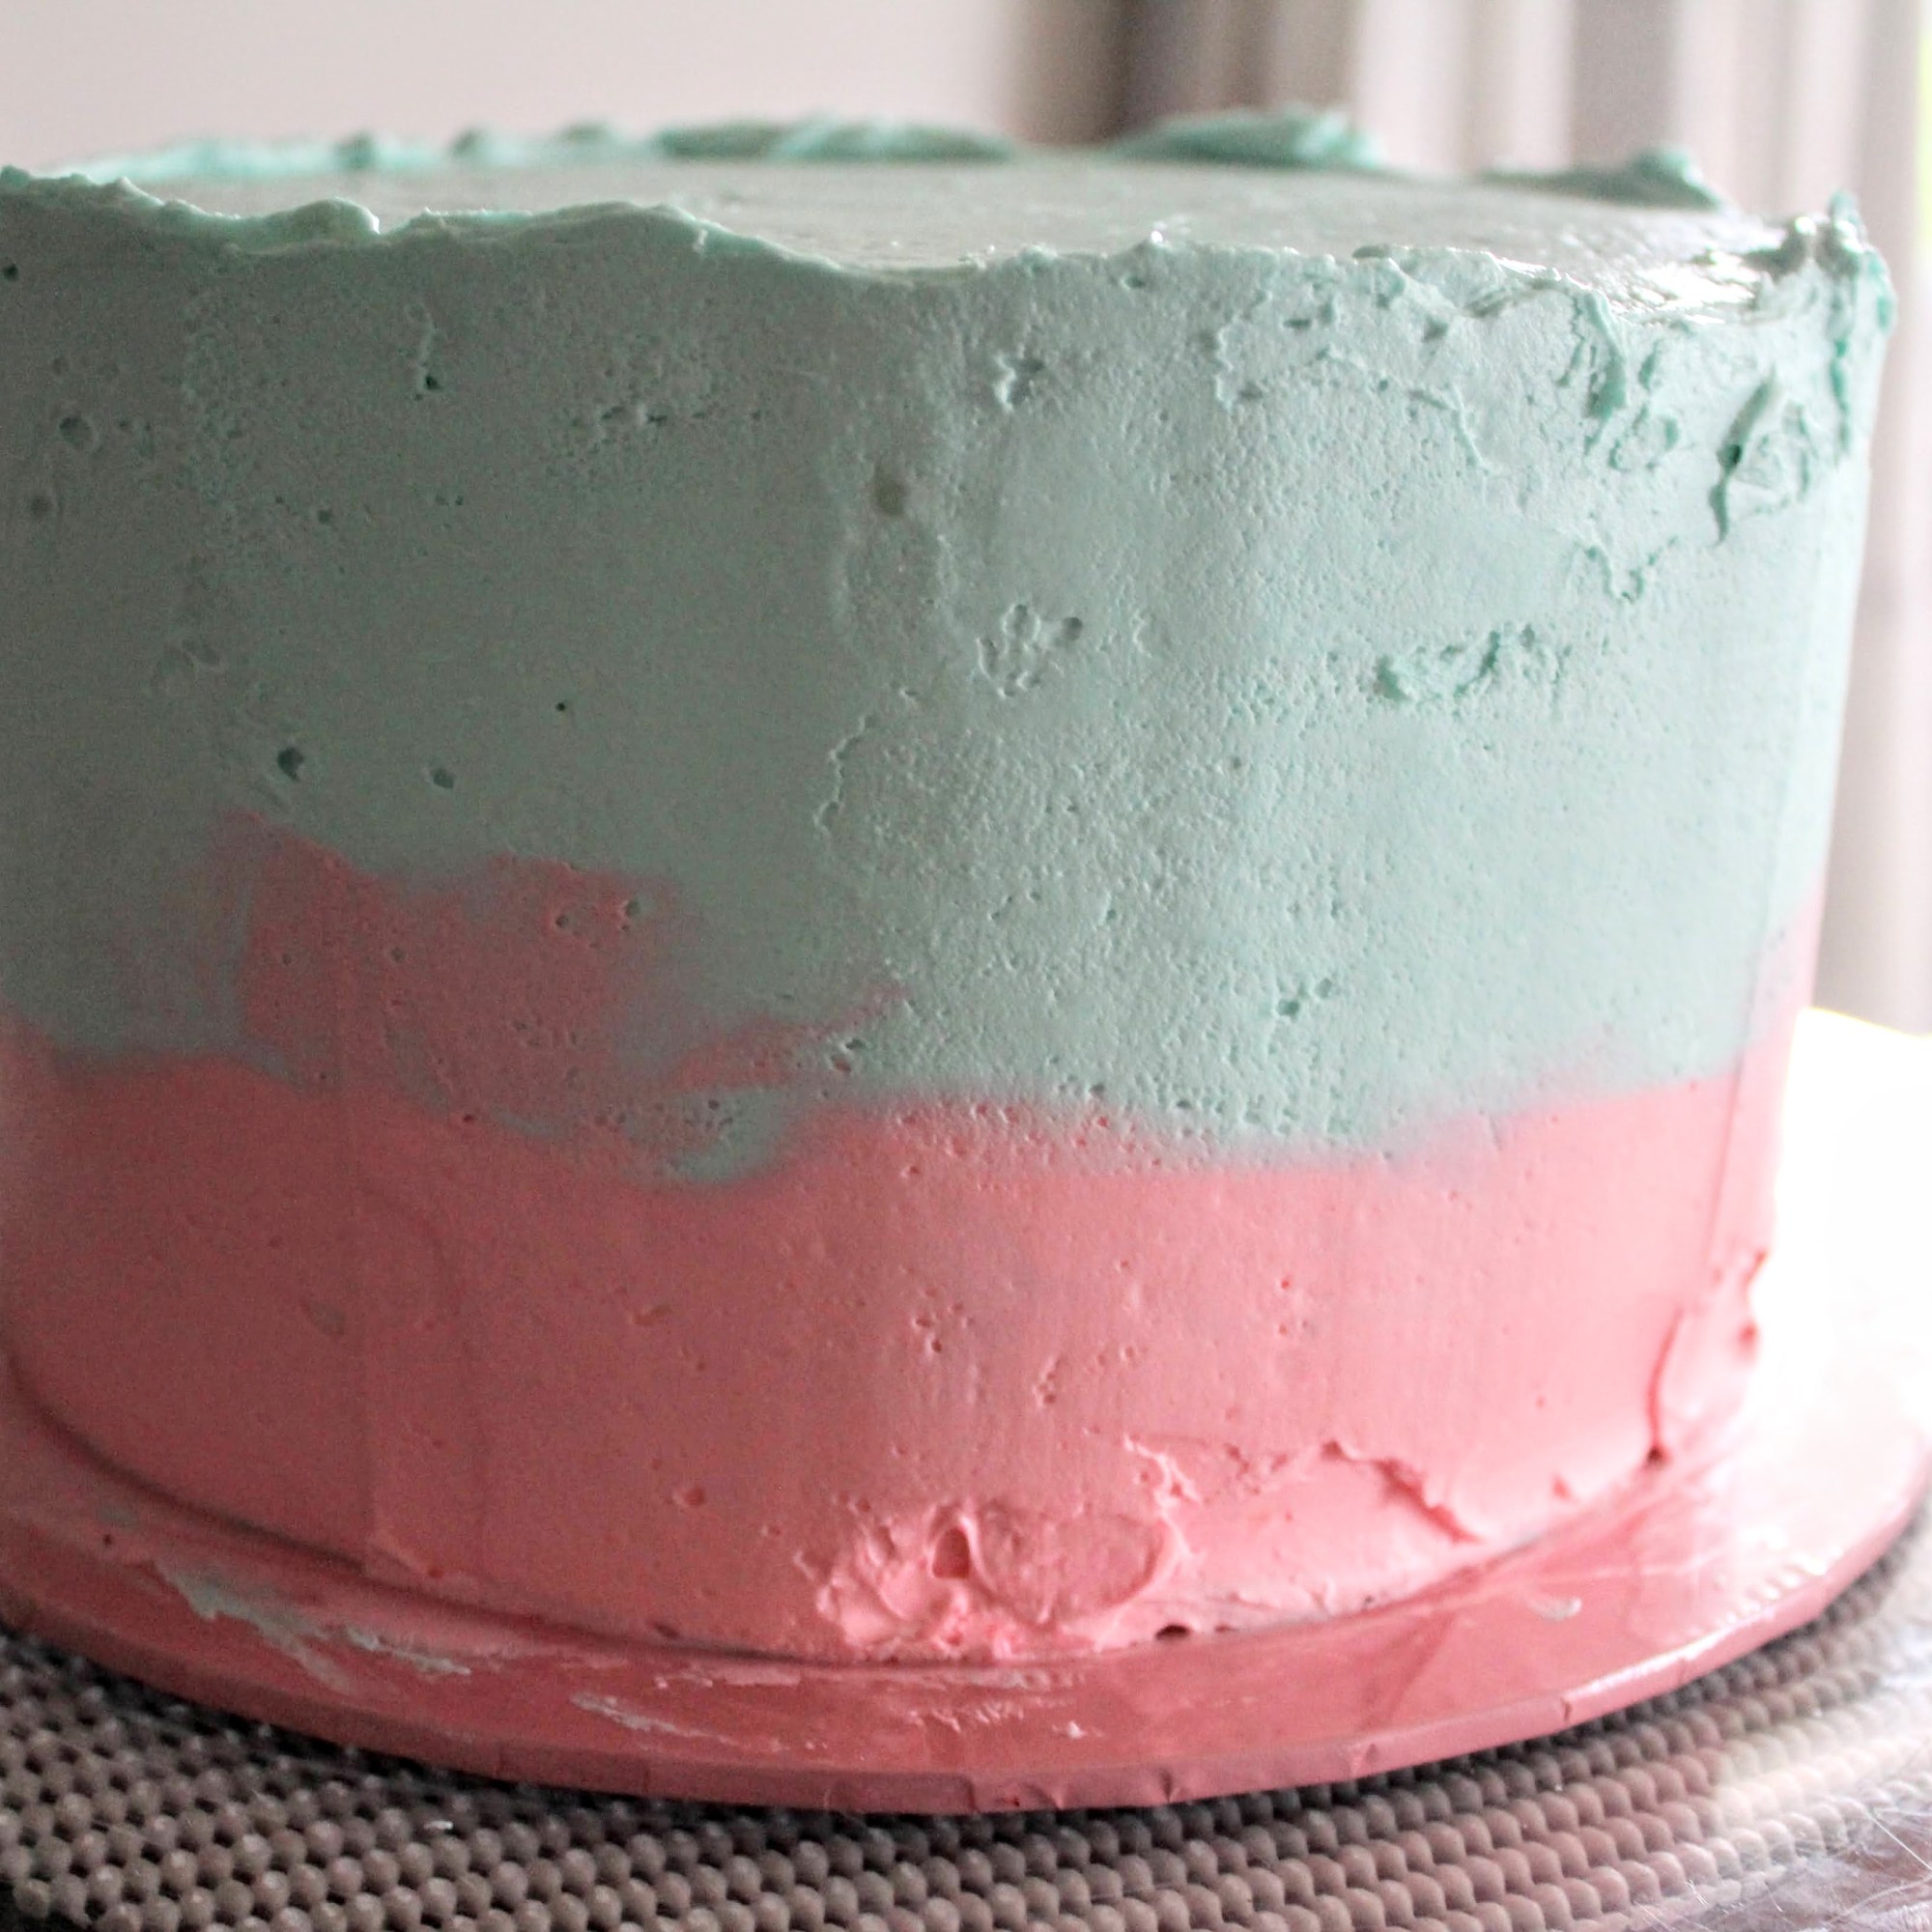
- Next I filled in the bottom third with pink buttercream, bringing it up to approx. half way up the side of the cake. I scraped away the excess in small sections (filling some, scraping it, filling the next section, scraping it etc) so that the buttercream didn’t get too cold while sitting on the cake that it might become too difficult to scrape away {photos 9-10}. When I had gone all the way around the cake I came back and filled in where there were holes/indentations with the same colour icing, and did another smooth over with my metal scraper {photos 11-13}
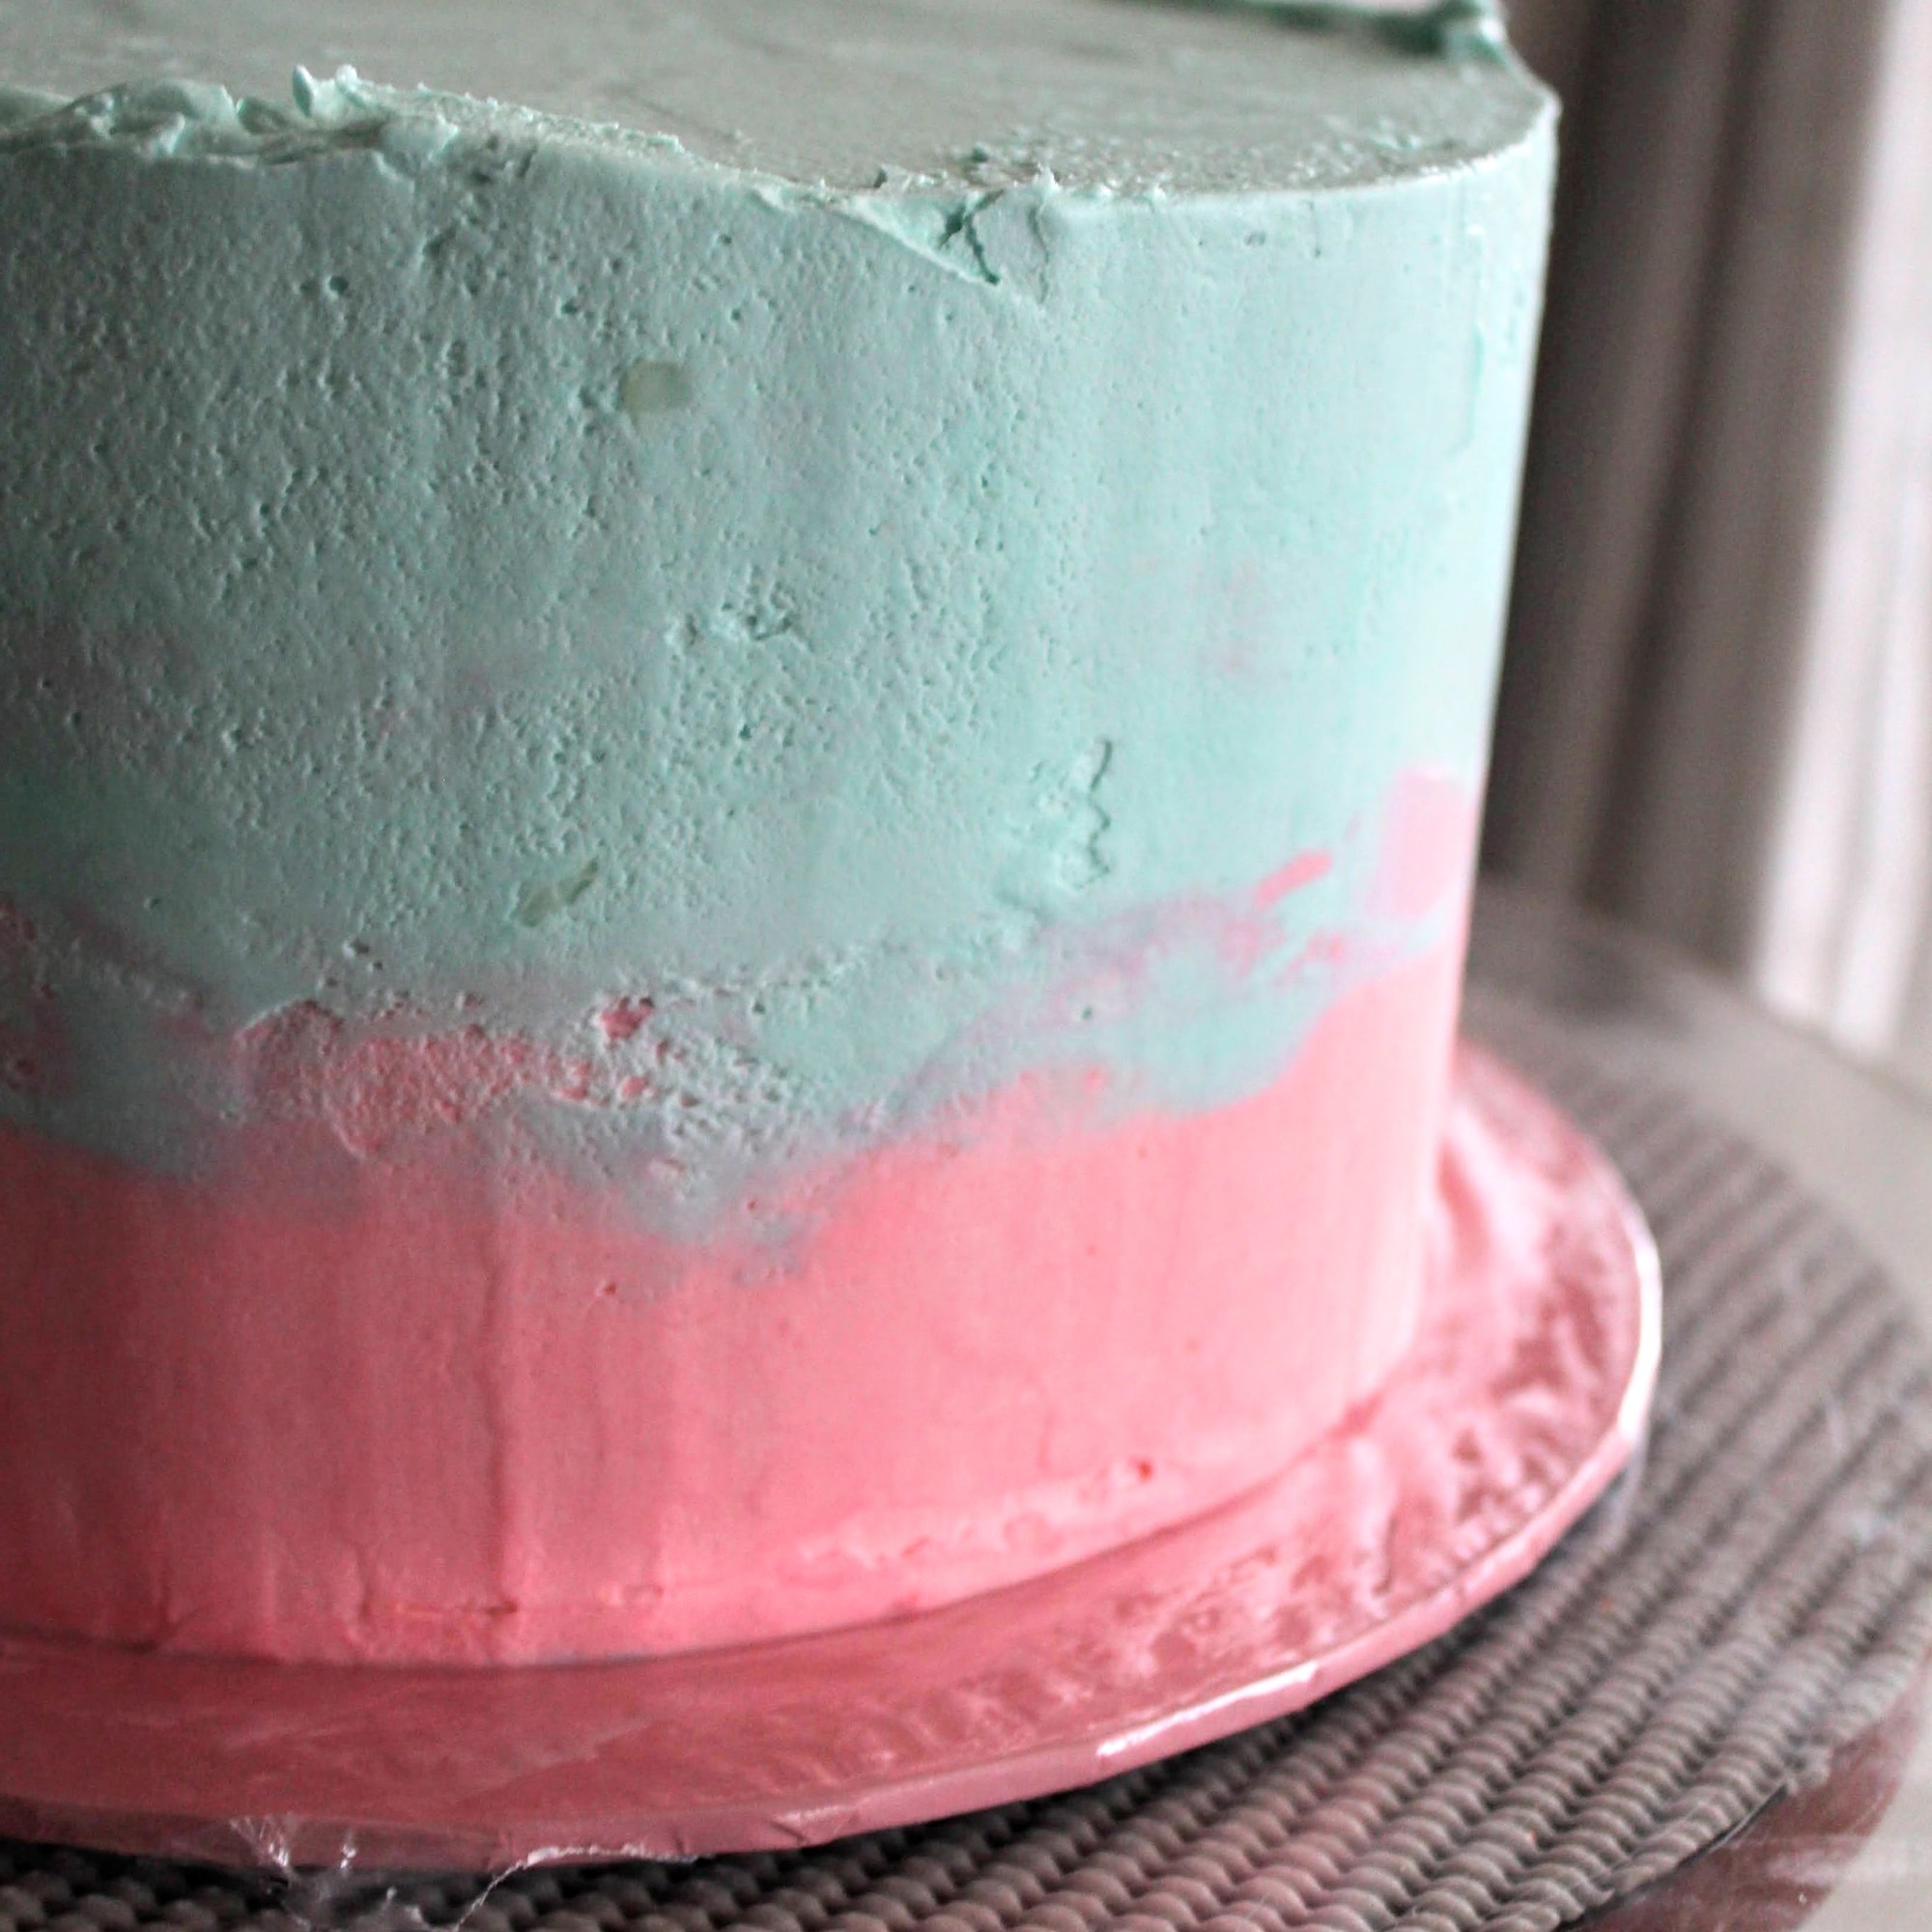
- I smoothed the top using a small offset spatula: keeping the blade level with the top of the cake, swiping it from the outside edge towards the centre of the cake to give a tidy edge – repeating this as many times as needed to work around the edge of the cake (photo 14}
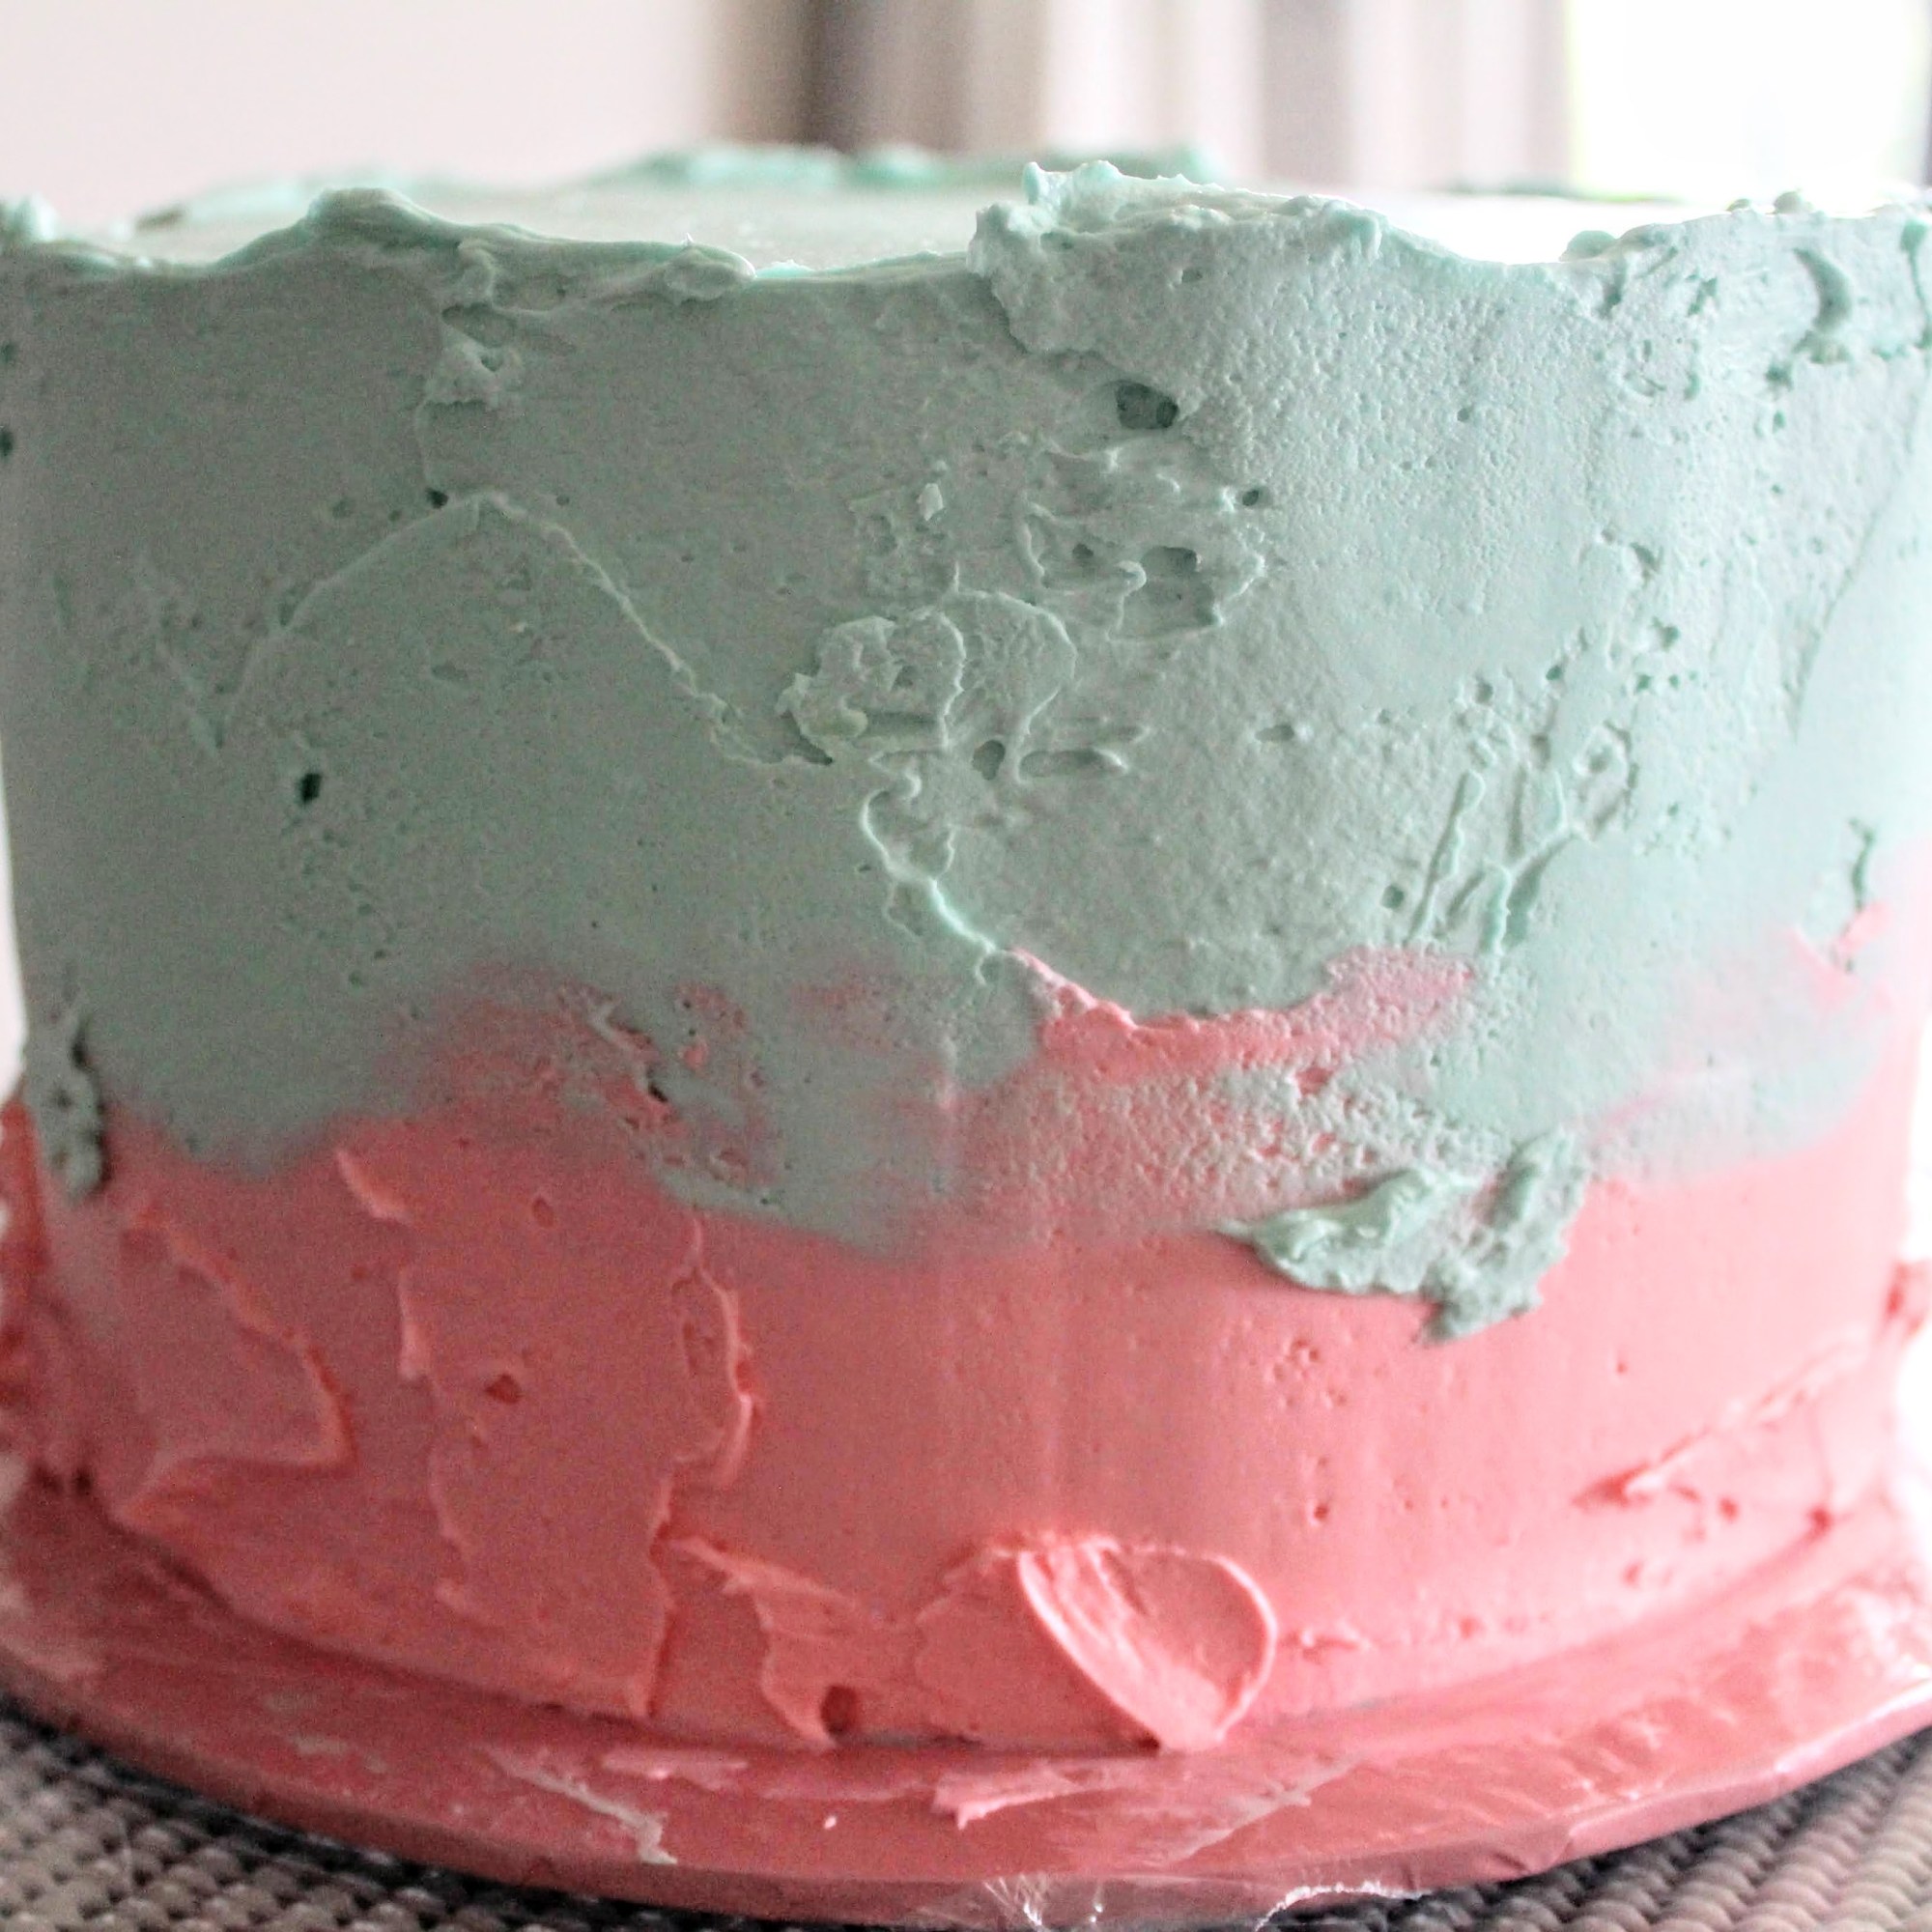
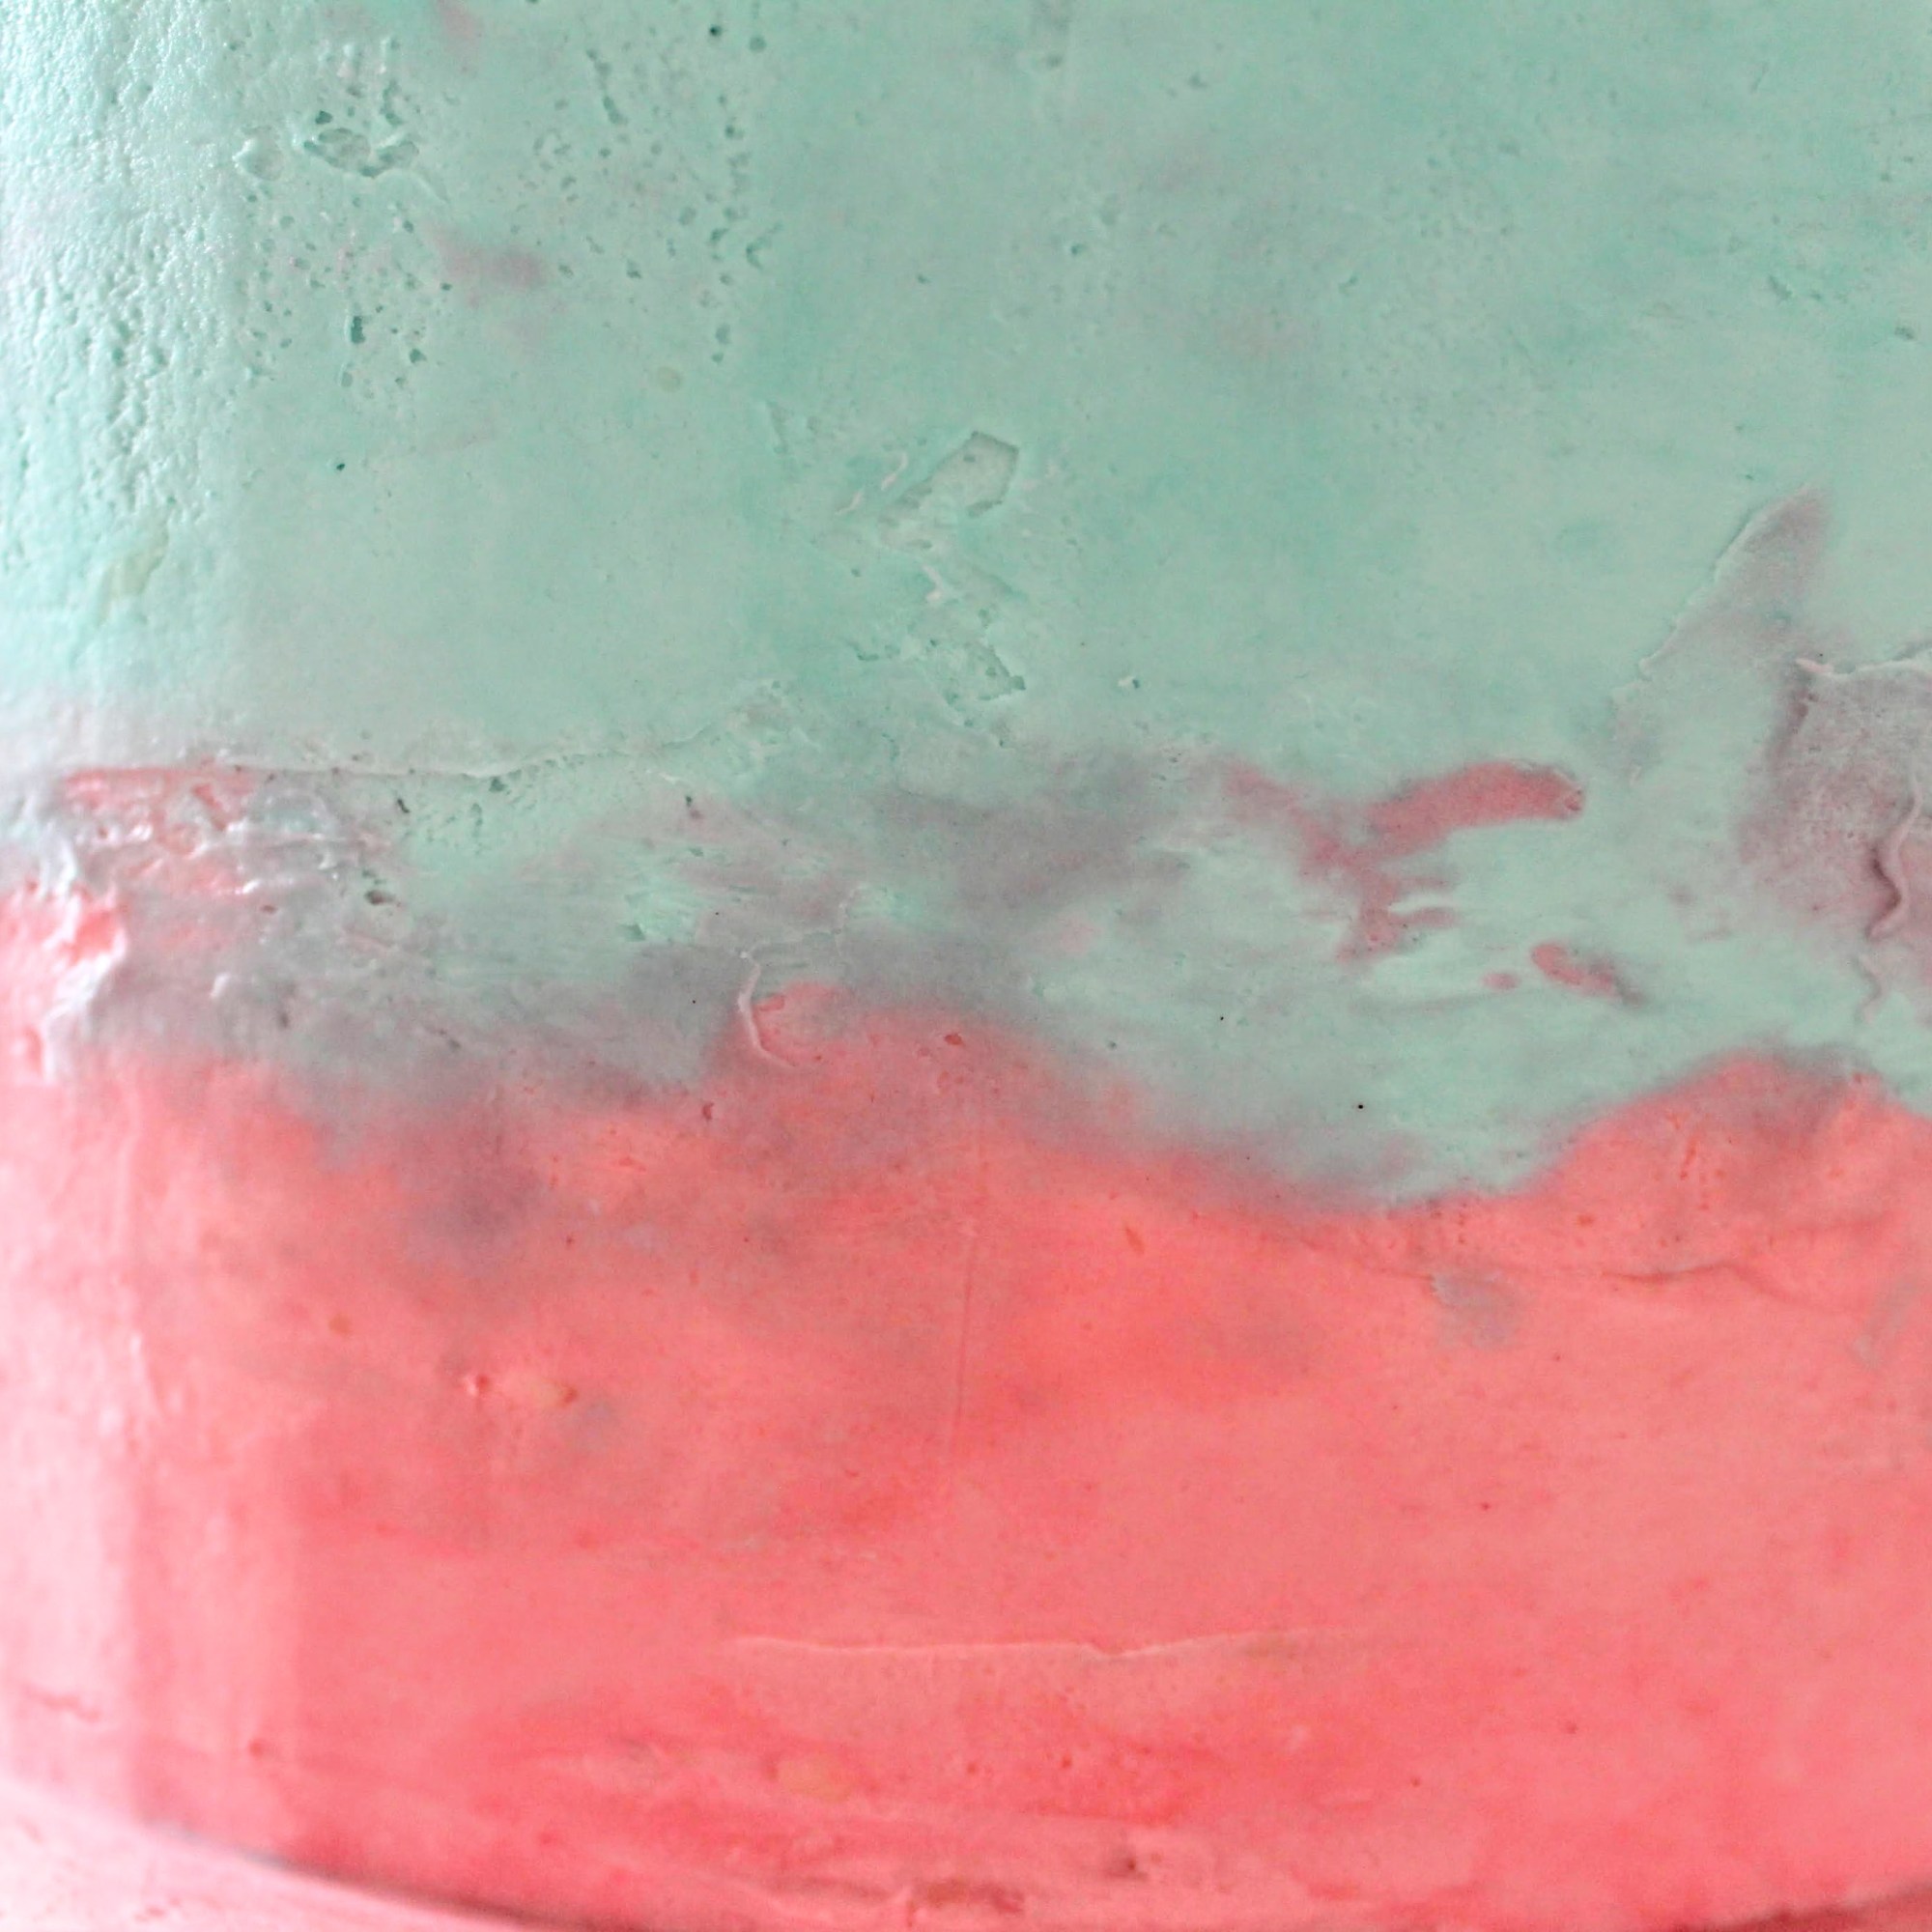
- Lastly, to get the ombré effect: I added some more buttercream of both colours to the ‘boundary line’/join between top and bottom, and blended the colours using small circular motions with the tip of the small offset palette knife {photos 15 & 16}. This might look murky or untidy, but will give a neat overall ‘blending’ effect, especially once decorations are on!


And for the other decorations:
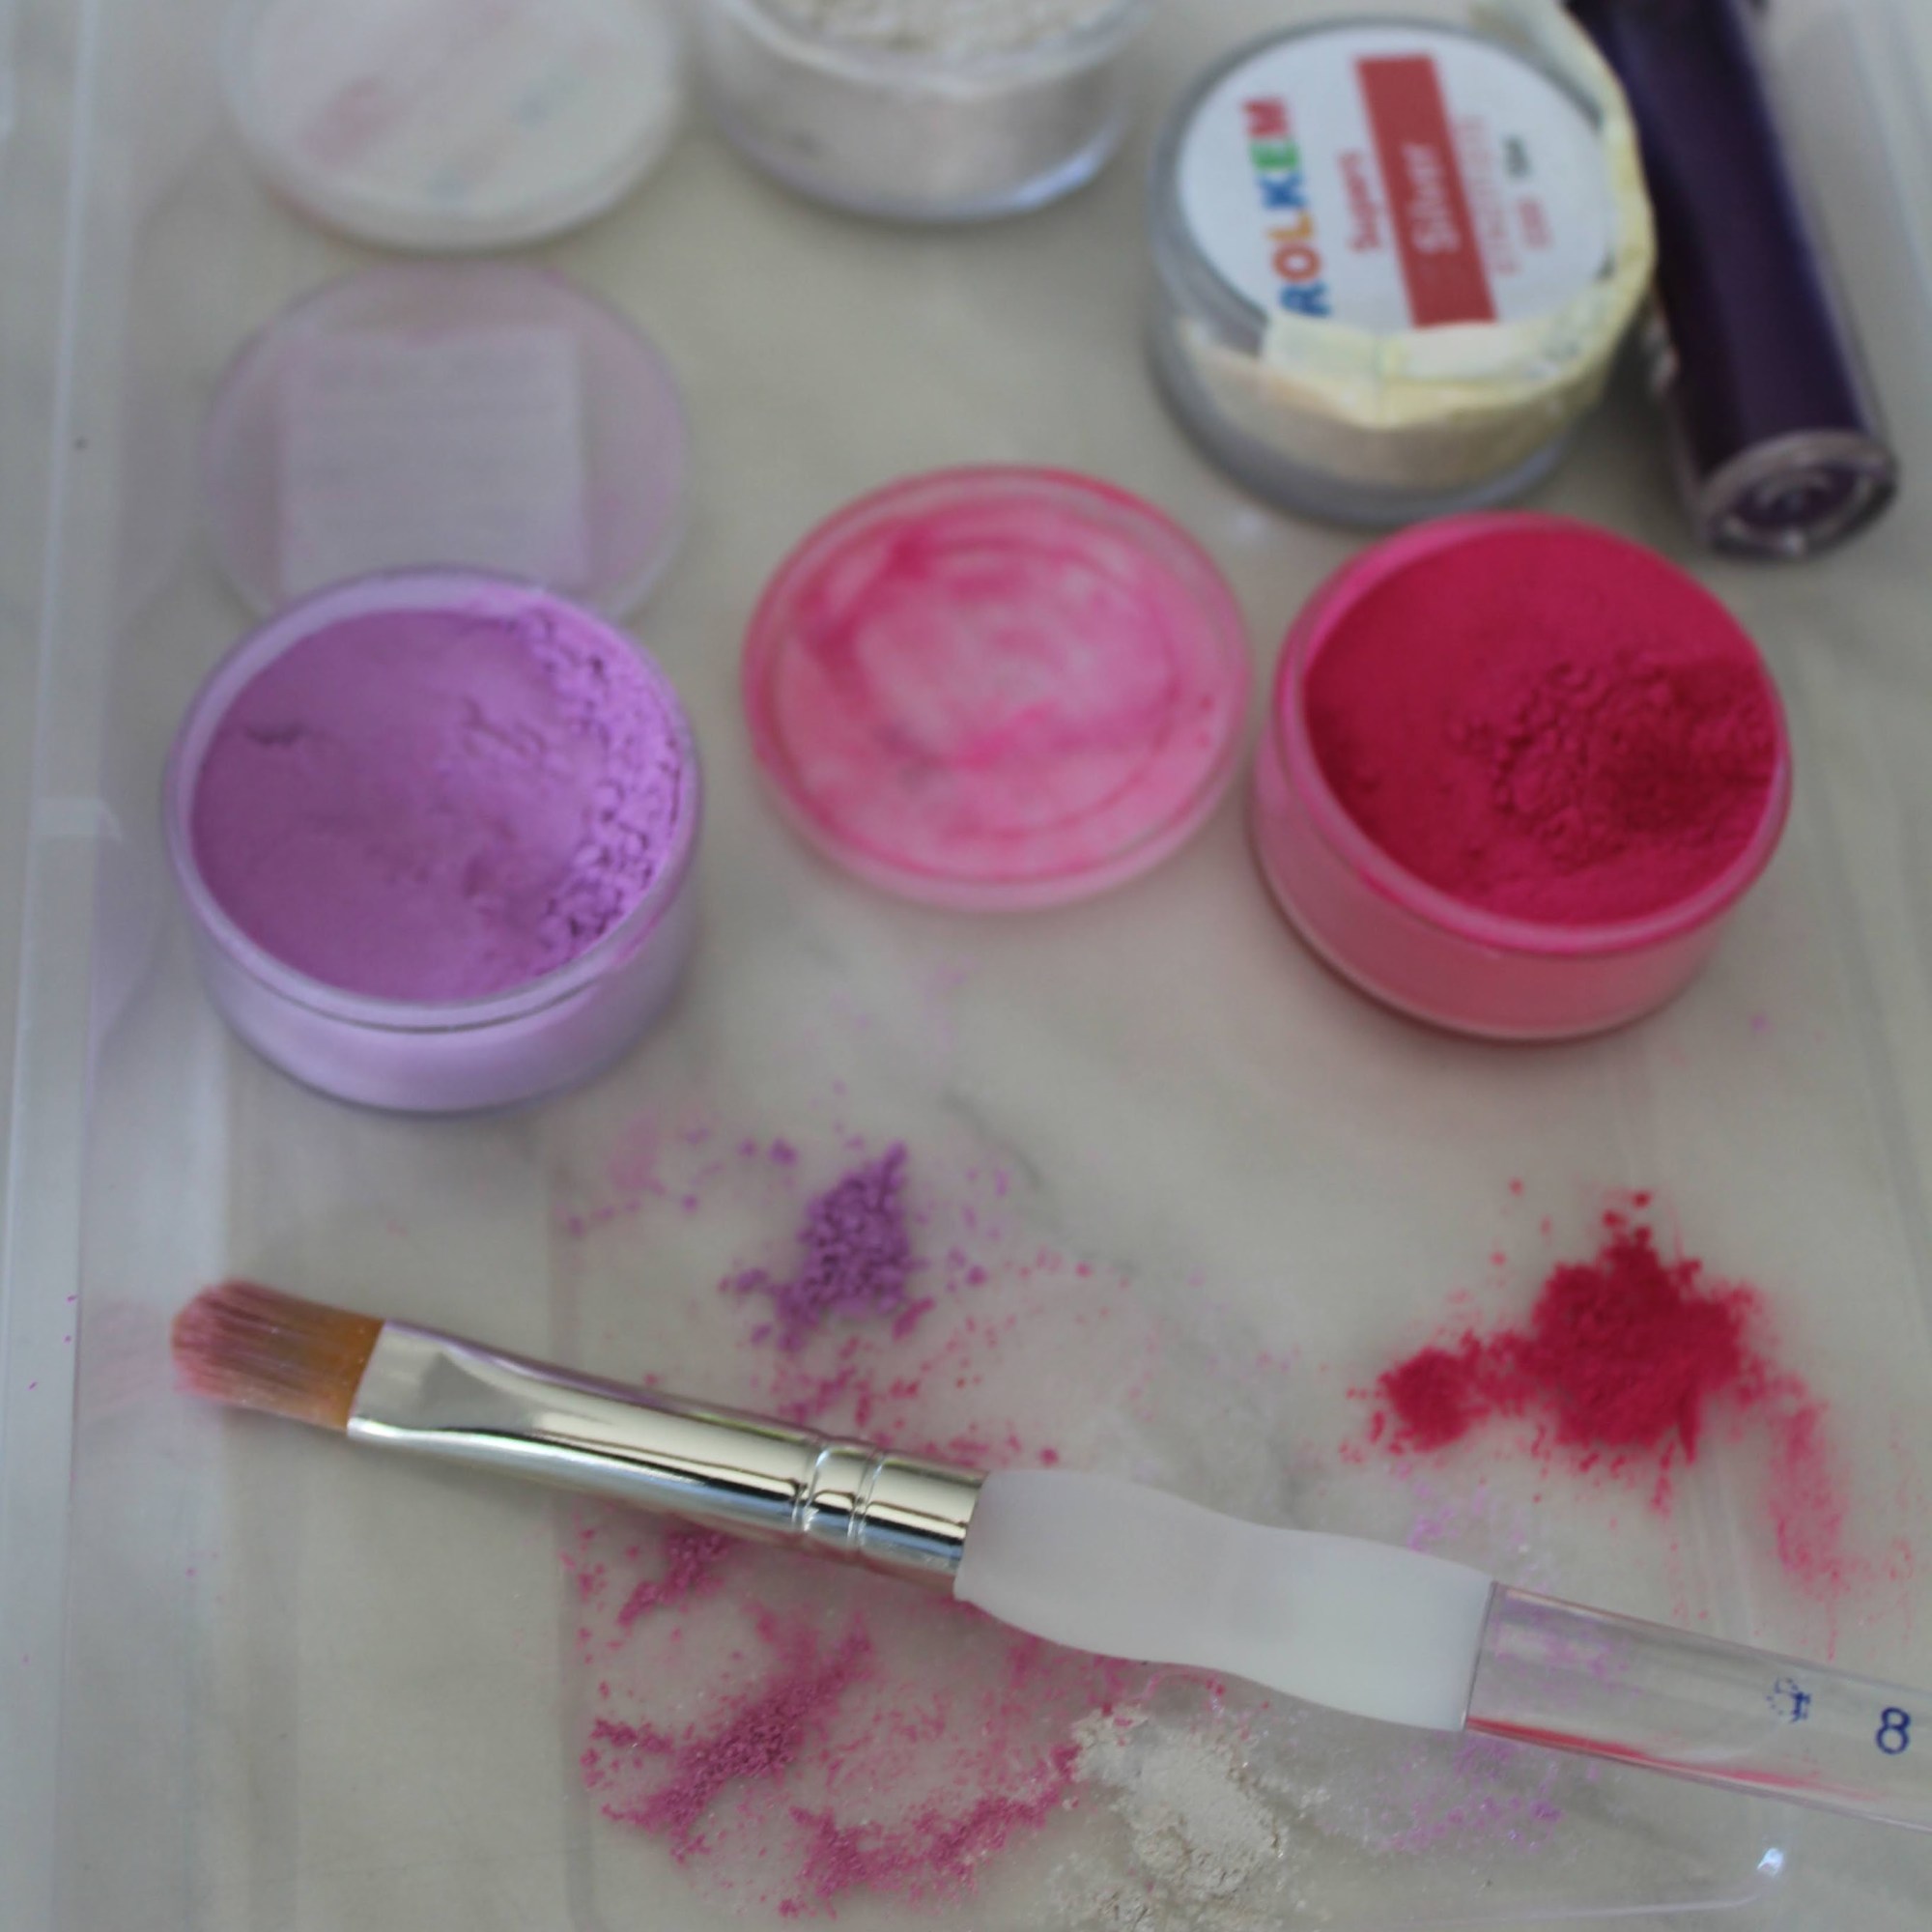
- I made white chocolate sea shells using a handy mould and painted them with a light edible lustre dust to give them a silvery shine
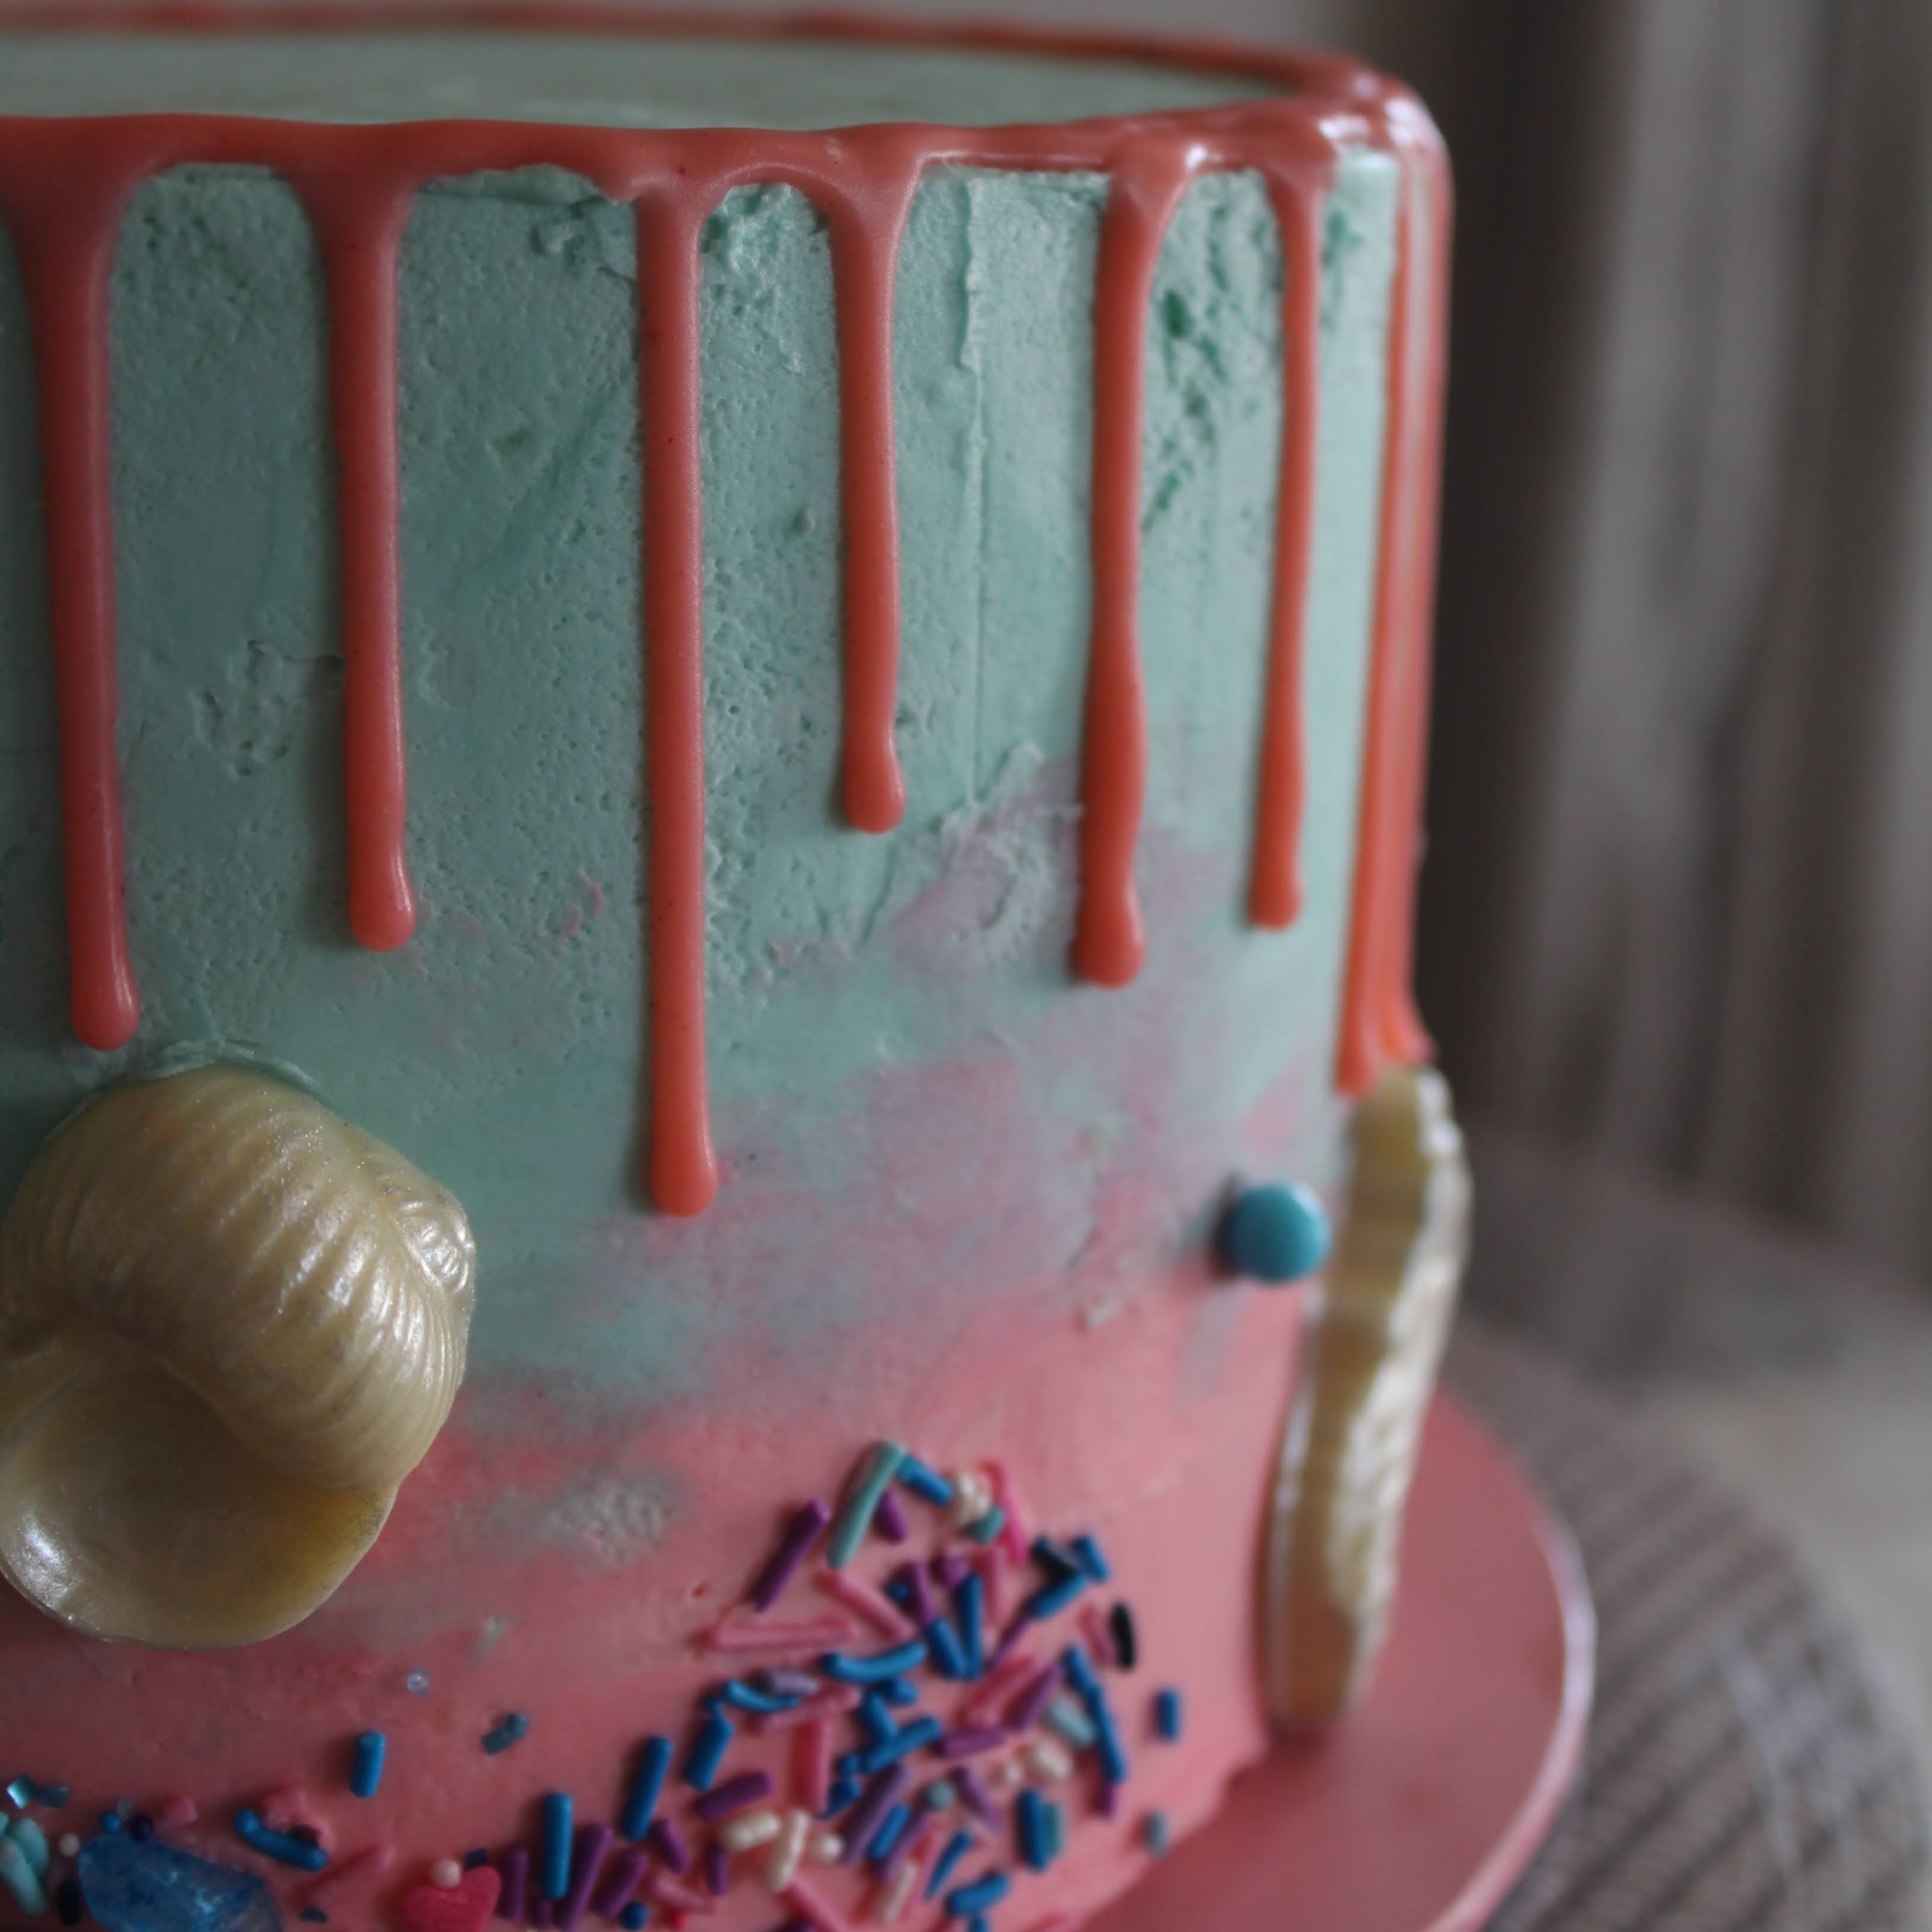
- For the pink drips, I mixed a few drops of the pastel pink food colouring into the cream of a 1:1 cream-to-chocolate ganache, then poured the runny ganache using a squeezy bottle (which I like to do for control of where those drips are going) from the top edge, at even spacings with varied pressure to get drips of different lengths.
- While the buttercream was at room temperature, I carefully added some mermaidy sprinkle mix from Sweetapolita (no longer available for purchase, but if you’re in NZ you could find some cool alternatives over at Sugar Lips Luxe Sprinkles!)
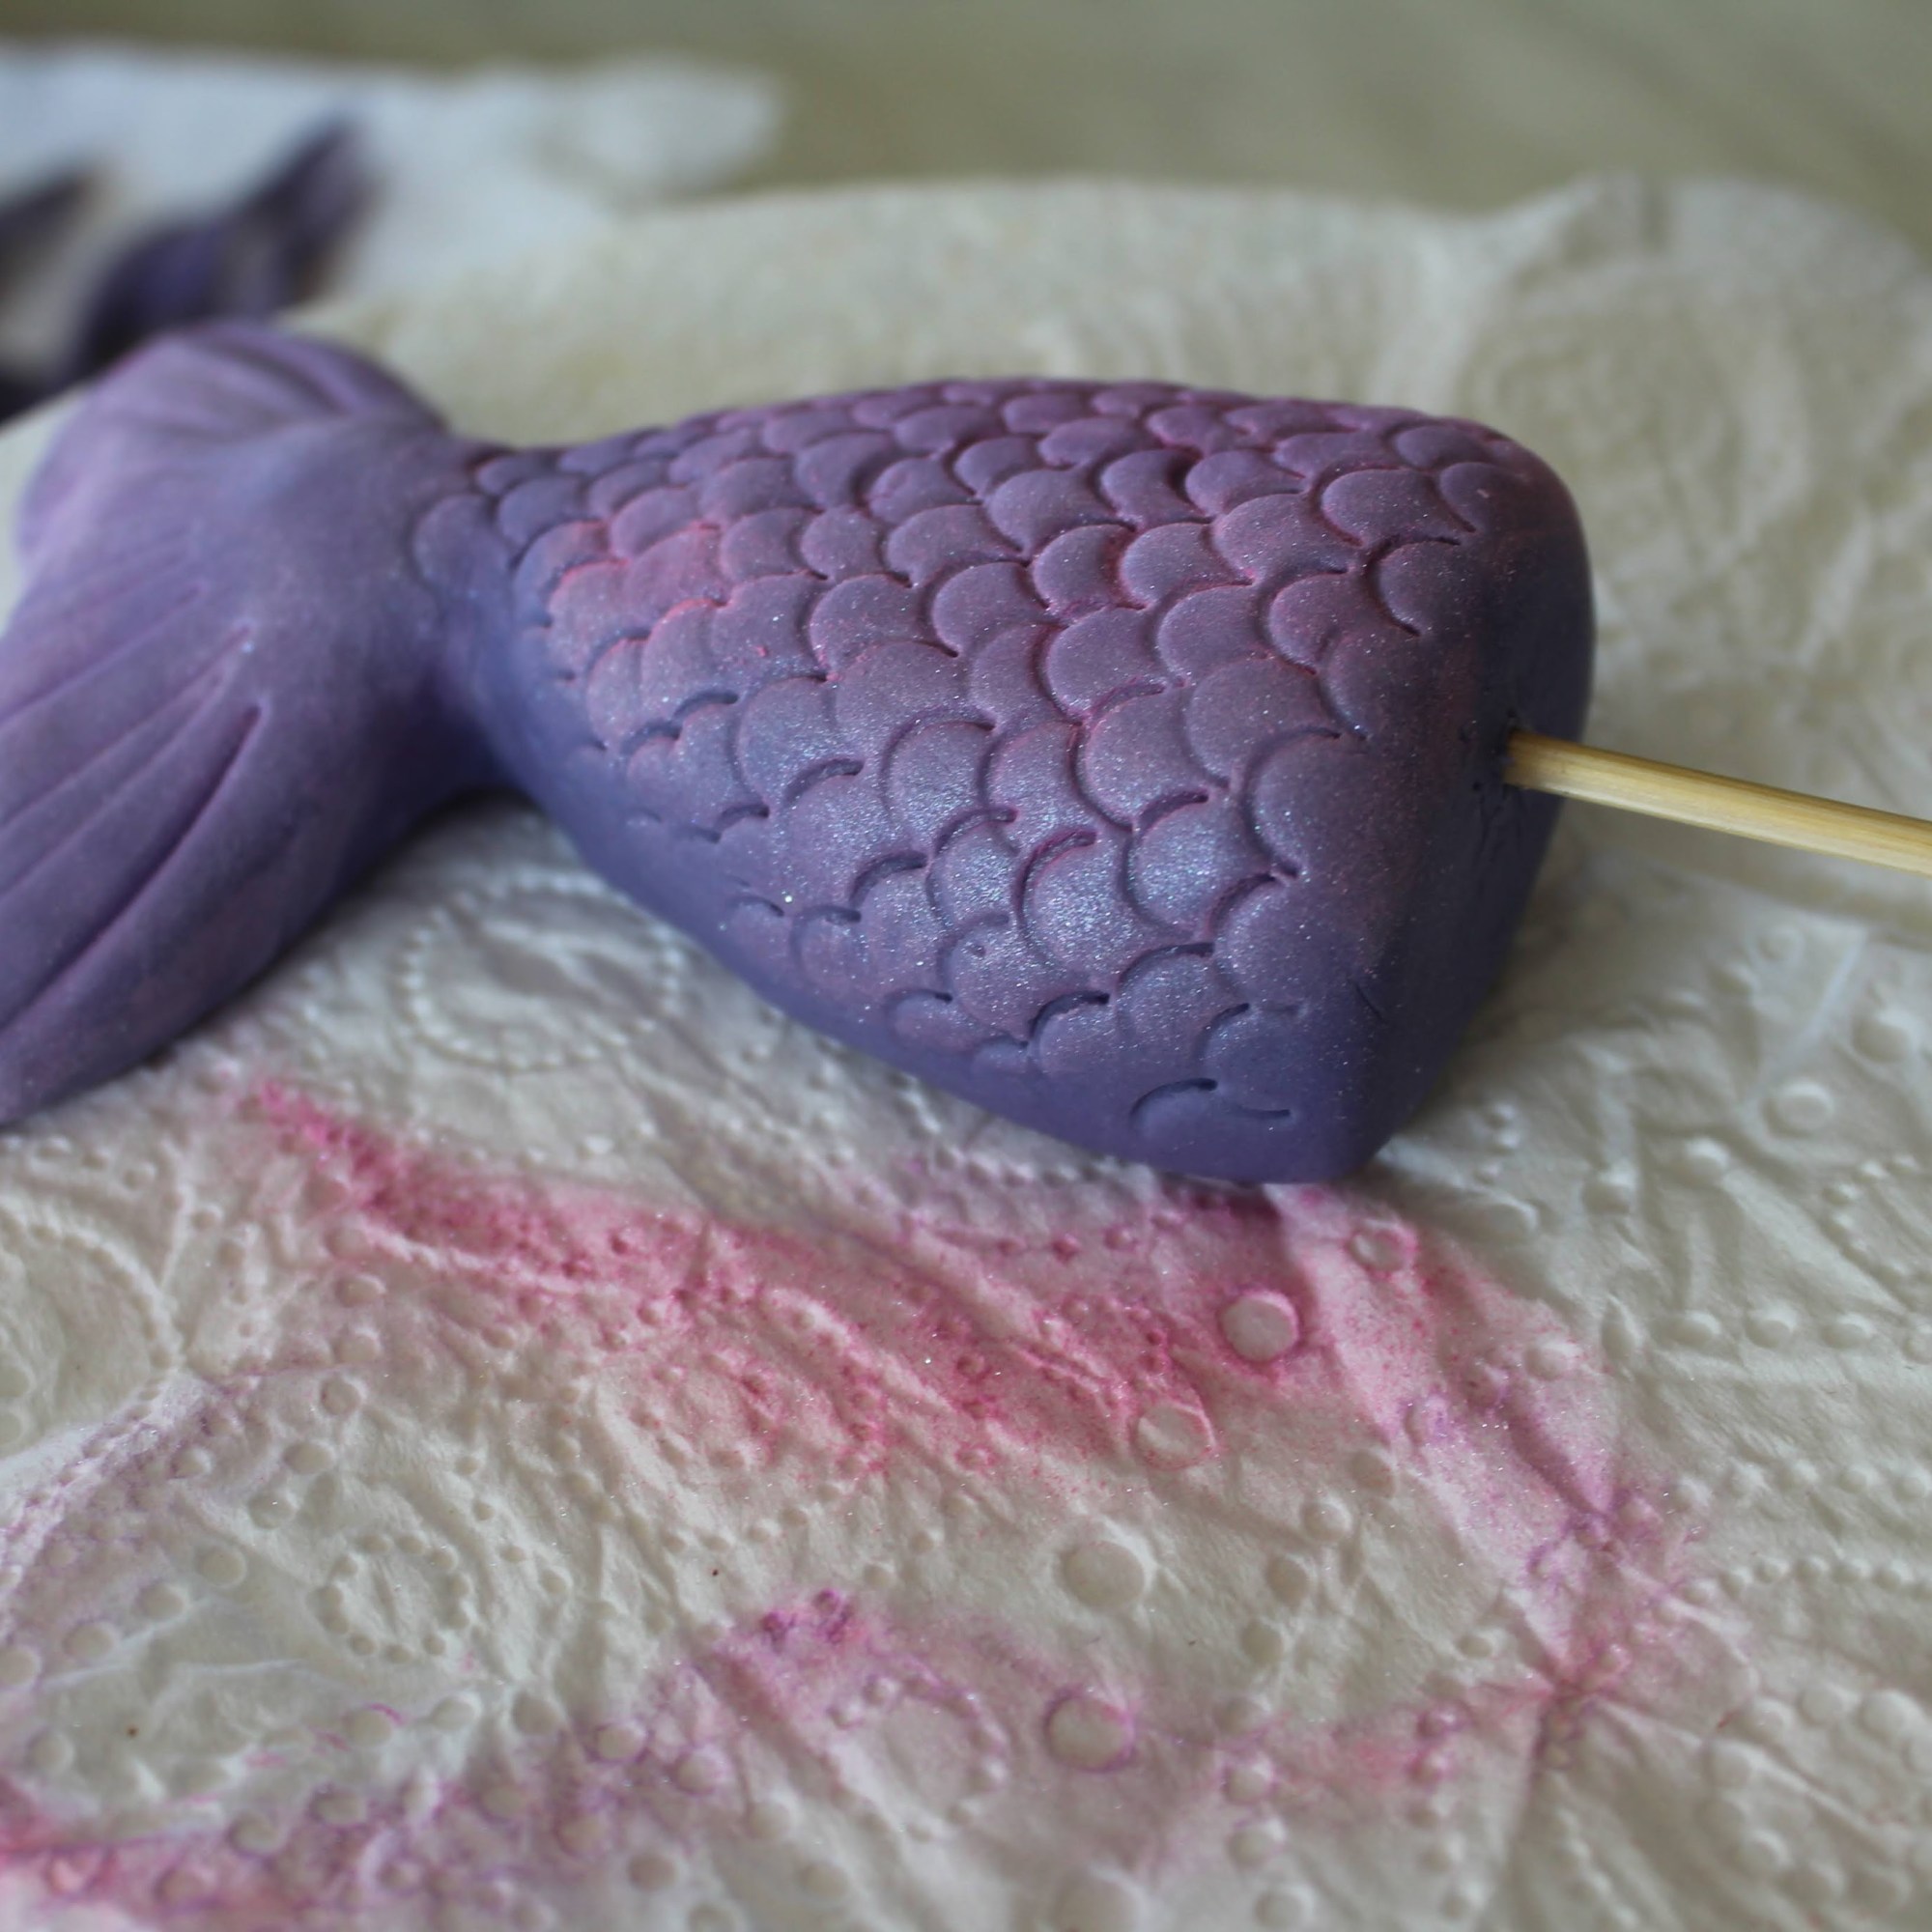
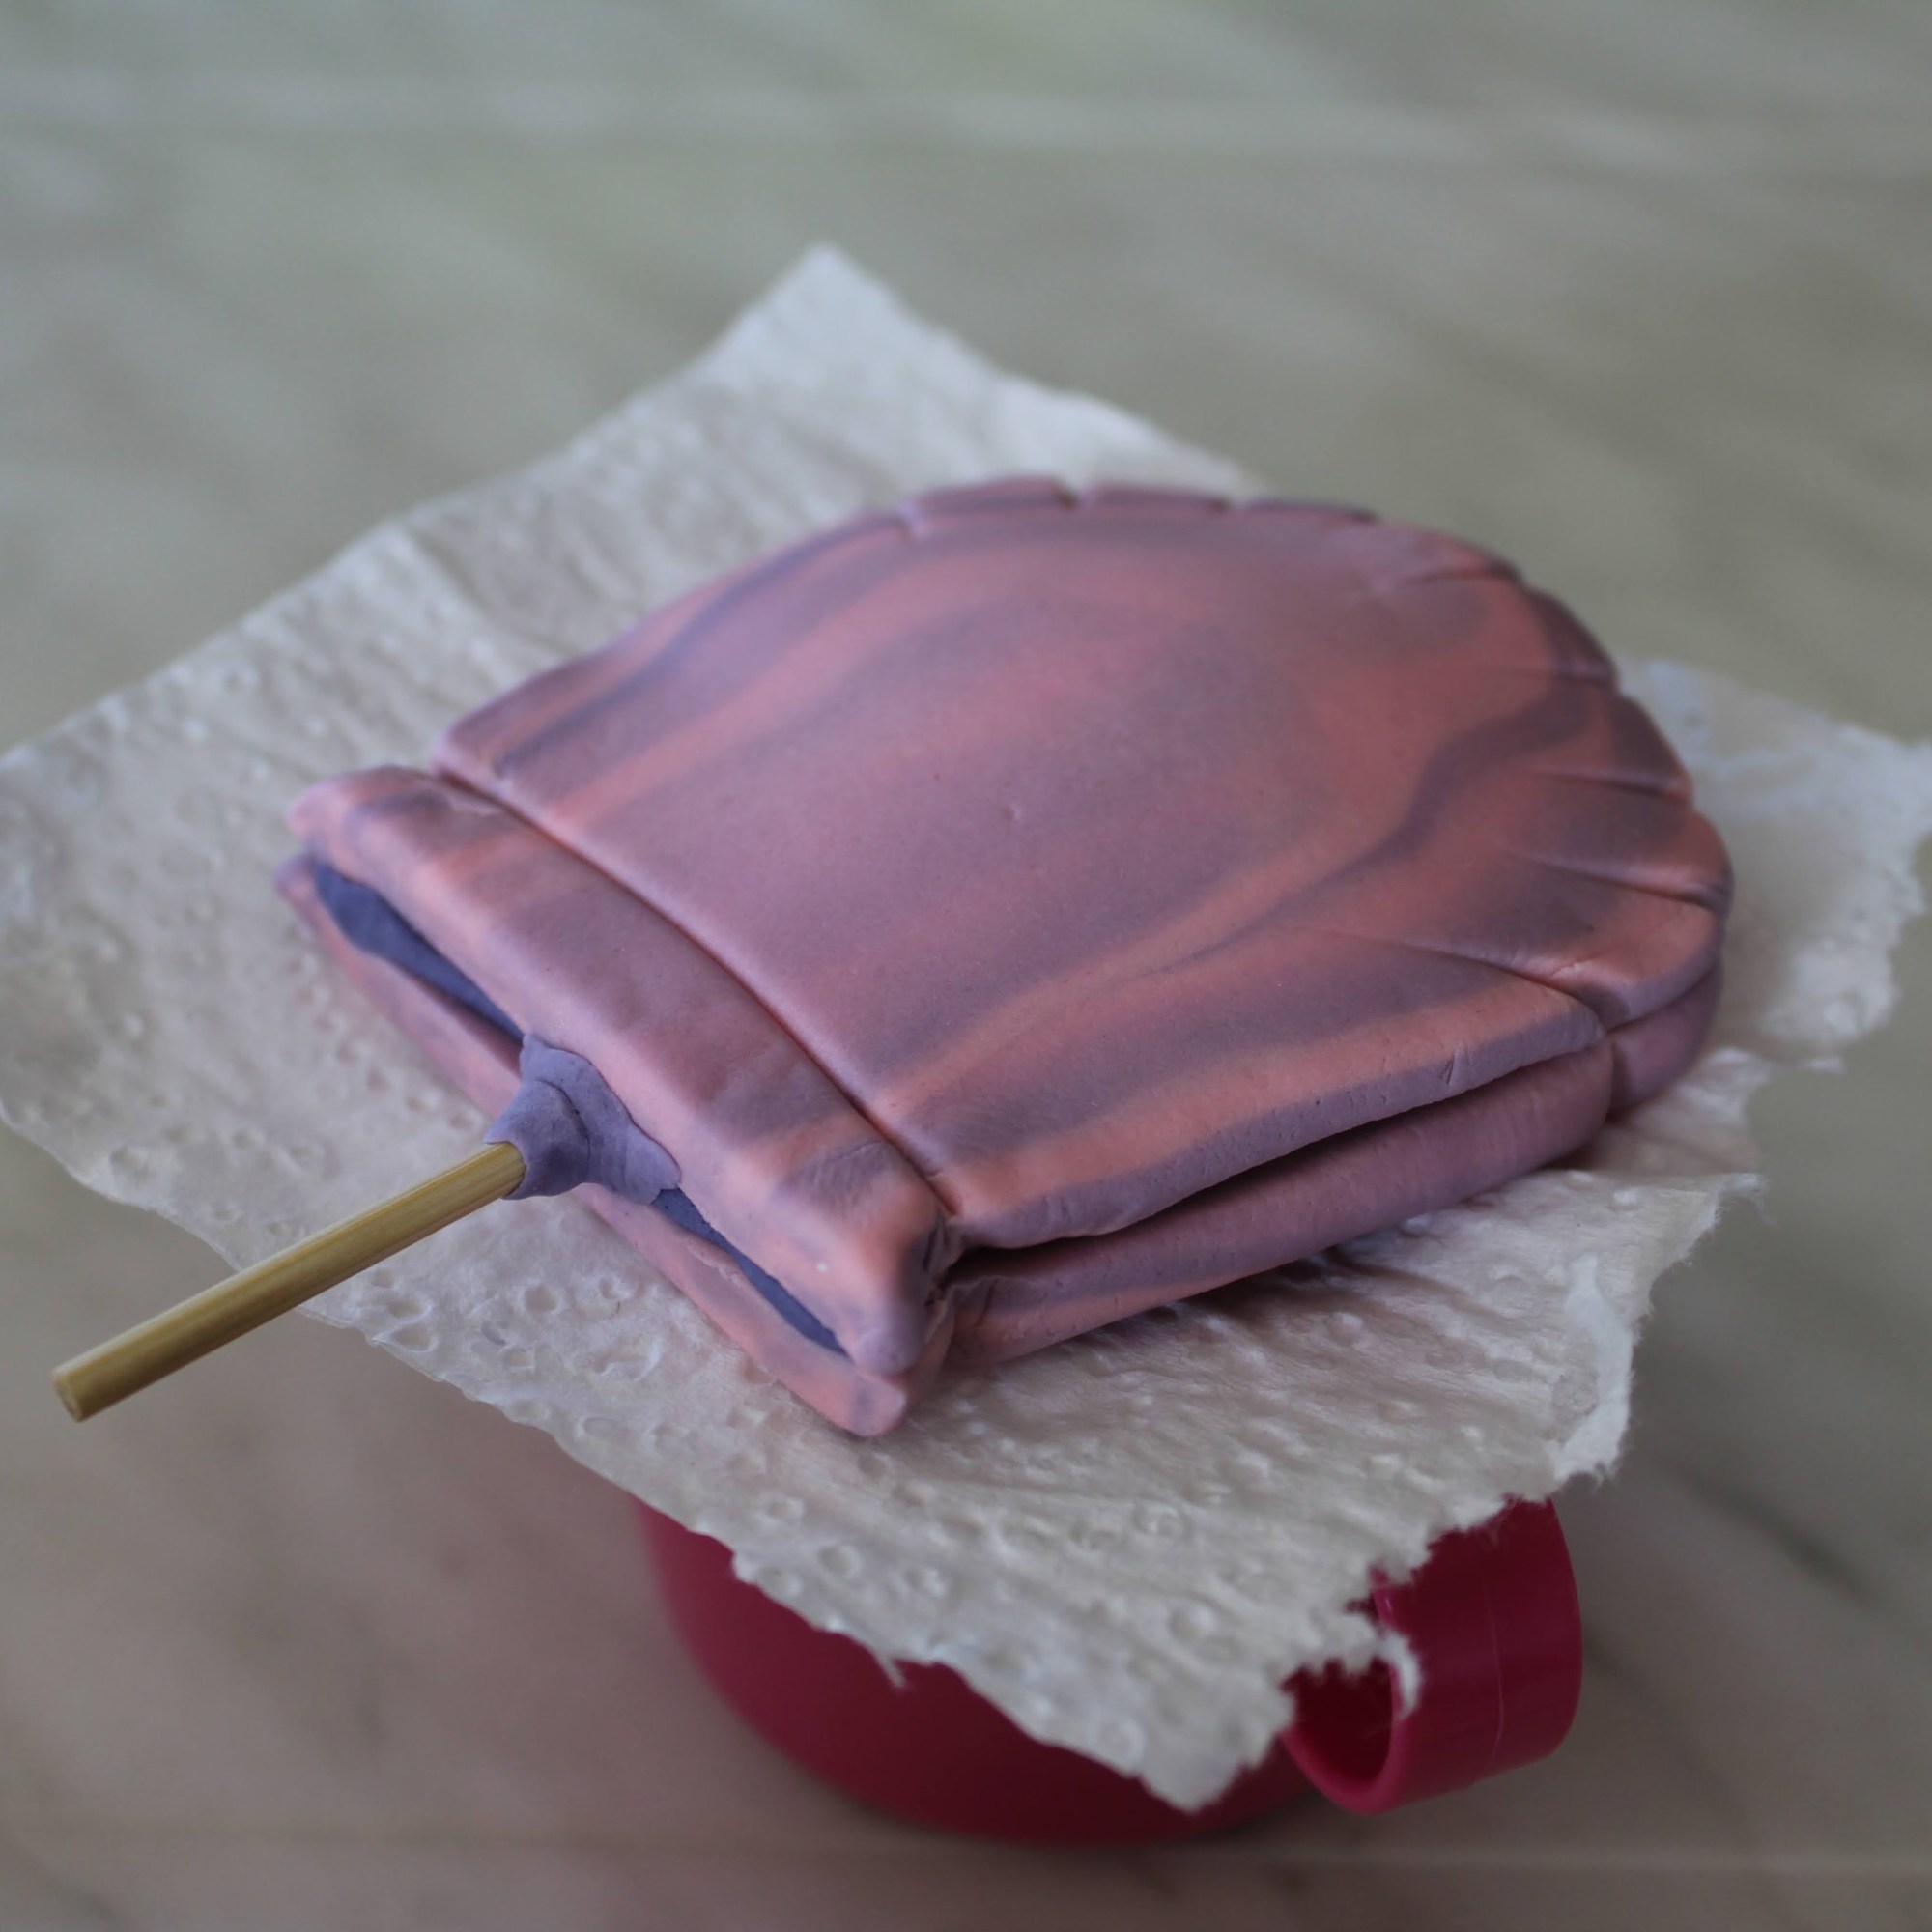
- For both the mermaid tail and clam shell, I mixed some tylose powder with Pettinice solid fondant icing, then shaped it around wooden kebab skewers before it dried. To give it a domed look I set the clam shell halves over half-sphere silicone moulds until mostly dry before gluing them together, adding a ‘pearl in the top’ and some soft fondant at the base around the skewer {photo 4 below} to help adhere them. When dry, I dusted these both with a combination of hot pink, purple and shiny pearl lustre dusts.
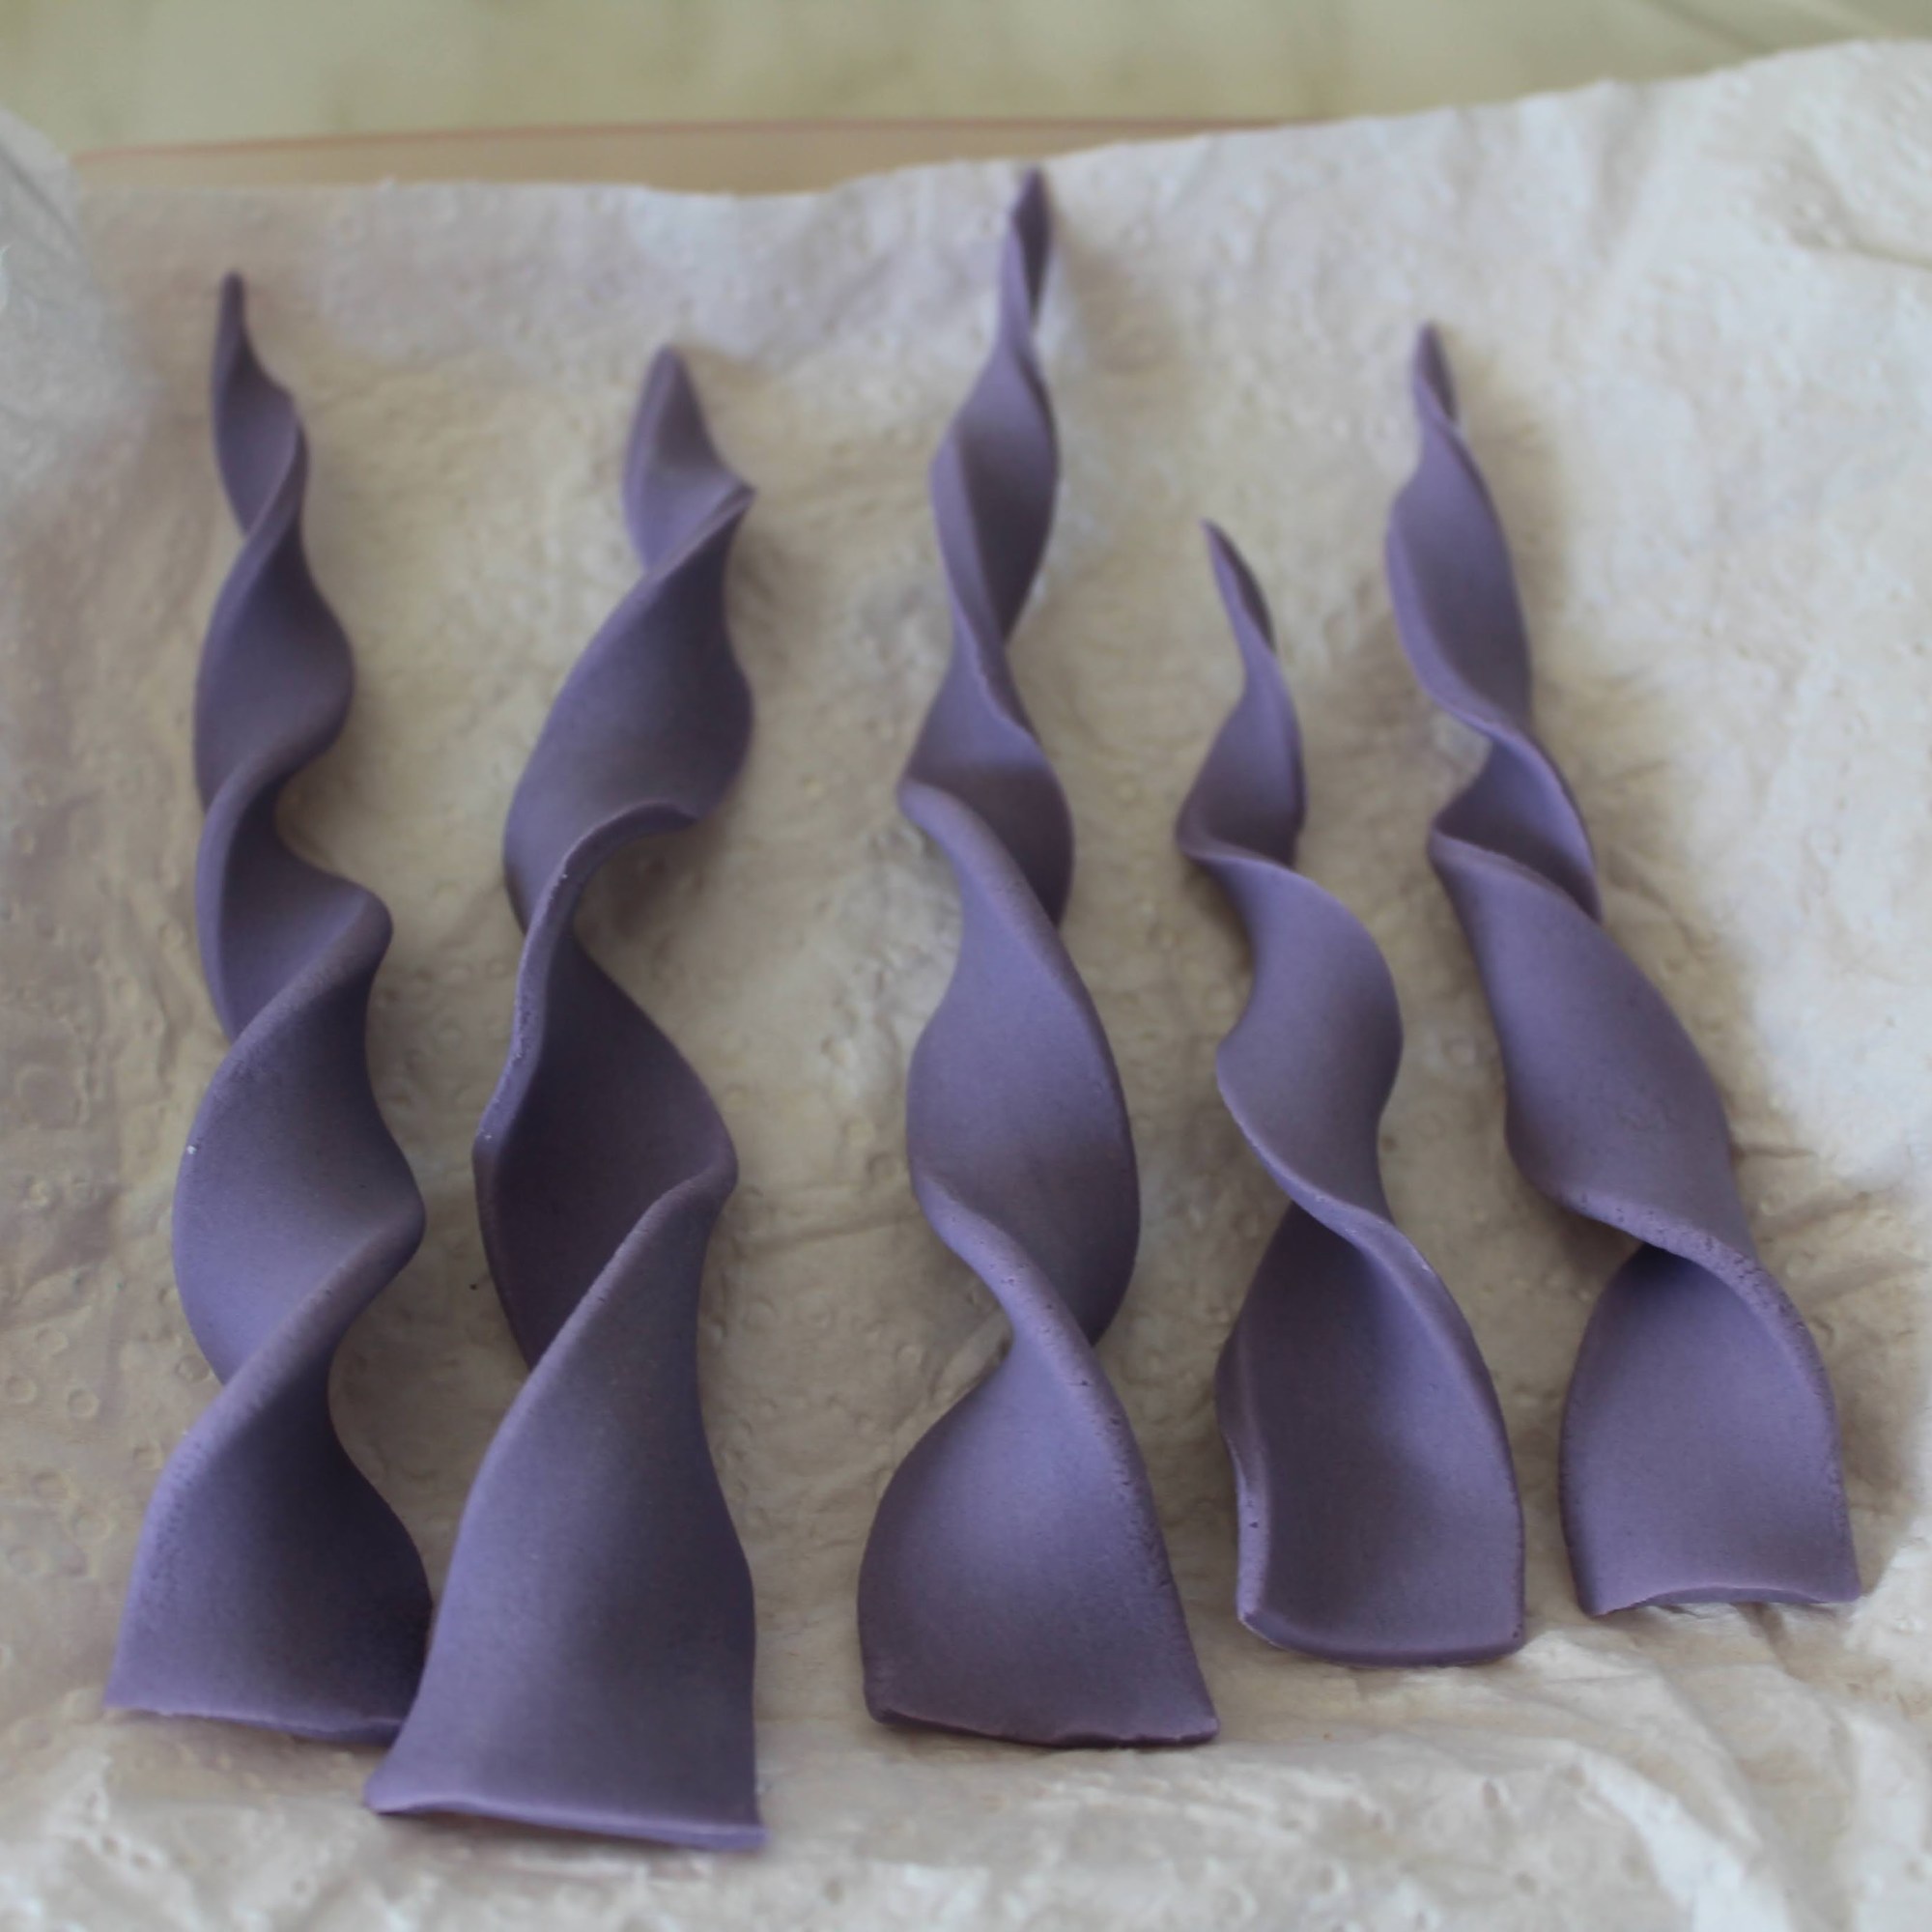
- The coral ‘spears’ were made of long triangles of fondant with tylose added, loosely coiled and left to dry on bumpy foam.

And lastly, I used the Wilton #1M tip to create the classic shell border around the top, and the Wilton #4B star tip to pipe the small blue coral ‘peaks’ in different spots.
Hope this helps with your mermaidy cake adventures in the future!

